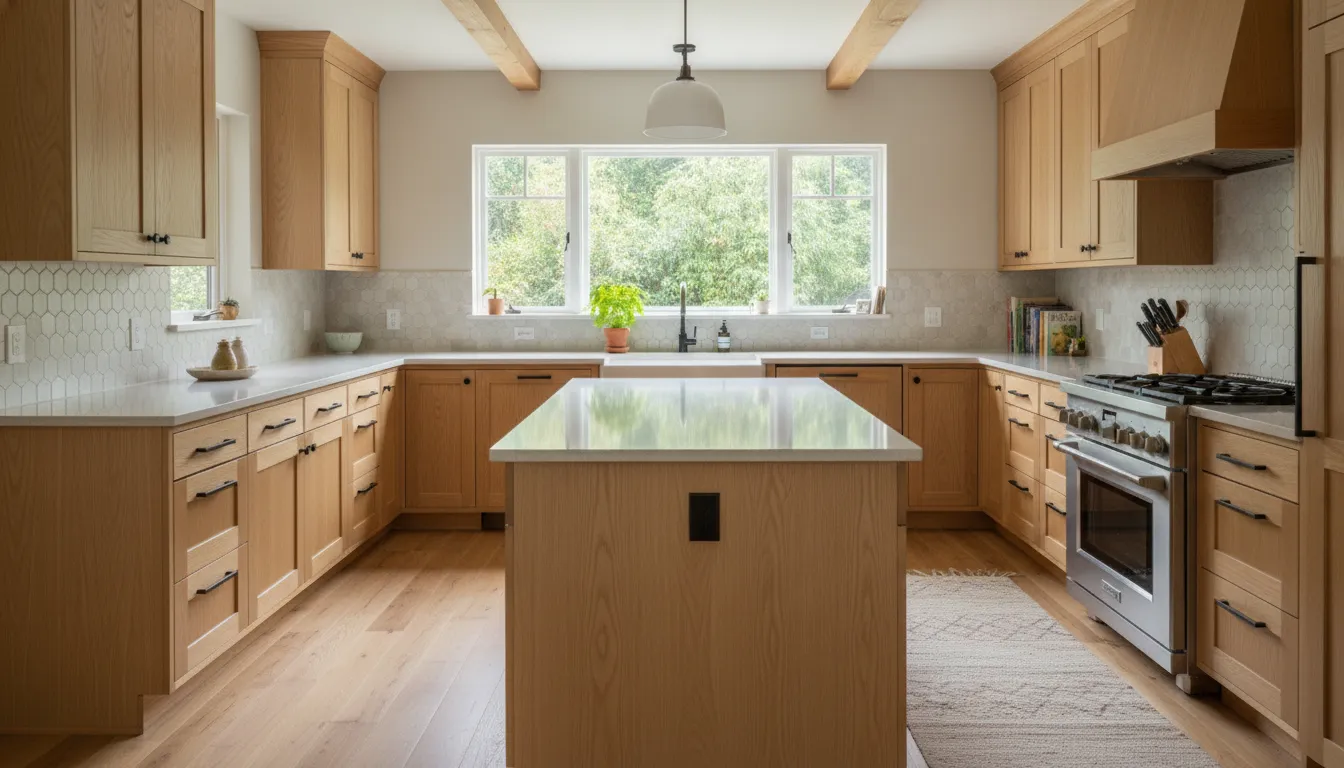
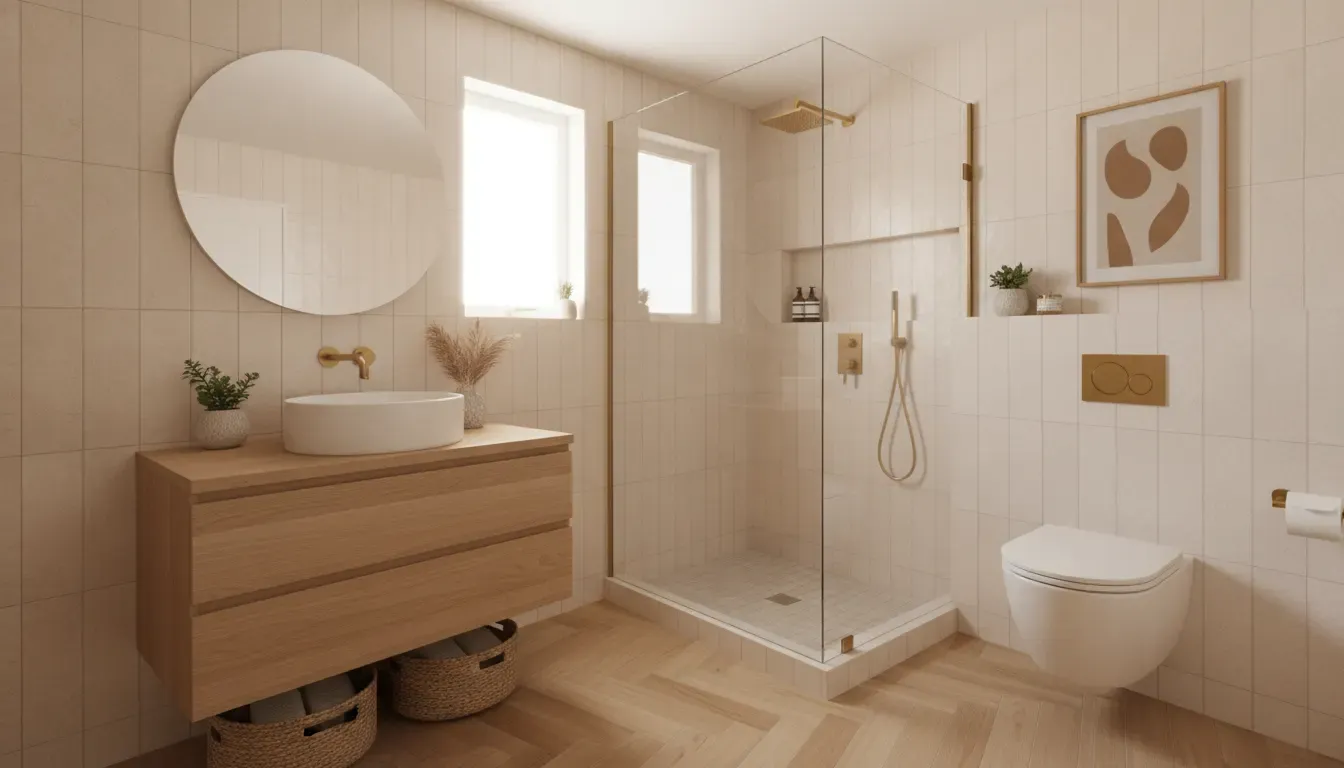
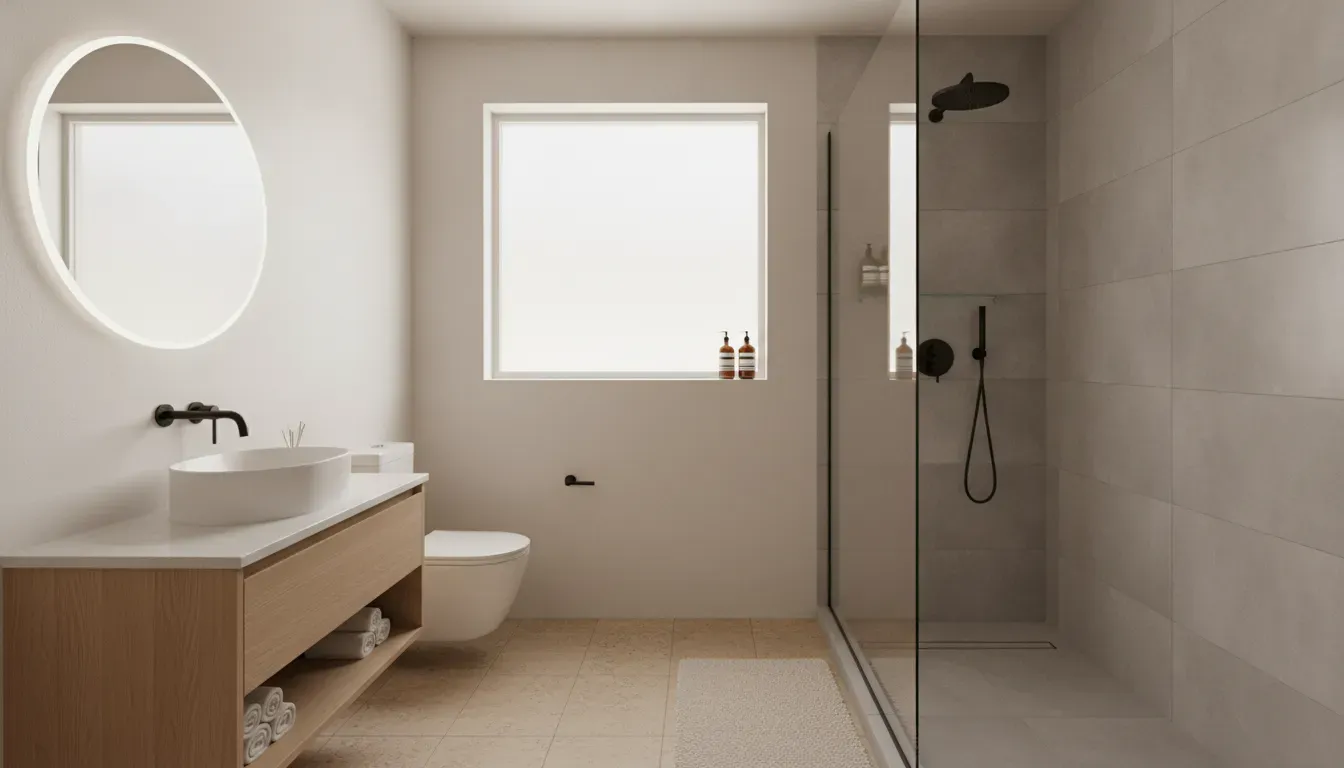
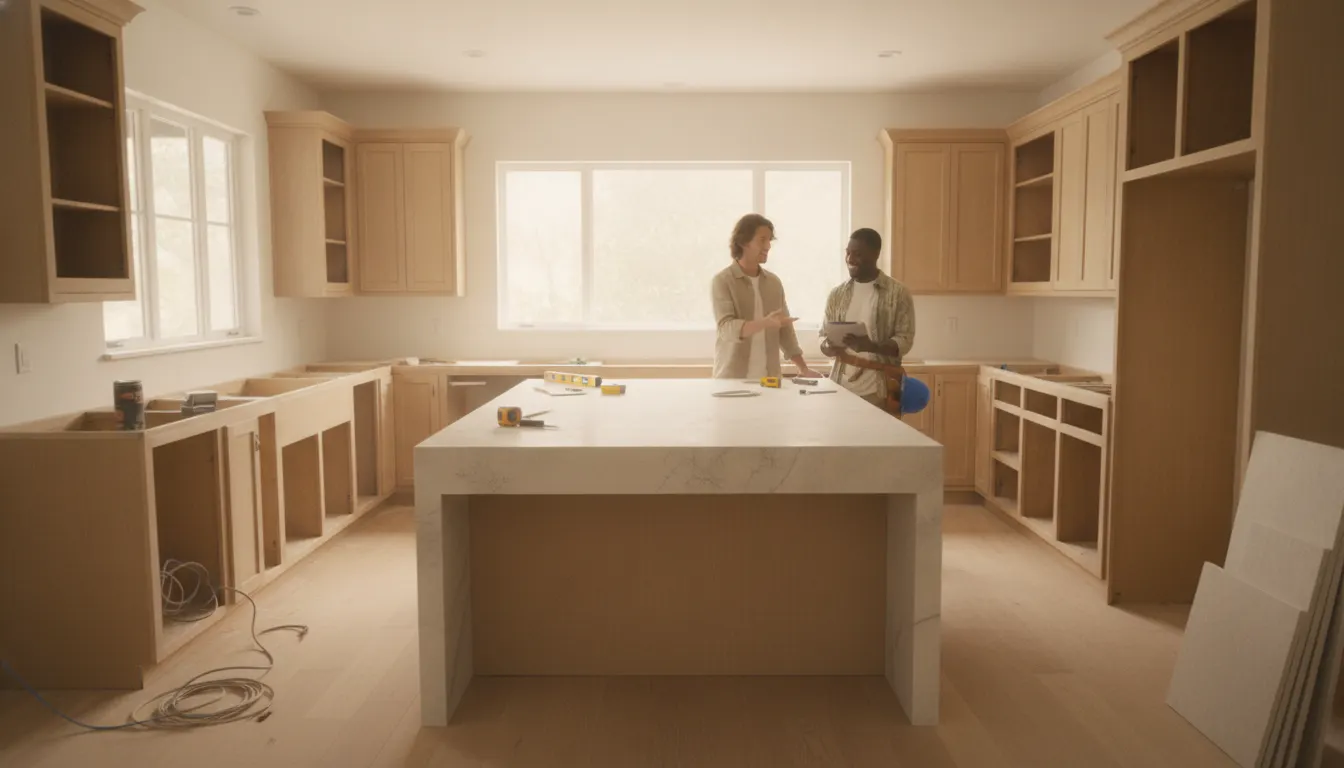
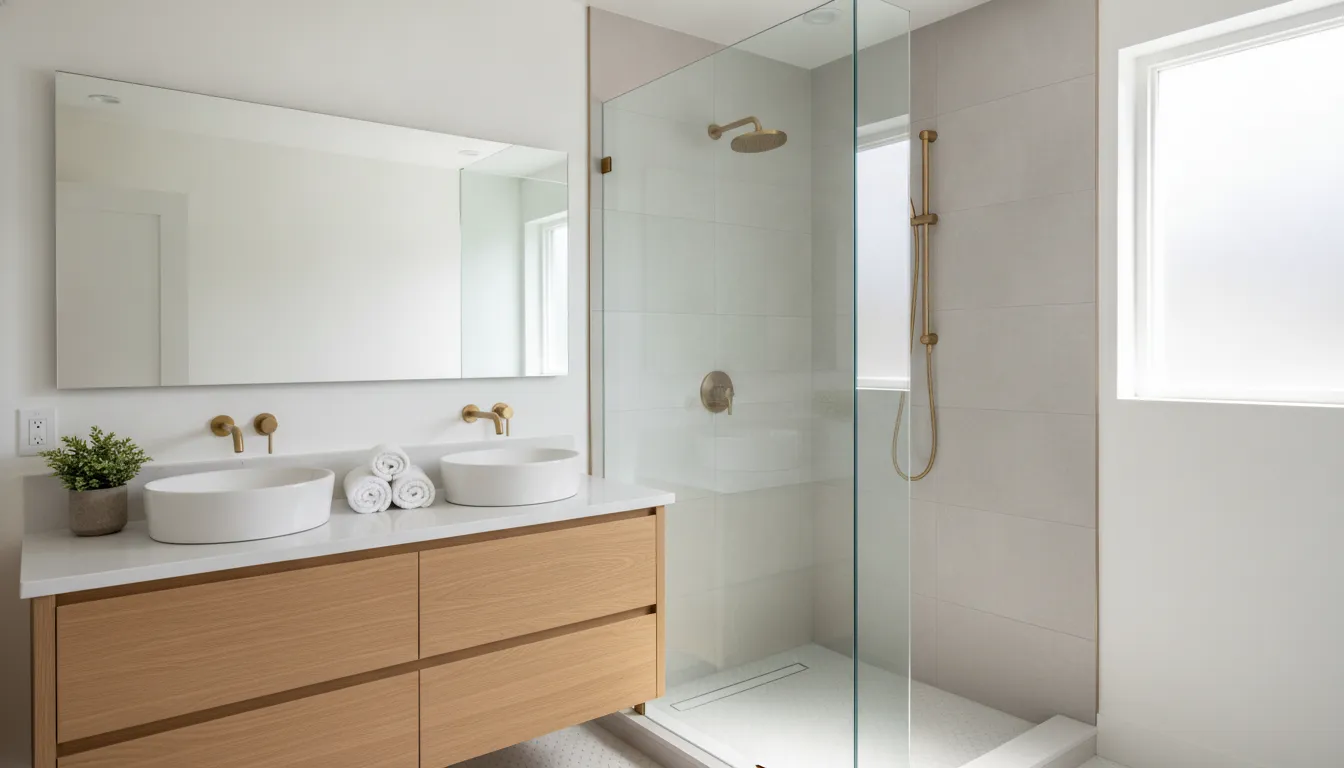
Bathroom Remodel Seattle: Planning, Permits, and Contractor Decisions
Start a bathroom remodel Seattle homeowners can plan with a clear scope, design choices, permit questions, sequencing, and bid comparisons.
|
November 10, 2026

In this article:
For a successful bathroom remodel in Seattle, decide what the room needs to do, verify the permit path before demolition, and compare contractor bids against the same written scope. Older homes, tight footprints, moisture exposure, and changes to plumbing or electrical systems can make a bathroom project more involved than a simple fixture swap. A clear brief and an organized bid process help you protect the parts of the project that matter most without making unsupported assumptions about local rules or costs.
Start my Seattle bathroom remodel plan with a dedicated renovation advisor
Start Your Bathroom Remodel Seattle Project With a Clear Brief
Watch the overview, then use the brief below.
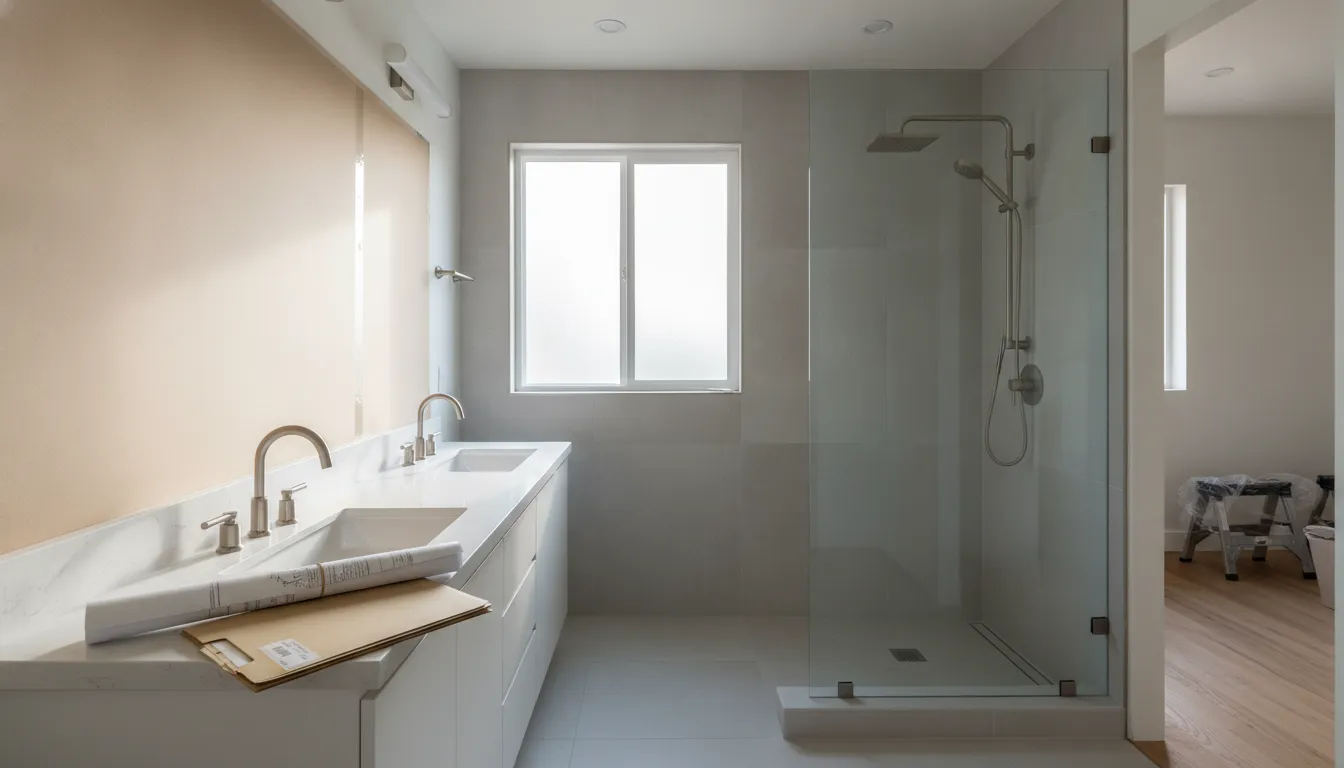
A bathroom brief turns a collection of inspiration images into decisions a designer and contractor can price. It should explain who uses the room, what is not working now, which improvements are essential, and where you are willing to compromise. This planning guide is intentionally narrower than a general Seattle home remodeling guide: the goal here is to make bathroom-specific choices about wet areas, ventilation, storage, lighting, accessibility, and construction coordination.
Separate needs from preferences
Start with the problems that affect daily life. A shower that is difficult to enter, a vanity with no usable storage, poor lighting, recurring moisture, or a toilet location that makes the room feel cramped should be recorded as needs. Preferences include the tile look, faucet finish, cabinet color, mirror shape, and other choices that can change without changing the room's basic function.
Write the brief in three layers: must have, strongly prefer, and optional if the scope allows. This gives the team a decision framework when a wall, drain, or subfloor condition changes the plan. It also reduces the chance that a late finish selection distracts from a more important waterproofing or ventilation decision.
Document the existing room before design
Photograph every wall, the ceiling, the floor, plumbing fixtures, electrical devices, windows, heating equipment, and any visible staining. Measure the room, door swing, window openings, ceiling height, tub or shower footprint, vanity width, and clearances around the toilet. Do not treat these measurements as permit drawings, but do use them to identify questions for the designer or contractor.
Note the age of the home and any history of leaks, soft flooring, mold remediation, or previous repairs. In an older Seattle home, the visible finish may hide a condition that stays unknown until materials are opened. A good scope leaves room for investigation and describes how discoveries will be documented, priced, and approved.
Choose the right level of change
There are three useful scope levels. A surface refresh keeps the layout and most service locations while updating finishes and fixtures. A functional remodel may replace a tub with a shower, improve storage, revise lighting, or update ventilation. A full reconfiguration changes the layout and may involve moving plumbing, opening walls, or coordinating multiple trades.
None of these labels automatically determines the permit requirement. The work inside the scope does. Ask the team which portions are finish work. Also ask which portions alter plumbing, electrical, structure, ventilation, energy use, or the building envelope. This is more useful than calling a project “cosmetic” before the details are known.
Design Decisions That Matter in a Seattle Bathroom
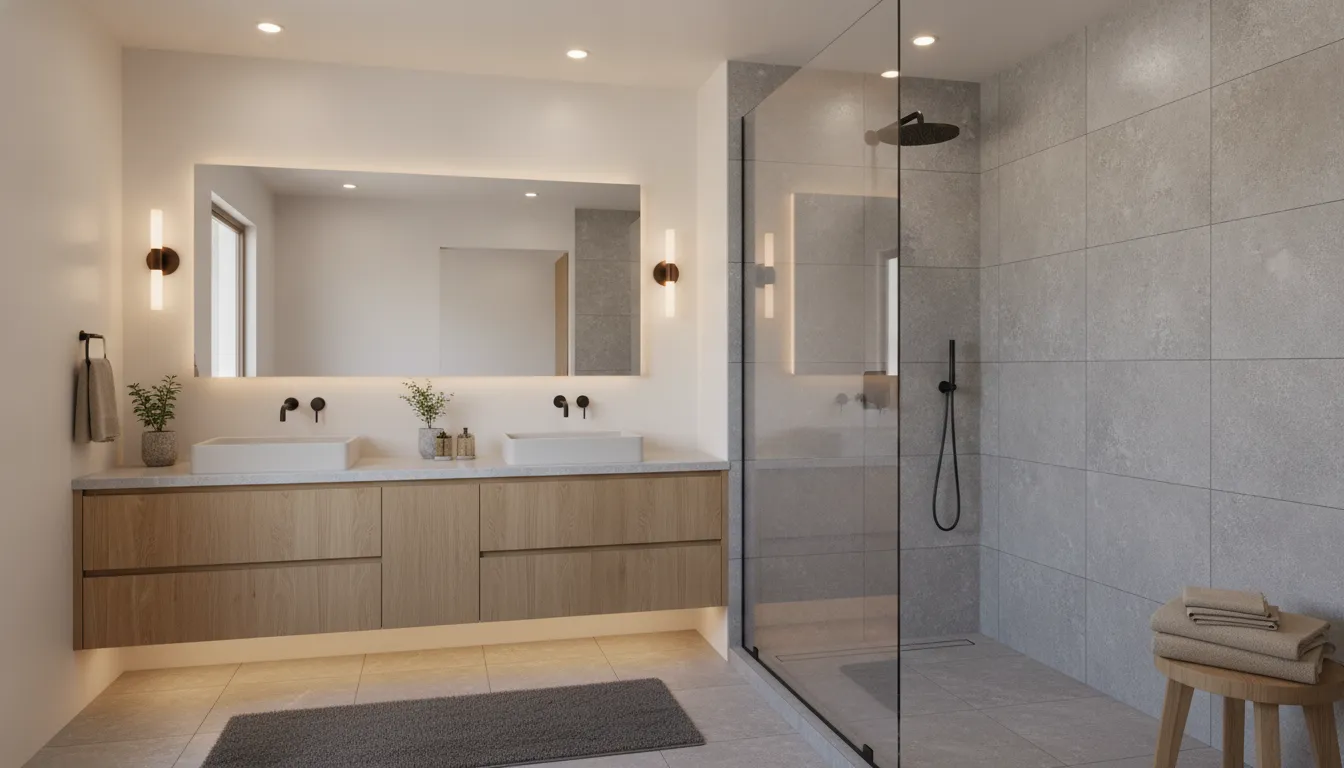
A bathroom design should balance comfort, water management, maintenance, and the practical limits of the existing home. The most attractive room can still be frustrating if the shower is difficult to clean, the vanity blocks circulation, or the storage plan leaves everyday items on the counter.
Plan the layout around movement and water
Map the path from the door to the vanity, toilet, tub, and shower. Consider whether two people can use the room without one person blocking the only clear route. Think about where wet towels land, where a door opens, and how the shower entry works when the floor is damp. If the room is shared, identify whether a second sink, a wider vanity, or a separate toilet zone is worth the space it consumes.
Keep existing drains and supply lines in mind. Do not let them dictate the design before the contractor evaluates the structure. Sometimes a modest layout change improves storage or shower comfort. Sometimes a small shift adds coordination and risk the household does not need.
Specify the wet-area assembly, not just the tile
Tile is the visible finish. The waterproofing assembly behind it is the protection that matters when water reaches the walls and floor. Ask who owns the shower pan, membrane, transitions, niches, bench, curb, and penetrations. Ask what product or system will be used, how seams are treated, and what inspection or documentation is provided.
Keep the question practical rather than assuming that one brand or installation method is right for every project. The contractor should explain how the proposed assembly fits the shower design and substrate. If a bid simply says “tile shower” without describing the waterproofing scope, request clarification before comparing it with another bid.
Design for ventilation, lighting, and storage
Bathrooms need a plan for humidity and visibility. Ask whether the existing exhaust fan serves the room, where it vents, and whether the work affects electrical or mechanical systems. Layer lighting with general illumination, task lighting at the vanity, and a comfortable night-light strategy where appropriate. Place switches and outlets so they work with the new mirror, cabinet, and door swing.
Storage should be sized around actual routines. A shallow medicine cabinet may hold more useful items than a wide open shelf. A vanity drawer plan can separate hair tools, cleaning supplies, and everyday toiletries. Recessed niches can be helpful in a shower, but they require careful waterproofing and should not be added solely because they appear in inspiration photos.
Use materials that fit maintenance and the home
Choose flooring, wall finishes, countertops, cabinet fronts, and hardware as one maintenance plan. Ask how a material handles moisture, cleaners, hair tools, and daily wear. Large-format tile may reduce grout lines. Smaller formats may follow a sloped shower floor more easily. The best selection depends on the installation and the room, not just the sample board.
In a character-rich Seattle home, a bathroom can feel modern without ignoring the architecture. A restrained palette, durable fixtures, and chosen wood tones can connect the room to the house. If an item has a long lead time, name an approved alternate before construction. Do not wait for a delivery problem to stop the schedule.

Seattle Bathroom Remodel Permit Questions to Verify
Permit decisions depend on the actual work, the property, and the authority having jurisdiction. Do not use a generic online checklist as a substitute for project-specific verification. Seattle homeowners can start with Seattle Department of Construction and Inspections permit guidance. Then ask the designer or contractor to identify the correct path for the proposed scope.
Ask what triggers construction or alteration review
Ask whether the project changes walls, framing, floor structure, windows, the building envelope, or the room layout. Ask if that change requires a construction or alteration permit. SDCI's guidance for house additions and remodels explains that remodel work is evaluated against the current requirements that apply to the work being performed. The team should confirm the current interpretation for your project. They should not promise that no permit is needed because the room stays the same size.
Request a written list of permit assumptions in the scope. It should name who prepares drawings, submits applications, answers corrections, and schedules inspections. If the answer is that the homeowner handles it, ask what documents and timing the contractor will provide.
Ask about plumbing and electrical work
Moving a drain, adding a new fixture, changing a water line, or opening a wall around plumbing can change the permit and inspection path. New or altered wiring also deserves a specific question. Seattle's electrical permit guidance says a permit is needed when wiring is installed, altered, extended, or connected. Applicable rules and exceptions still apply.
Ask who will pull each required trade permit and whether the person doing the work is properly licensed for that scope. Clarify how the bid handles a new fan, heated floor, vanity outlet, lighting circuit, or service change. A vague electrical allowance is hard to compare. Ask the contractor to describe that work before you compare totals.
Check property-specific complications
Condominiums, townhomes, designated properties, and homes in critical areas may need extra review. Unusual site conditions can add approval steps too. A bathroom renovation may also interact with building-wide plumbing, shared walls, fire separation, or association rules. Ask early whether the property has restrictions outside the ordinary contractor scope.
Keep the current source of truth in the project file. Rules, forms, fees, and review steps can change. Past experience is not a guarantee for today's application. The permit conversation should not predict an approval date. It should expose assumptions before demolition and set a sequence for design, submission, review, and construction.
Build inspections into the sequence
Ask which inspections are expected and at what stage the work must pause for them. Confirm who requests the inspection, who attends, and what happens if a correction is issued. Do not cover work that must stay visible for inspection just because the finish schedule is tight. The bid should acknowledge that inspection timing can affect sequencing.
For a starting point, review SDCI's house additions and remodels guidance. Use it to form questions, not to self-certify a bathroom project. Your design and construction team should verify the final path for the specific scope.
Bathroom Remodel Project Sequencing: What Happens First?
Sequencing is the bridge between a good design and a controlled build. A bathroom has a small footprint, but many trades depend on one another. Finish selections, permit questions, lead times, and demolition discoveries all need a place in the plan. So do rough plumbing, electrical, ventilation, waterproofing, tile, cabinetry, glass, and final fixtures.
- Confirm scope, field conditions, and design.
- Set the permit path and order long-lead items.
- Protect the home, demolish, and investigate.
- Complete rough work, inspections, and waterproofing.
- Install finishes and close out the project.
1. Scope, field verification, and design
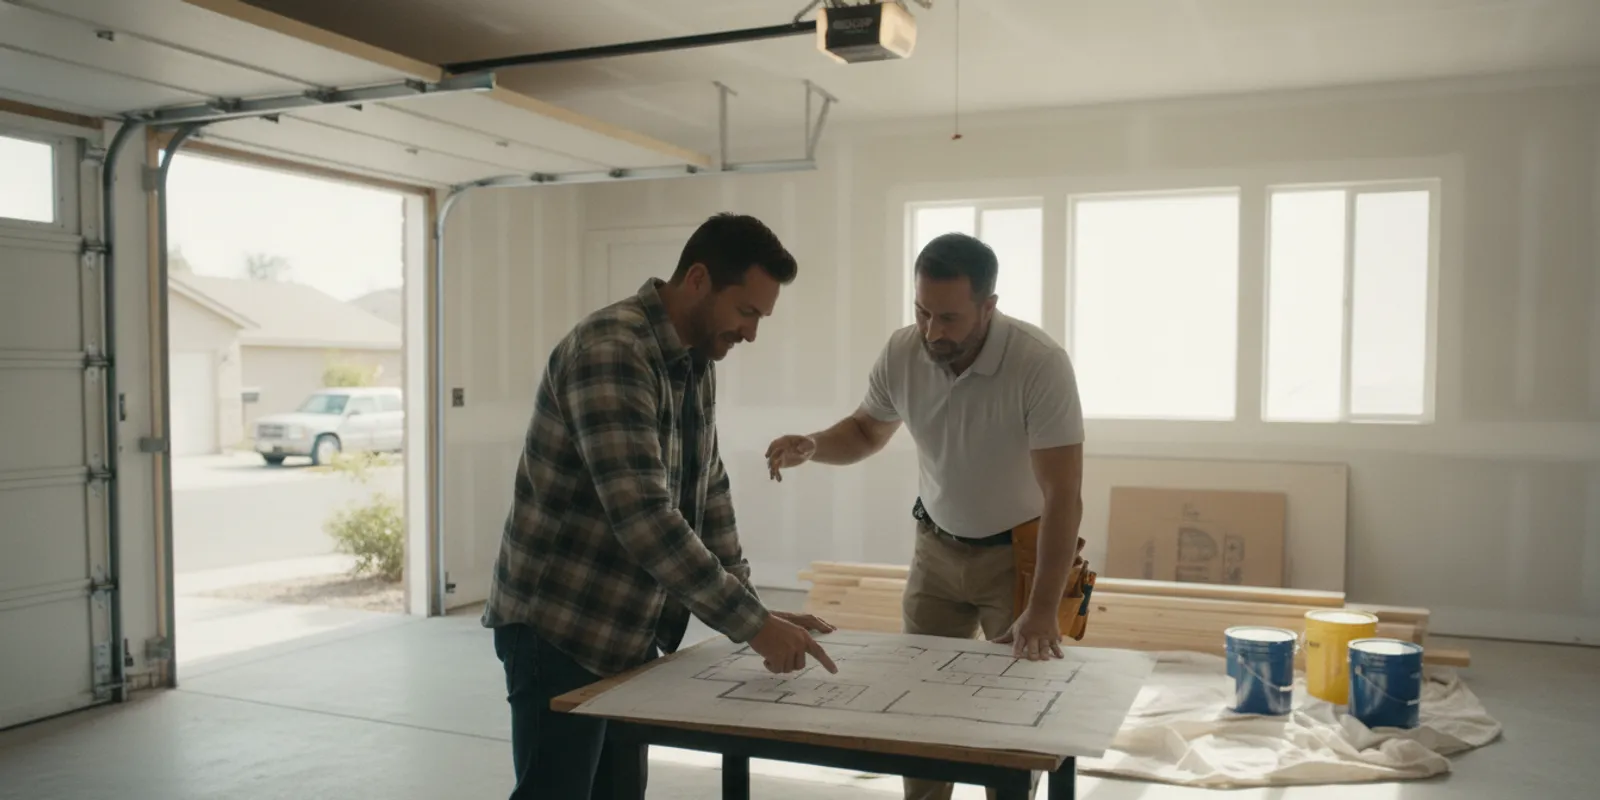
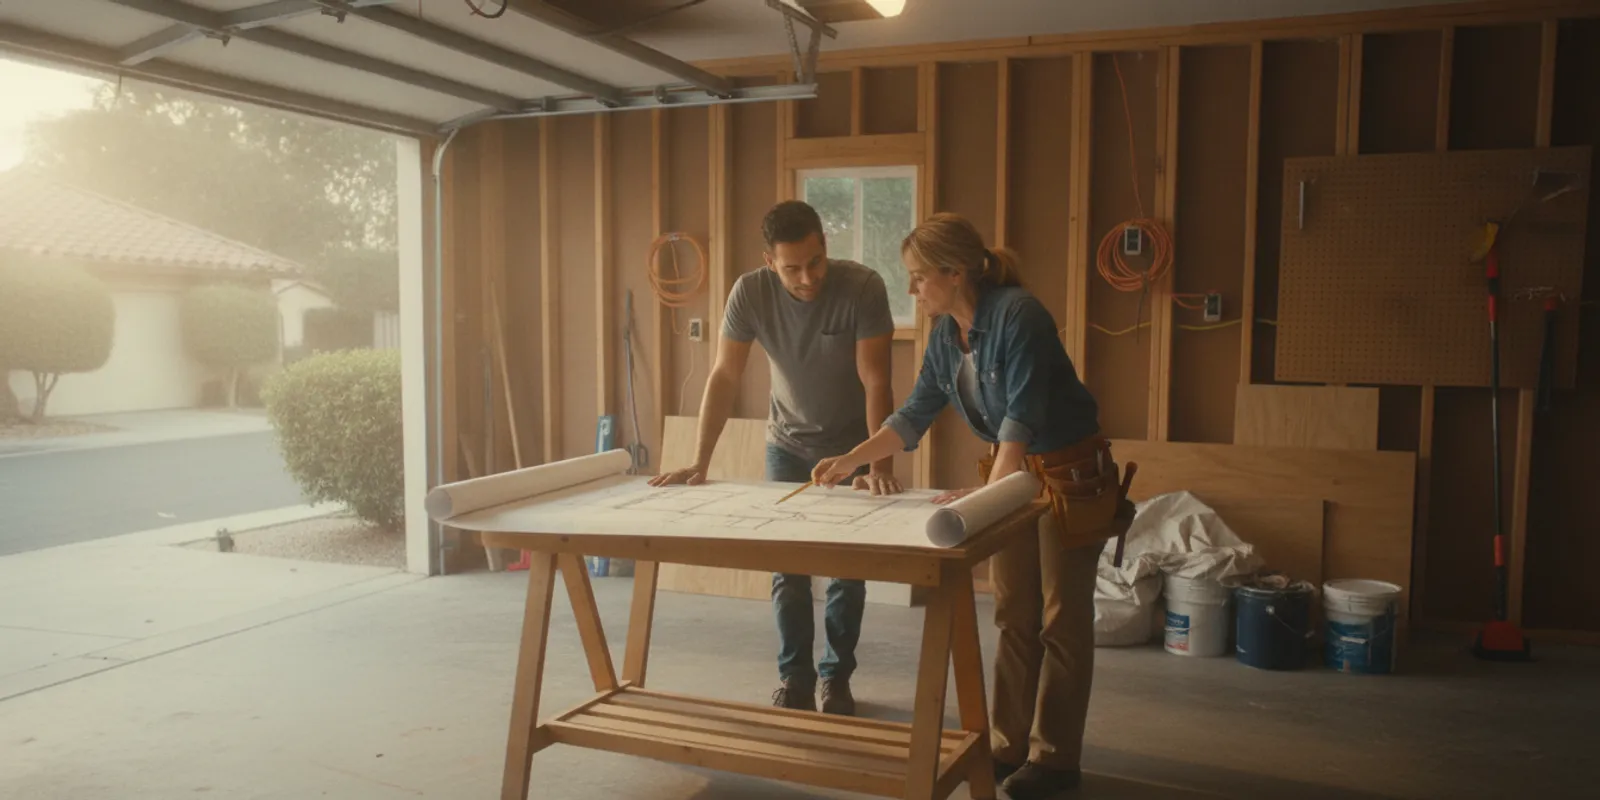
Begin with the brief, measurements, photos, and a field visit. Confirm the layout, fixture locations, storage, lighting, ventilation, materials, and access goals. Resolve questions that require opening walls or reviewing structure before final pricing whenever you can. Decisions made before bids make it easier to compare contractors on the same work.
2. Permit review and procurement
Once the scope is defined, confirm the permit strategy and order items with meaningful lead times. That may include specialty tile, a vanity, a shower enclosure, fixtures, lighting, a fan, and custom glass. The contractor should identify which items must arrive before rough-in or installation. Do not approve a “similar” substitution without checking dimensions, connection requirements, warranty, and the design intent.
3. Protection, demolition, and investigation
Before demolition, agree on dust control, access, and protection of nearby rooms. Also agree on debris removal, water shutoff, and how the home stays usable. After finishes come off, the team can verify framing, subfloor, plumbing, wiring, and moisture. If a discovery changes the plan, ask for photos and a written change description. Get the cost and schedule effect before you authorize the work.
4. Rough work, inspections, and waterproofing
Rough plumbing, electrical, ventilation, framing corrections, and substrate work happen before the room is closed. Required inspections should occur at the appropriate stage. Waterproofing and its transitions then become the foundation for the wet-area finish. Ask how the room stays protected while work continues. Also ask how waterproofing is checked before tile covers it.
5. Finishes, fixtures, and closeout
Tile, grout, paint, cabinetry, counters, mirrors, lighting, fixtures, accessories, and glass go in a set order. At closeout, test every fixture, drain, switch, fan, outlet, door, drawer, and seal. Collect the records before the crew leaves. Collect care instructions, product information, warranties, permit records, inspection sign-offs, and a written punch list. A photo record behind walls and below fixtures can also help with future maintenance.
For more general preparation, the bathroom remodel checklist can help organize early decisions. If the scope grows into several rooms, compare it with Realm's major renovation timeline guide. Do not use a whole-home sequence in place of the bathroom plan above.
How to Compare Bathroom Remodel Contractor Bids in Seattle
Invite contractors to price the same written scope, drawings, finish schedule, and assumptions. The lowest number may reflect exclusions, not efficiency. The most useful bid shows what is included, what is provisional, and what could change after demolition.
Use a bid comparison table
| Bid area | What to compare | Question to ask |
|---|---|---|
| Scope and layout | Demolition, framing, layout changes, protection, cleanup | Does this include the full work shown in the plan and site notes? |
| Plumbing and electrical | Fixture locations, rough-in, circuits, fan, outlets, testing | Which trade permits and inspections are included, and who handles them? |
| Waterproofing and tile | Shower pan, membrane, niches, substrate, tile setting, grout | What assembly is proposed, and how will it be checked before covering? |
| Materials and allowances | Fixtures, vanity, tile, glass, hardware, delivery, taxes | Which selections are firm prices and which are allowances? |
| Schedule and procurement | Start conditions, lead times, milestones, inspection holds | What must be selected or delivered before each phase begins? |
| Changes and closeout | Change-order method, warranty, punch list, records | How will an unexpected condition be documented and approved? |
Look for completeness, not just a total
Read every exclusion. One bid may include a vanity, mirror, fan, permit coordination, and final cleaning. Another may leave those items to the homeowner. One may include substrate repair up to a defined allowance. Another may only say the work is as needed. Normalize the bids before deciding which total is lower.
Also check whether the contractor priced the actual selections. An allowance can be reasonable, but it is not the same as a confirmed price. Ask what happens if a fixture costs more, arrives damaged, or needs a different connection. Clarify whether the contractor's markup, delivery, and return handling apply.
Evaluate communication and responsibility
Ask who is your day-to-day contact and who coordinates subcontractors. Also ask who handles permit corrections and the final quality check. Request references for similar bathroom work rather than only broad remodeling projects. You want evidence of careful wet-area work, respectful jobsite management, and clear handling of changes.
A contractor should explain uncertainty without turning every unknown into an open-ended blank check. A useful contingency talk names what stays unknown until demolition, how it will be measured, and who must approve the response. That is more useful than a confident promise that no surprises will occur.
Make the decision on fit and value
After normalizing bids, compare scope, exclusions, schedule, management, relevant experience, and contract clarity. Consider whether the contractor understands the home's constraints and your priorities. If one bid is materially different, ask the contractor to walk through the difference rather than negotiating from a single number.
Realm's line-by-line contractor bid guide adds structure for the comparison. The point is not to turn a homeowner into a construction estimator. It is to make the decision understandable enough that you can choose with confidence.
Discuss your Seattle bathroom project before you request contractor bids
Frequently Asked Questions
Do I need a permit for a bathroom remodel in Seattle?
It depends on the work. Finish changes, plumbing, electrical, ventilation, framing, layout changes, and property conditions may be treated differently. Start with current SDCI guidance. Ask the project team to verify the permit and inspection path for your scope. Do not rely on the label “cosmetic” alone.
Should I get a design before asking for contractor bids?
If the project changes layout, plumbing, electrical, wet-area construction, or built-in storage, a written design usually makes bids easier to compare. You do not need every accessory selected to start. Functional decisions and major finish assumptions should still be clear.
How many bathroom remodel bids should I compare?
Compare enough qualified options to see the range of approaches. Keep the scope consistent. The quality of the comparison matters more than a fixed number. A smaller set of complete bids is more useful than many totals with different exclusions.
What should I do if demolition reveals water damage?
Pause the affected work. Document the condition with photos and ask for a written change description. Confirm the repair method, cost, schedule effect, and any permit question before you authorize the change. Do not cover an unresolved moisture or structural issue to protect the original schedule.
Plan Your Seattle Bathroom Remodel With Confidence
A well-planned bathroom remodel starts with a specific brief, not a contractor total. Define the problems and verify the permit questions. Choose materials that fit the room, sequence work around inspections and lead times, and compare bids line by line. That process gives you a stronger basis for decisions. It also leaves room for conditions that appear only during construction.
Realm Living helps homeowners organize renovation decisions, develop a project plan, and connect with contractors for the work ahead. Start your renovation plan when you are ready to turn your bathroom goals into a clearer next step.