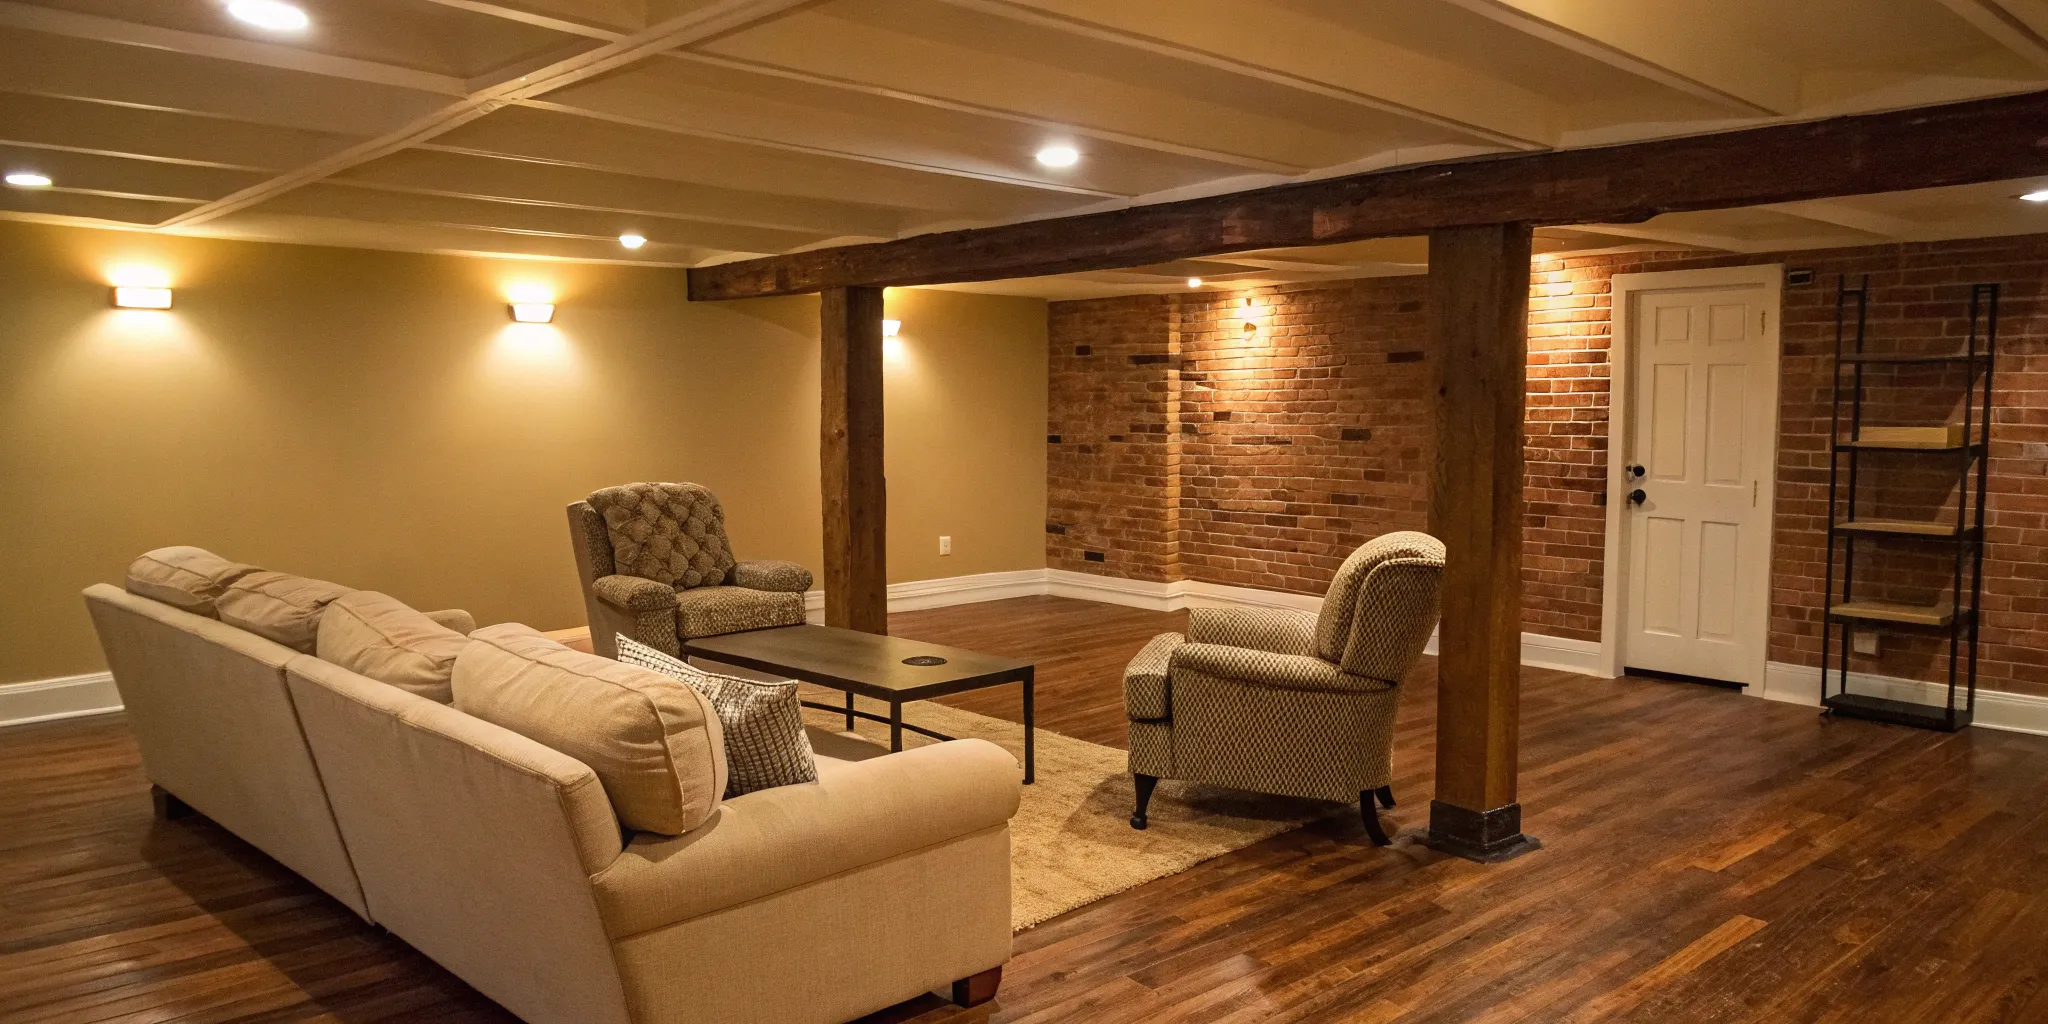
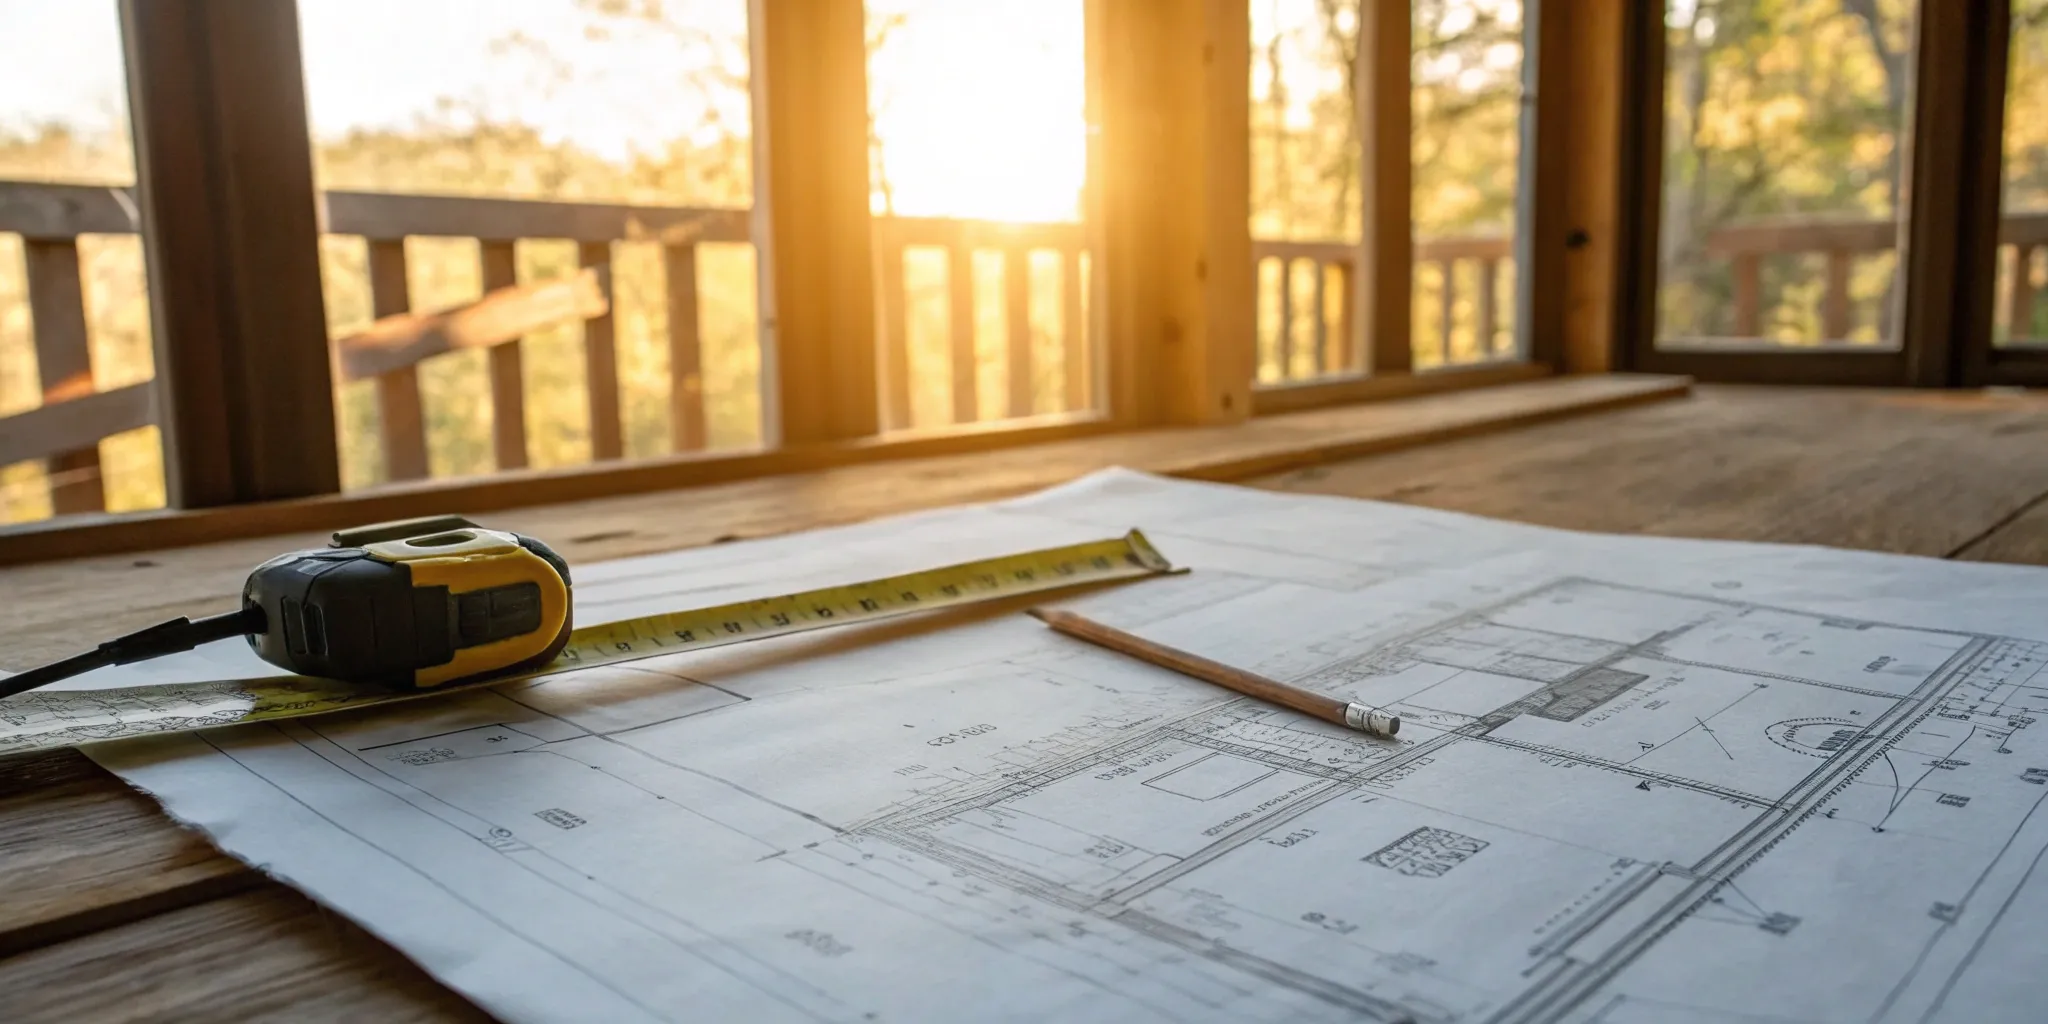
Basement Finishing Costs: Your Complete Guide
Get a clear breakdown of basement finishing cost, key factors that affect your budget, and practical tips to plan your basement renovation with confidence.
|
January 16, 2026

In this article:
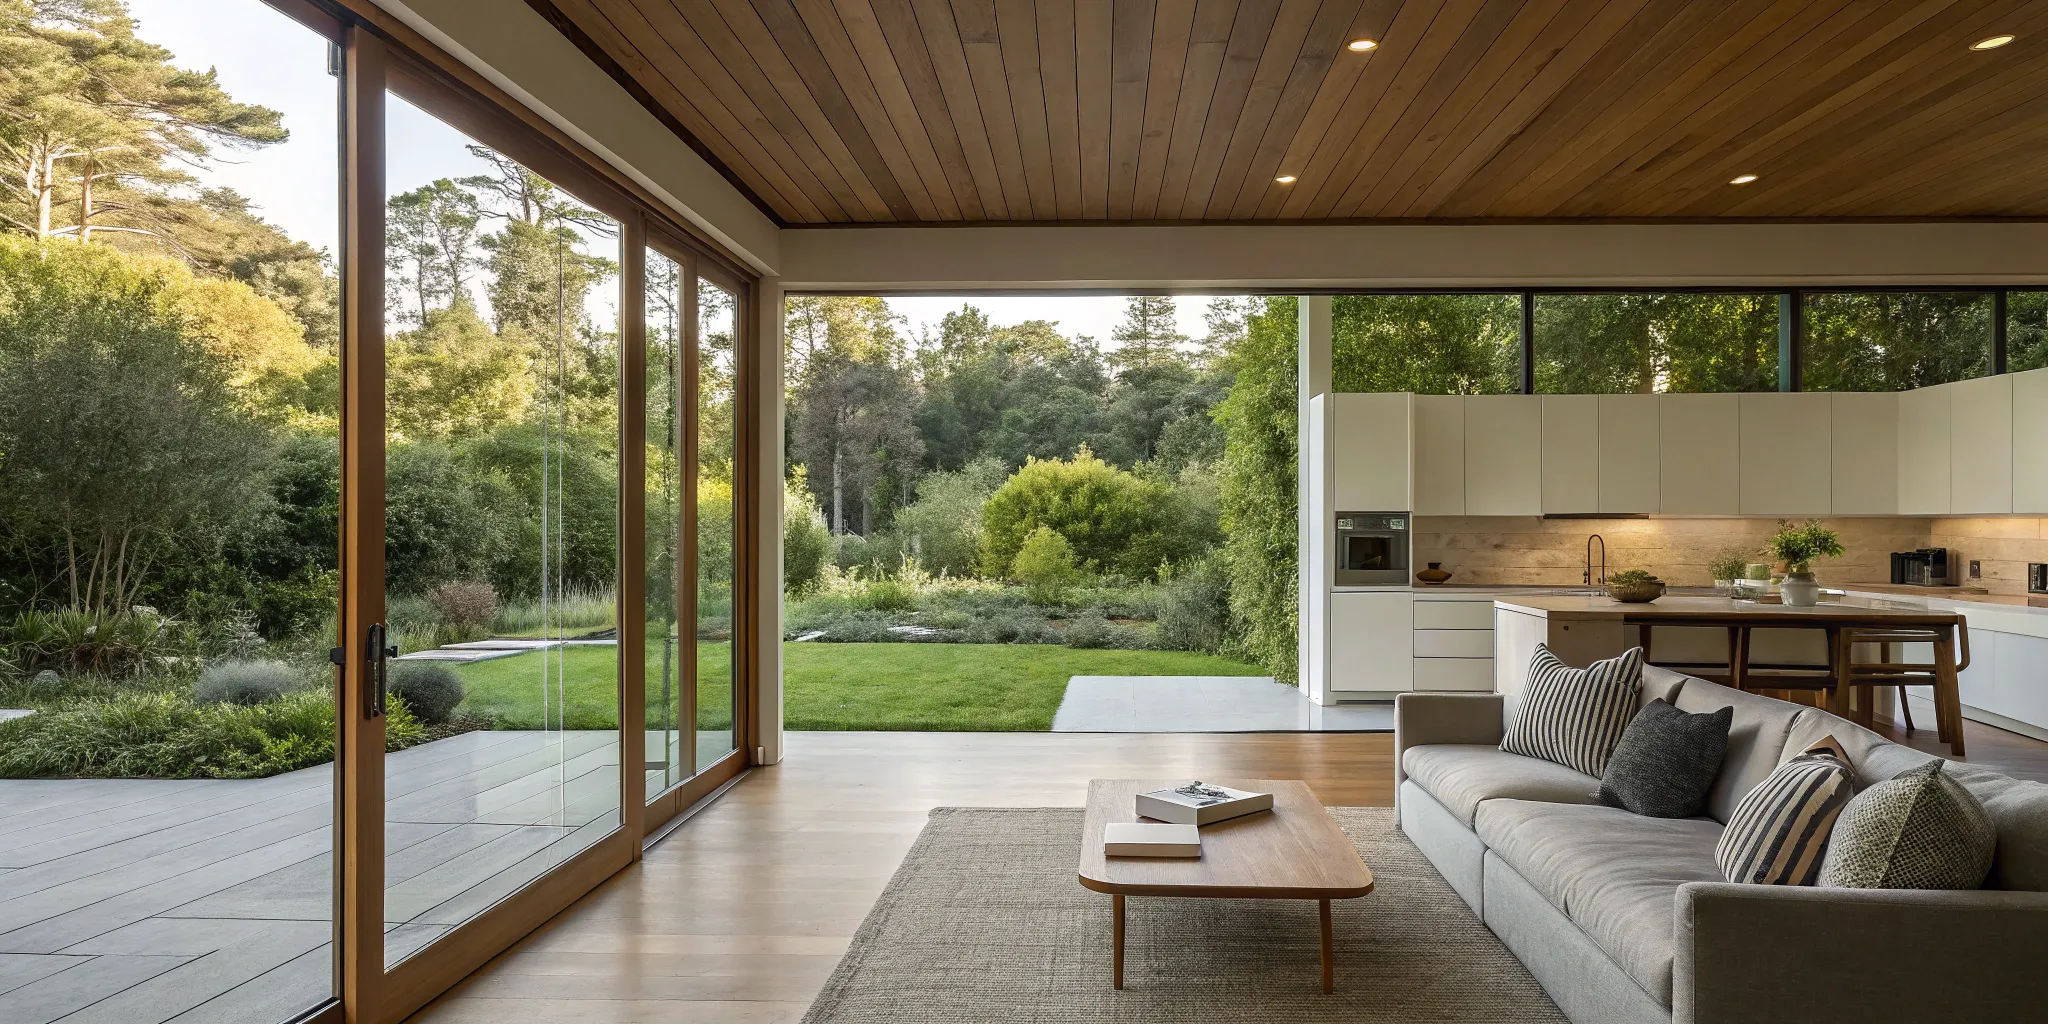
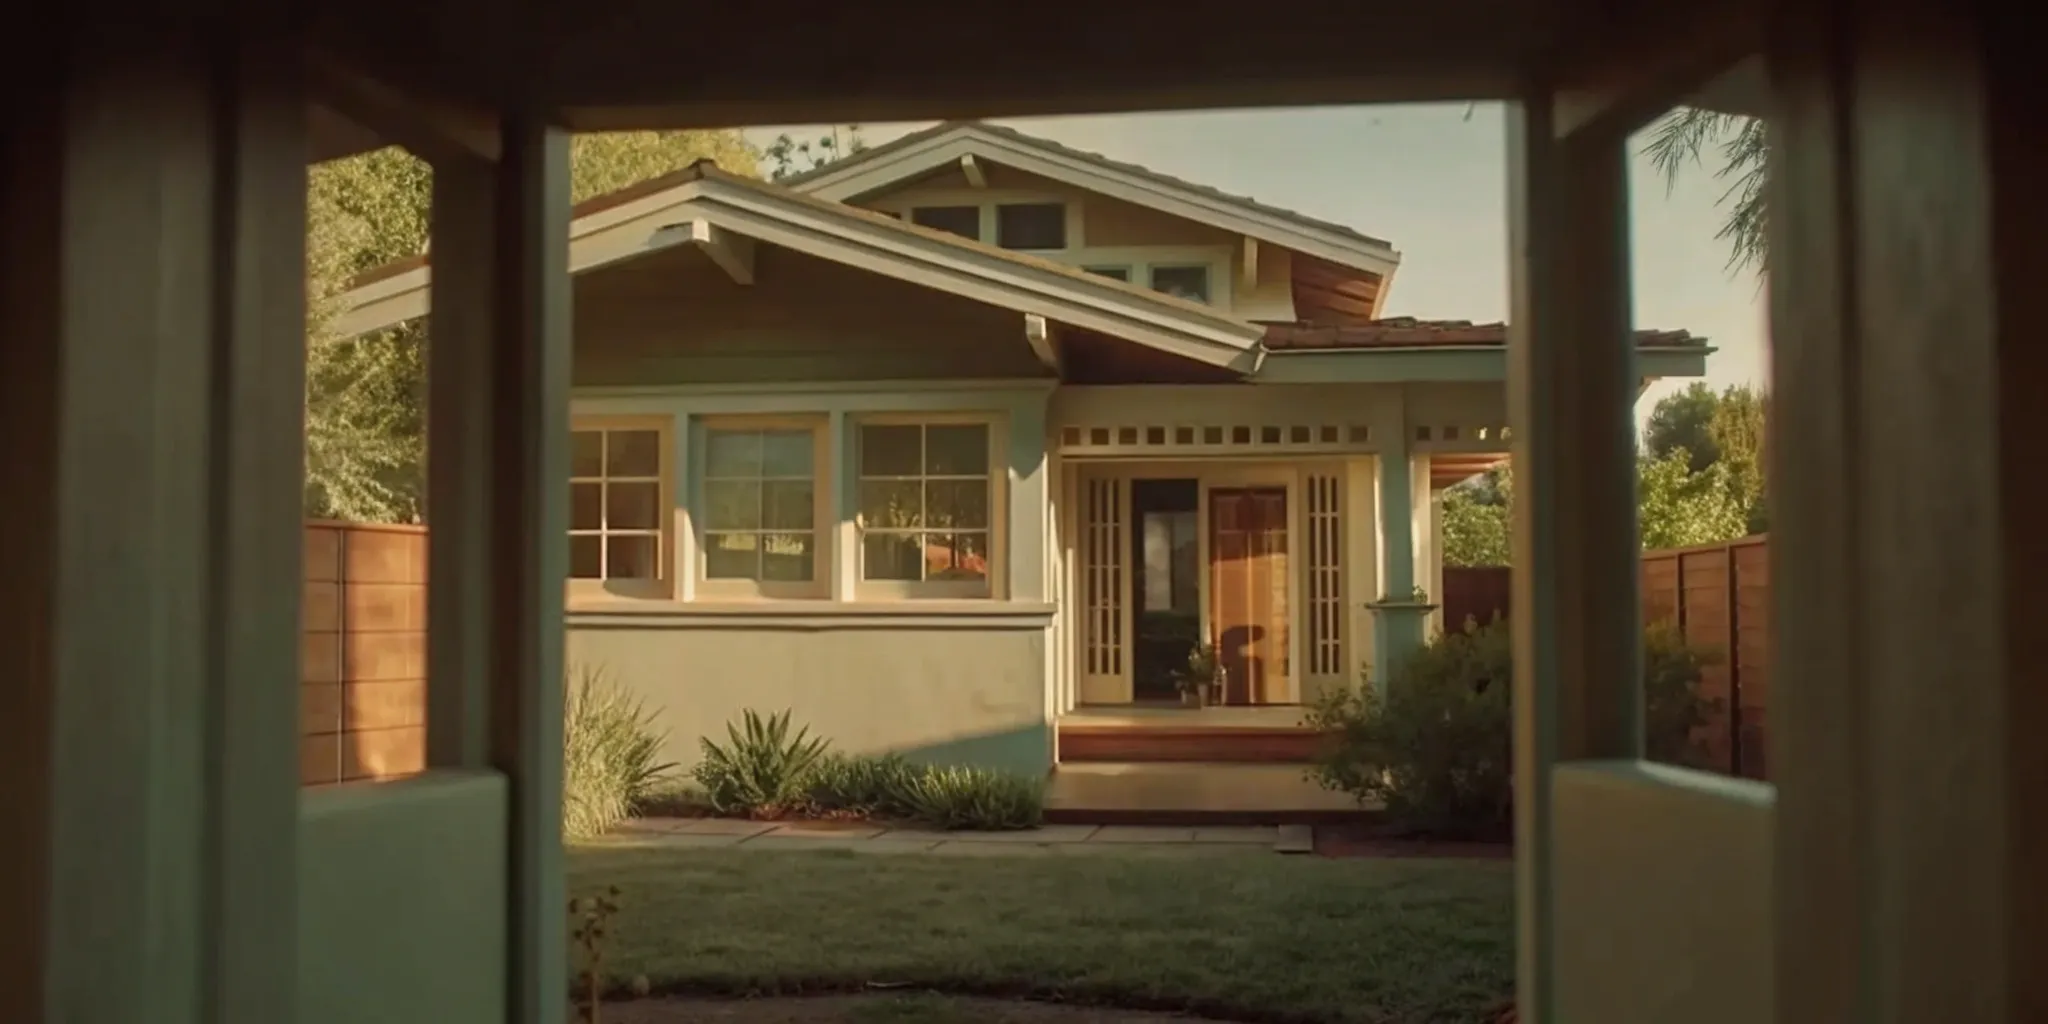
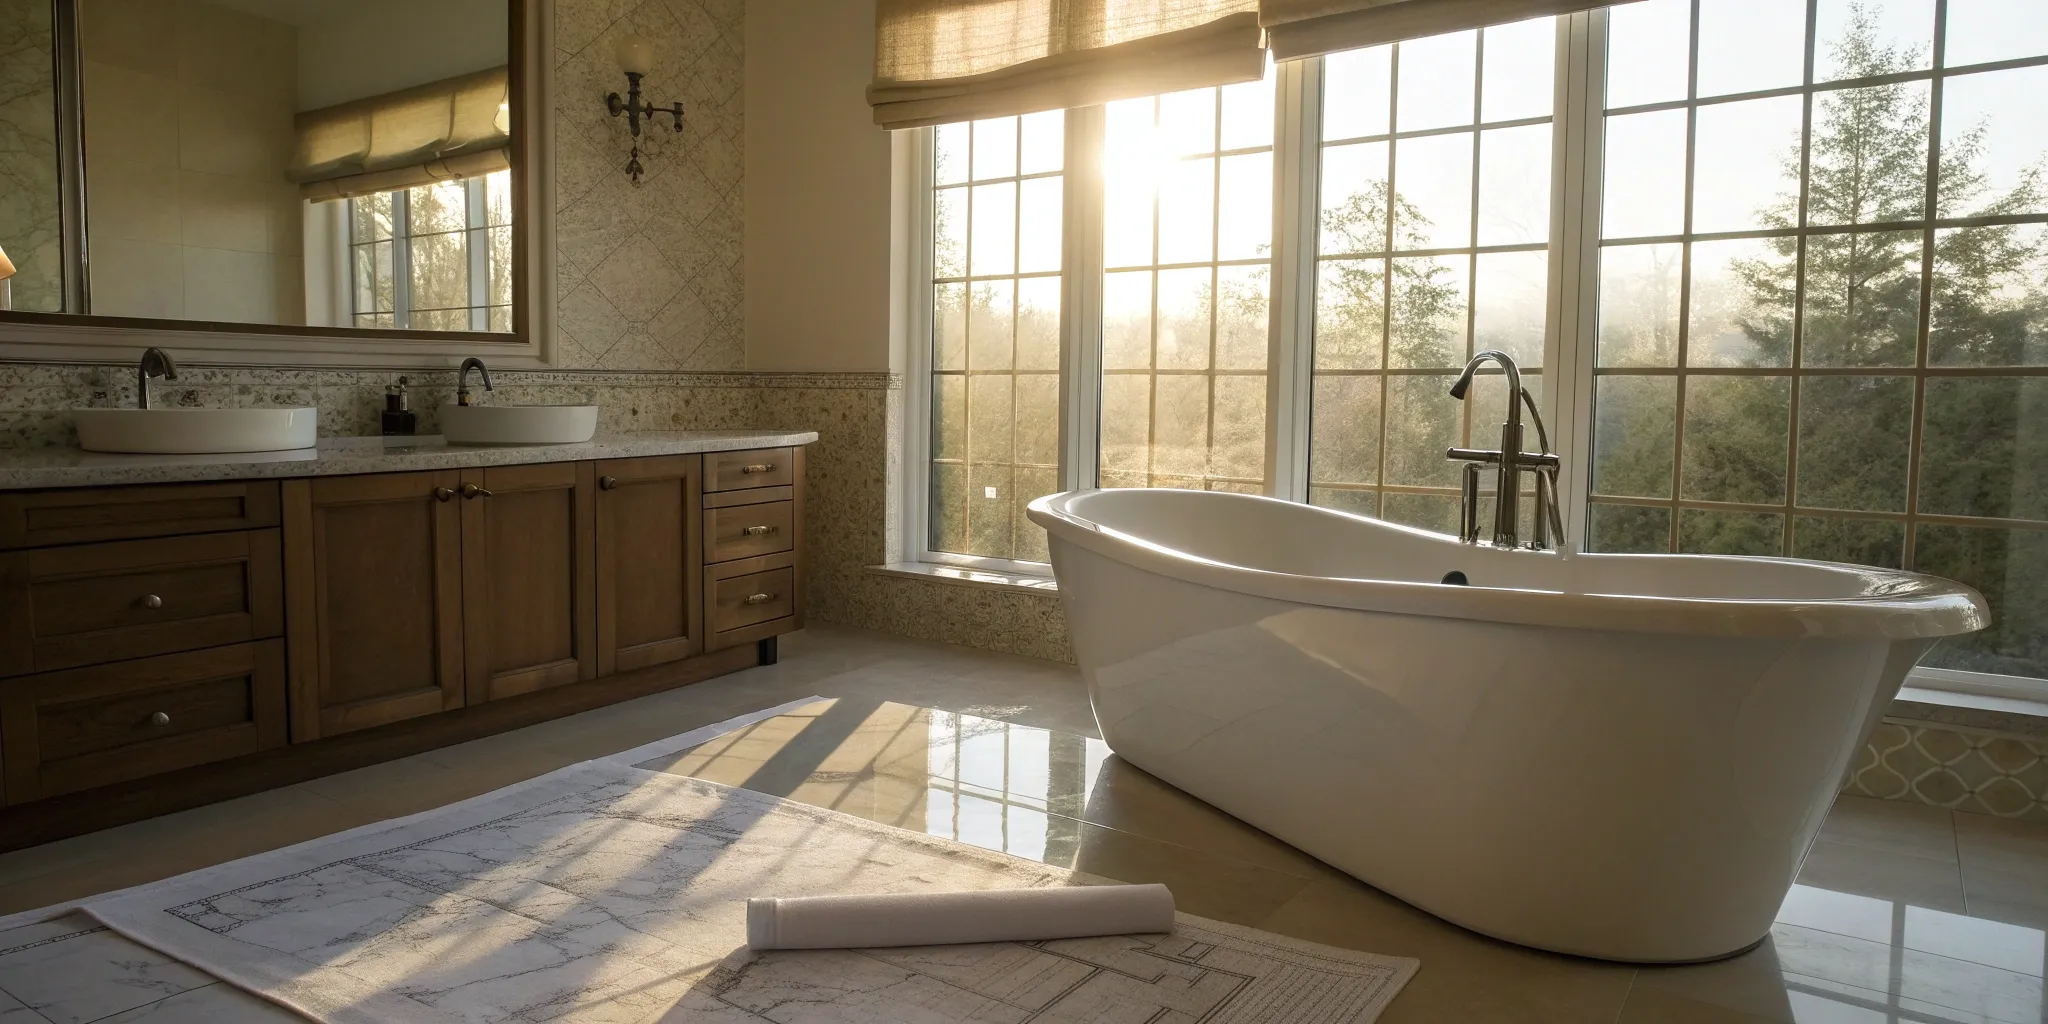
Your basement is more than just a place for storage; it’s a blank canvas waiting to become a valuable part of your home.
Whether you’re dreaming of a cozy family room, a quiet home office, or the ultimate entertainment space, the first step is figuring out the budget.
The basement finishing cost is a mix of many different factors, including the condition of your space, the materials you choose, and the professionals you hire.
This guide is designed to walk you through every expense, big and small, so you can transform that unused square footage into a space you’ll love for years to come.
Key Takeaways
- Your budget is more than just finishes: The final cost is shaped by your basement's size and design choices, but the most critical expenses are often the ones you can't see. Prioritize a dry foundation, proper electrical systems, and a contingency fund before you pick out paint.
- Make smart decisions to stay on budget: You can manage your spending without sacrificing your vision. Choose cost-effective materials, consider completing the project in phases to spread out the expense, and decide which tasks you can realistically DIY.
- Invest time in finding the right contractor: The success of your project depends on who you hire. Protect your investment by getting multiple itemized bids, carefully reviewing the contract, and agreeing on a clear timeline and milestone-based payment schedule before work starts.
How Much Does It Cost to Finish a Basement?
Let’s get straight to the big question: What’s the price tag for finishing your basement? The honest answer is that it varies—a lot.
The final cost depends on the size of your space, what you want to do with it, and where you live. Think of it less as a fixed price and more as a range that you can influence with your decisions.
On average, homeowners spend around $32,000 to finish their basement, but projects can range from a simple $2,800 update to a full-scale remodel costing over $100,000.
Understanding the typical costs, how your location plays a role, and the potential return on your investment is the first step in creating a realistic budget.
From there, you can work with an expert advisor to tailor a plan that fits your goals and your wallet.
Typical Cost Ranges
To give you a more concrete idea, let's look at the numbers on a smaller scale.
For a standard 1,000-square-foot basement, you can generally expect the cost to fall between $7,000 and $23,000. This breaks down to roughly $7 to $23 per square foot.
This price range typically covers the basics: framing, drywall, simple flooring, and electrical work. Of course, if you’re planning to add a bathroom, a wet bar, or high-end finishes, your costs will move toward the higher end of that spectrum.
These figures are a great starting point for your initial budget planning.
How Location Affects Your Price
Where you live has a major impact on your total project cost. Labor and material costs vary significantly from one city to another. In areas with a higher cost of living, like many of the communities in California and Washington, you can expect to pay more for skilled labor.
Beyond that, your local housing market influences the value a finished basement adds. In expensive real estate markets, adding finished, usable square footage is a huge plus and can significantly increase your home's appeal. In areas with lower home values, the return might not be as dramatic, but it still adds valuable living space for your family.
The ROI of a Finished Basement
Finishing your basement isn't just about creating a new room to enjoy but also a solid financial investment. On average, homeowners can expect to recoup about 70% of what they spend on a basement remodel when they sell their home.
In some cases, a finished basement can increase your home's total value by as much as 10%. This makes it one of the smarter home improvement projects you can take on. You get to enjoy a beautiful new space—whether it's a home gym, an office, or a family room—while also building equity in your property for the future.
Key Factors That Influence Your Budget
When you start thinking about finishing your basement, the first question is usually, "How much will this cost?"
The truth is, there's no single answer. The final price tag is a mix of several important factors, from the size of your space to the finishes you choose.
Understanding these key elements will help you create a realistic budget and make informed decisions along the way. Think of it less as a fixed price and more as a custom quote built just for your home and your vision. Let's break down exactly what will shape your project's costs.
Size and Layout
It makes sense that the bigger your basement, the more it will cost to finish. More square footage requires more materials—from drywall and flooring to paint and lighting—and more hours of labor to get the job done.
The average cost to finish a basement can range from $7 to $23 per square foot. Your layout also plays a big role. An open-concept media room or playroom will generally be less expensive than a layout with multiple rooms, like a bedroom and a bathroom, which requires extra framing, doors, and more complex electrical work.
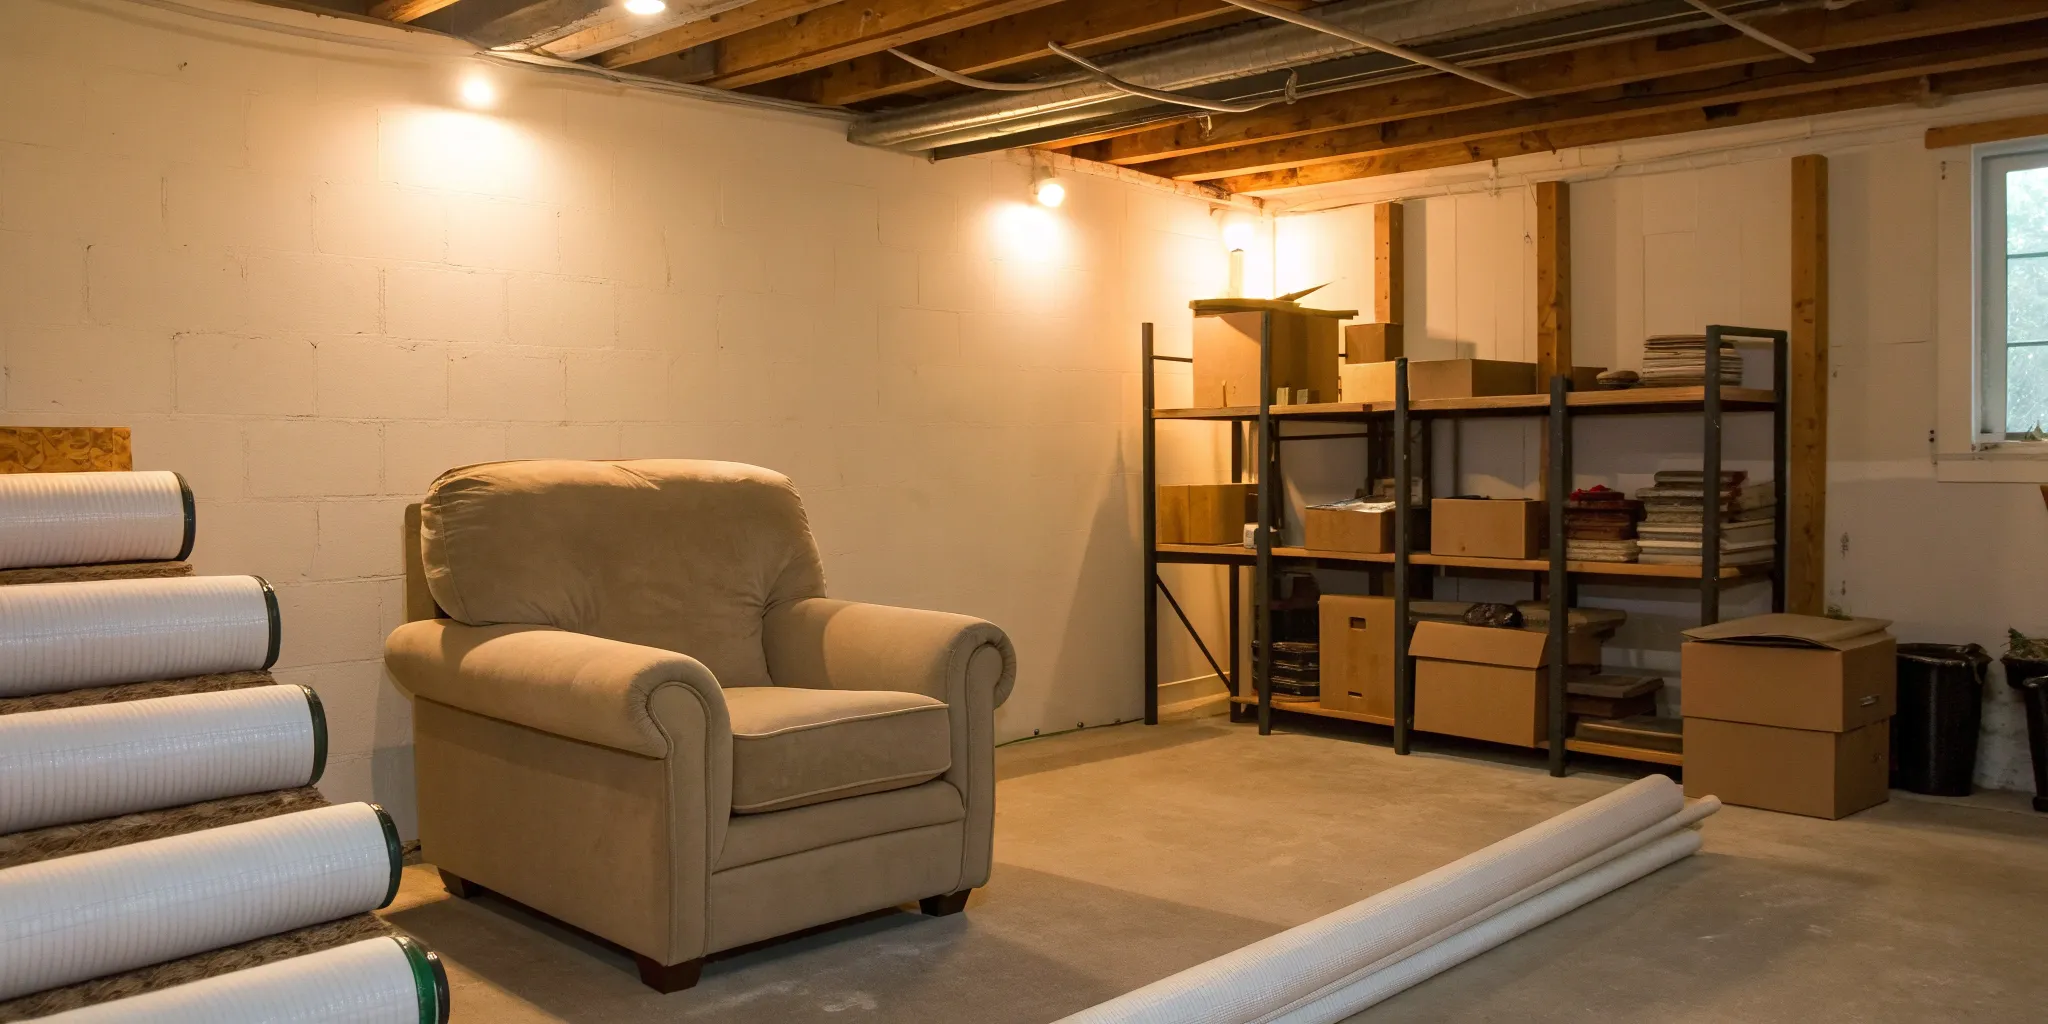
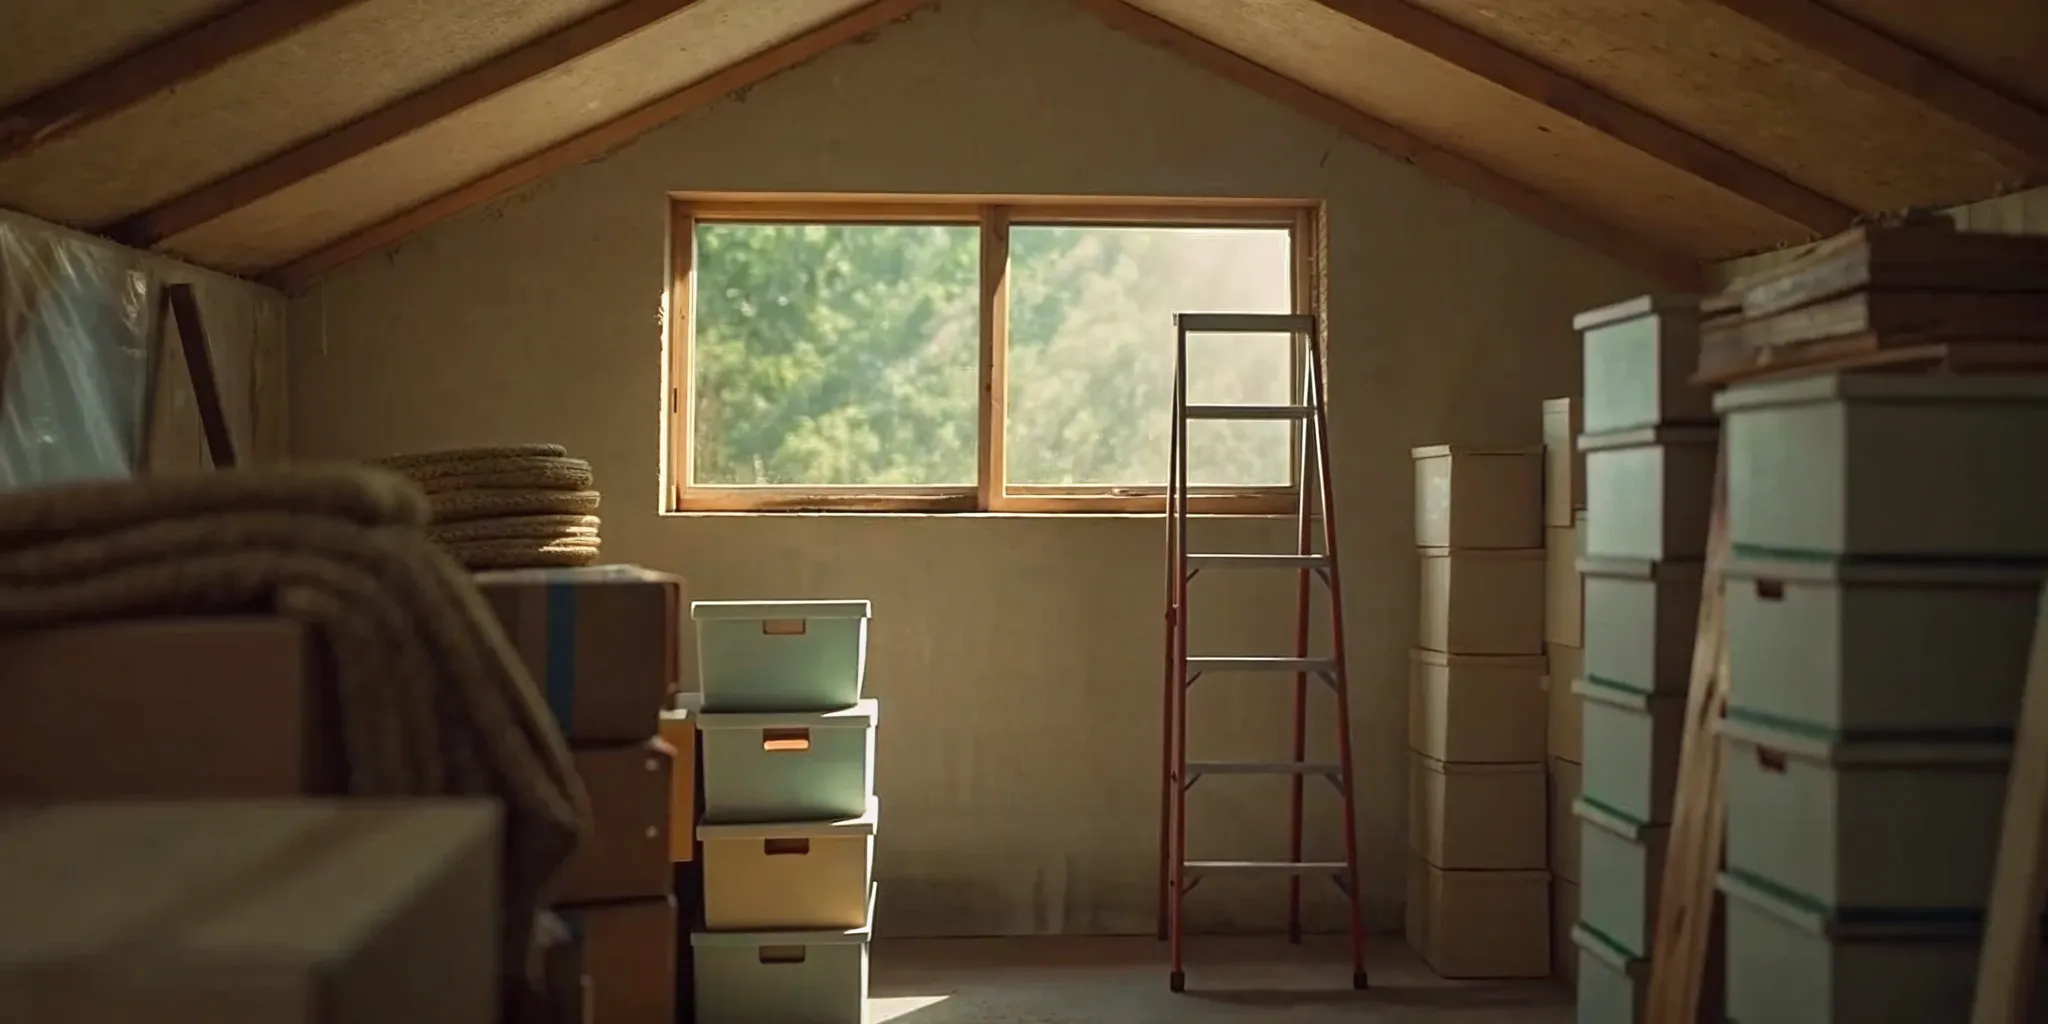
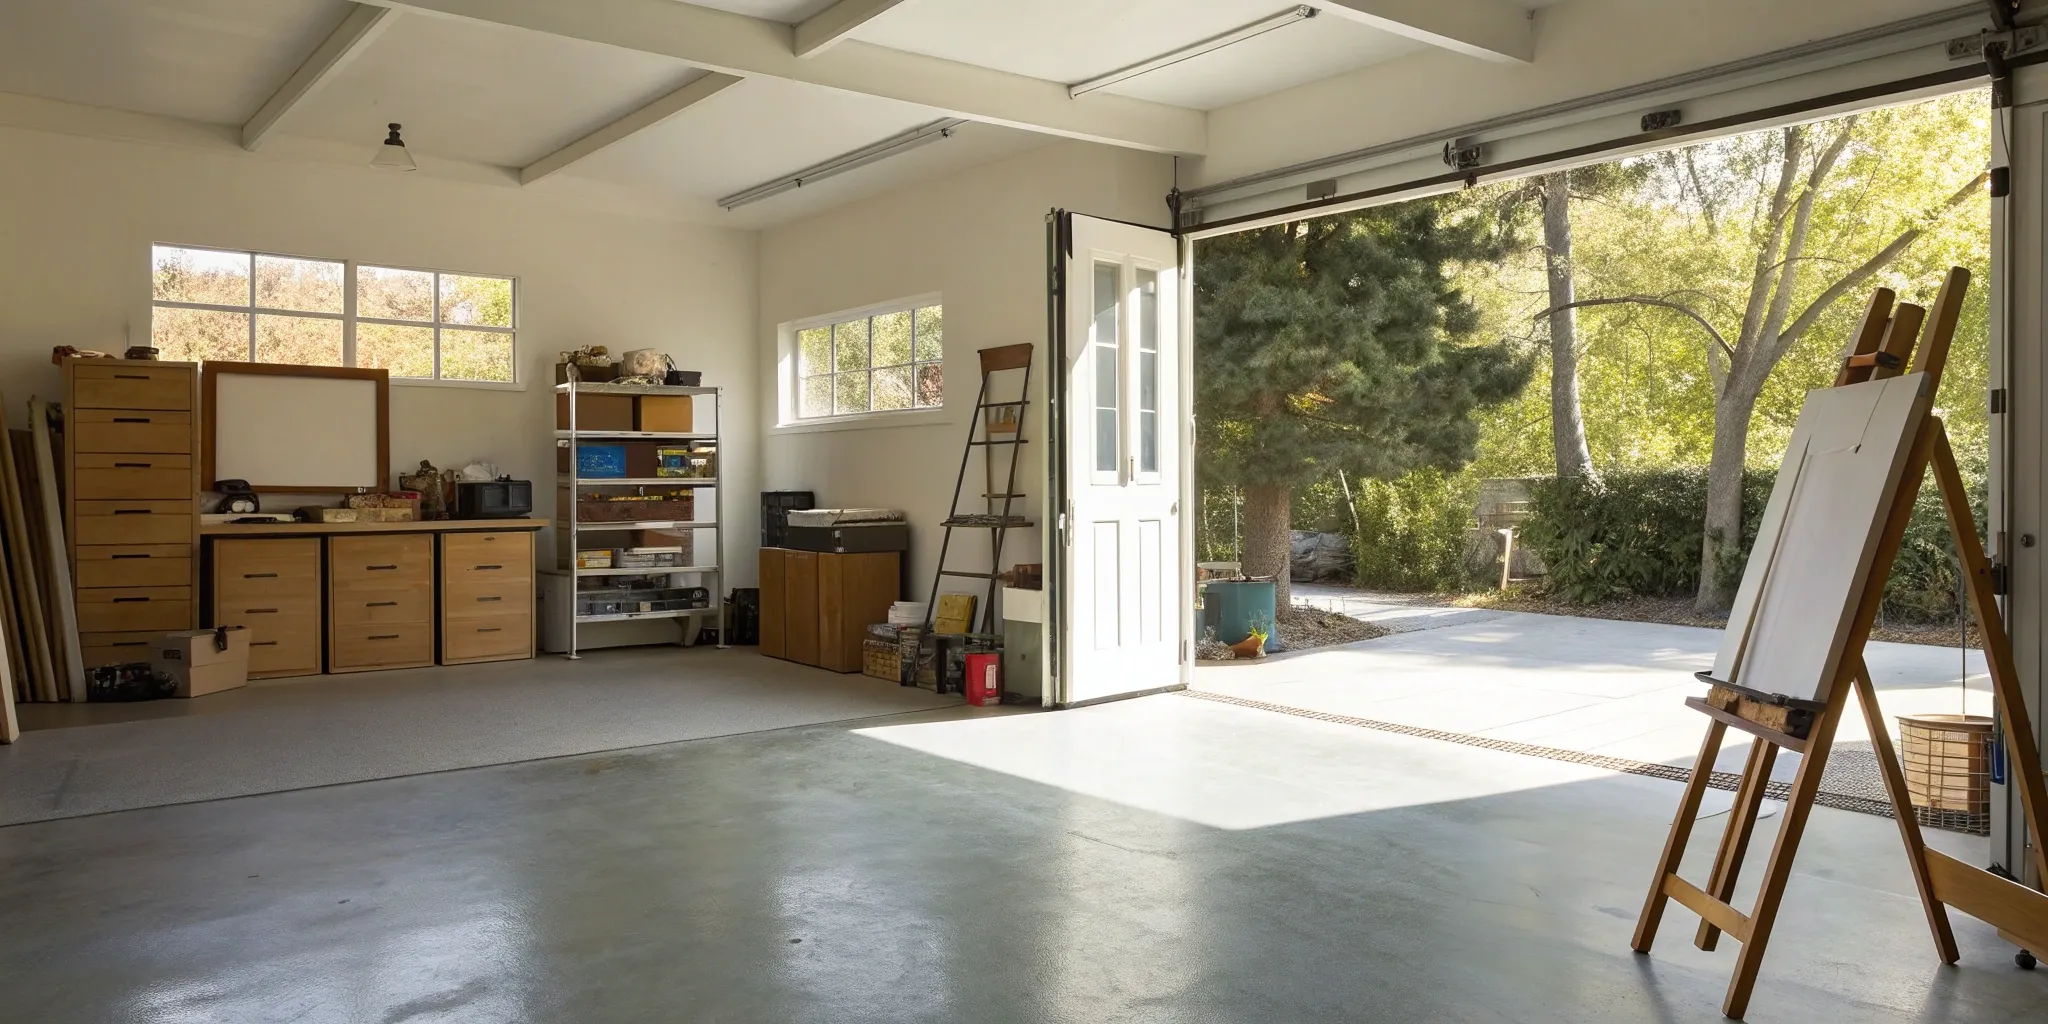
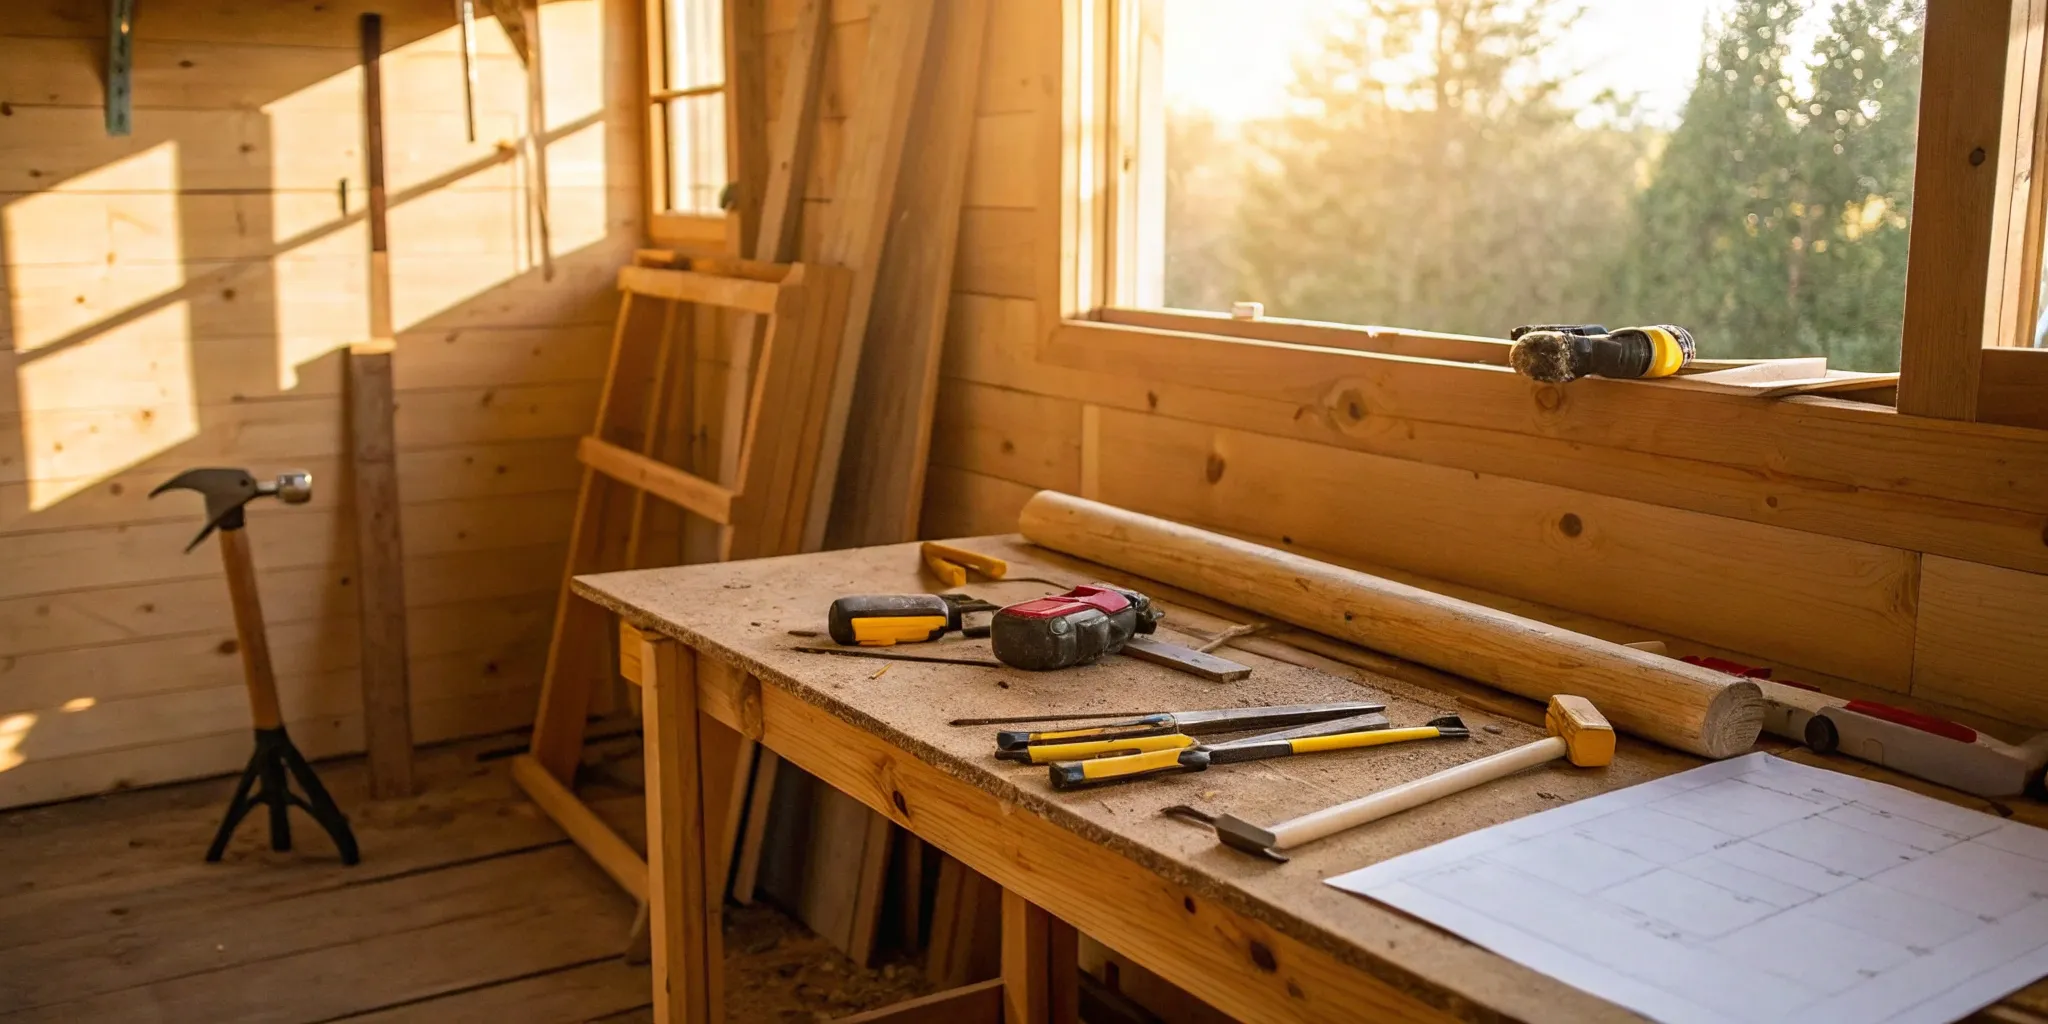
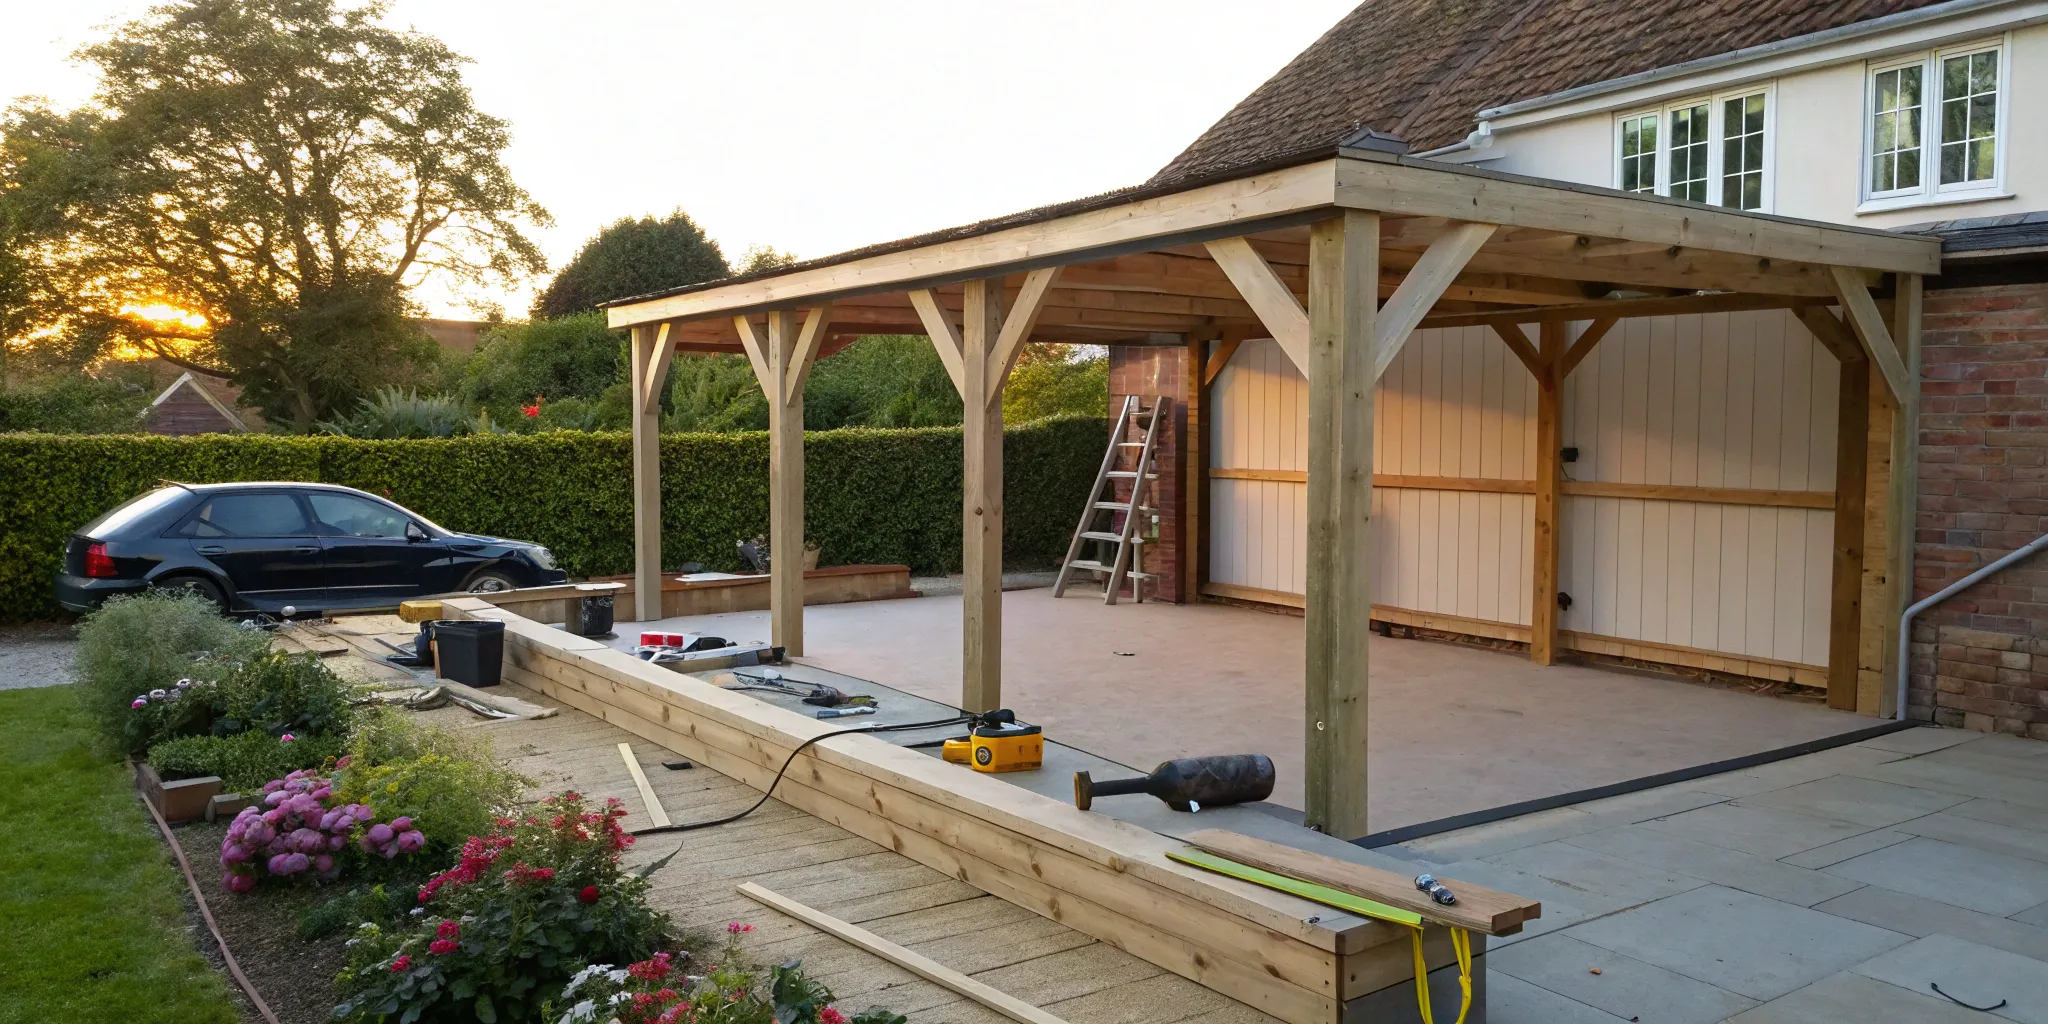
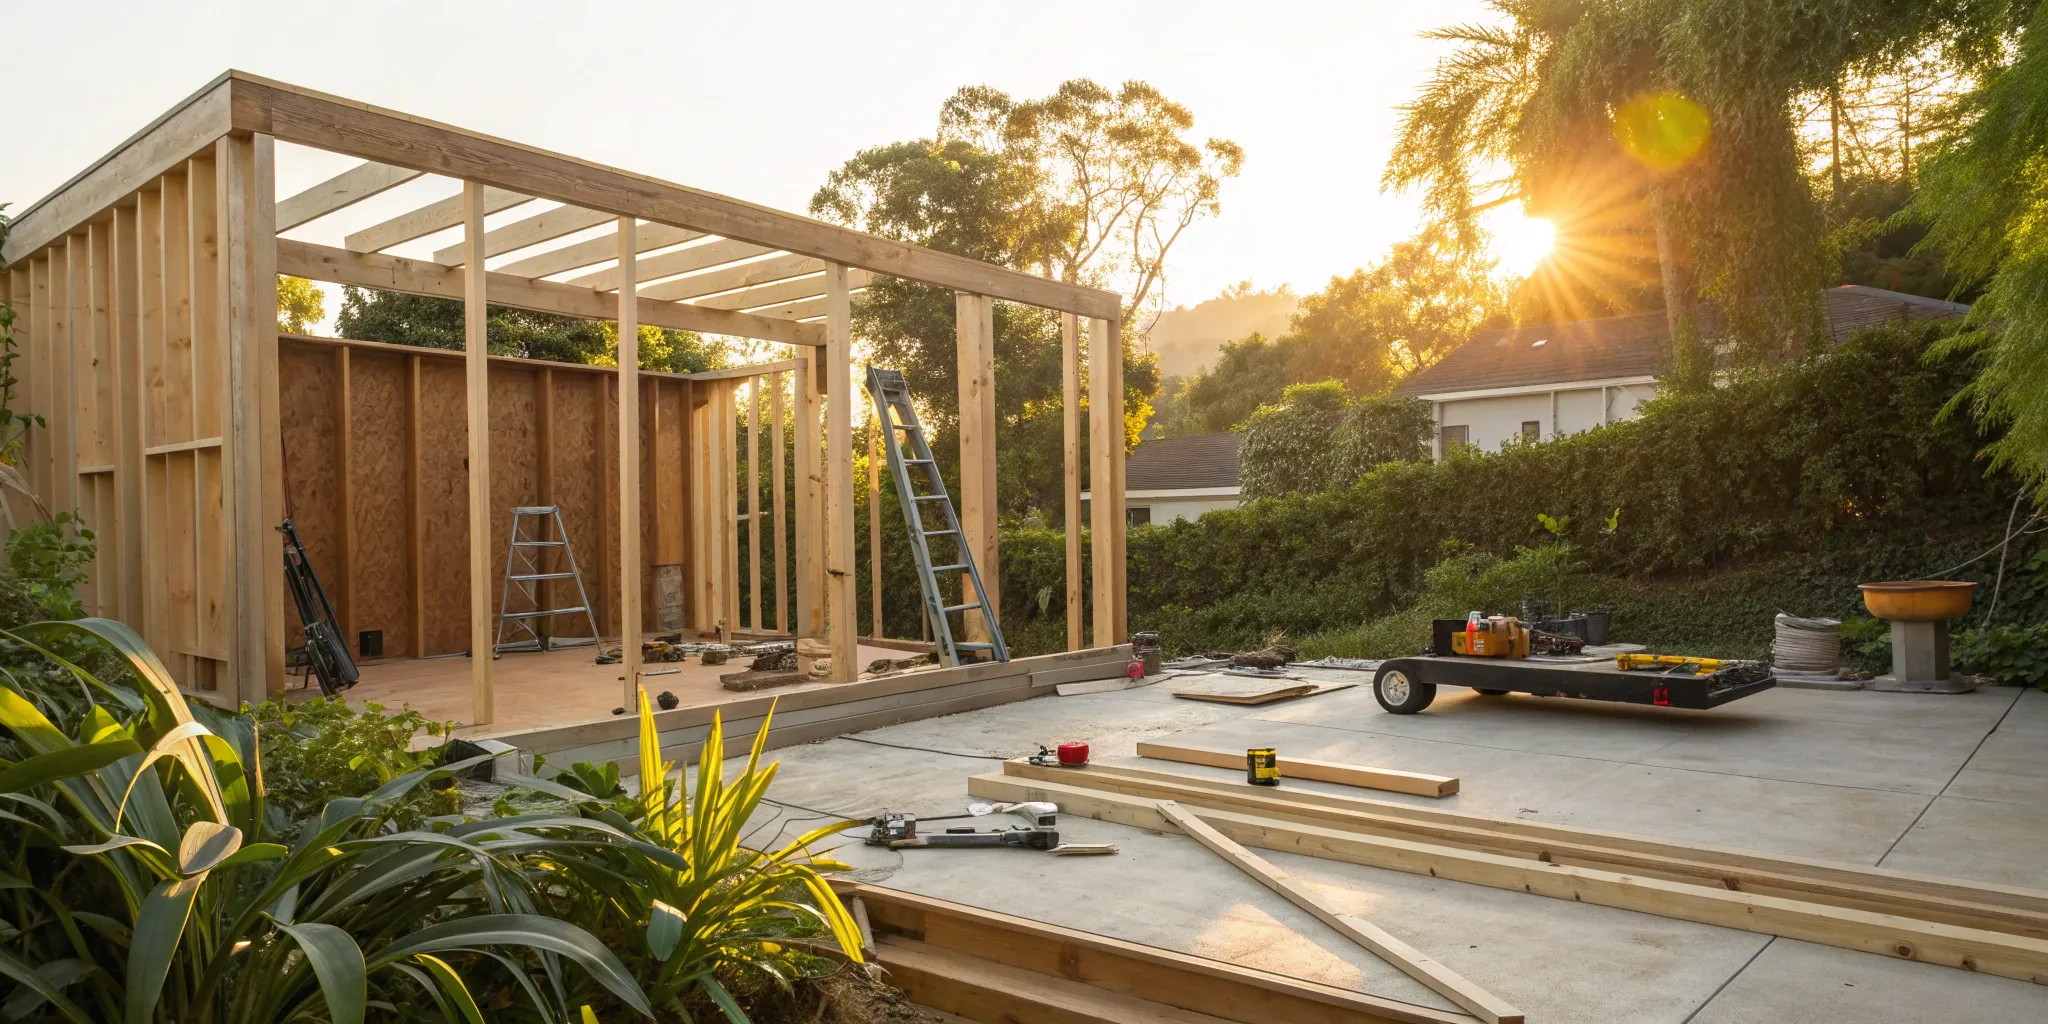
Your Basement's Current Condition
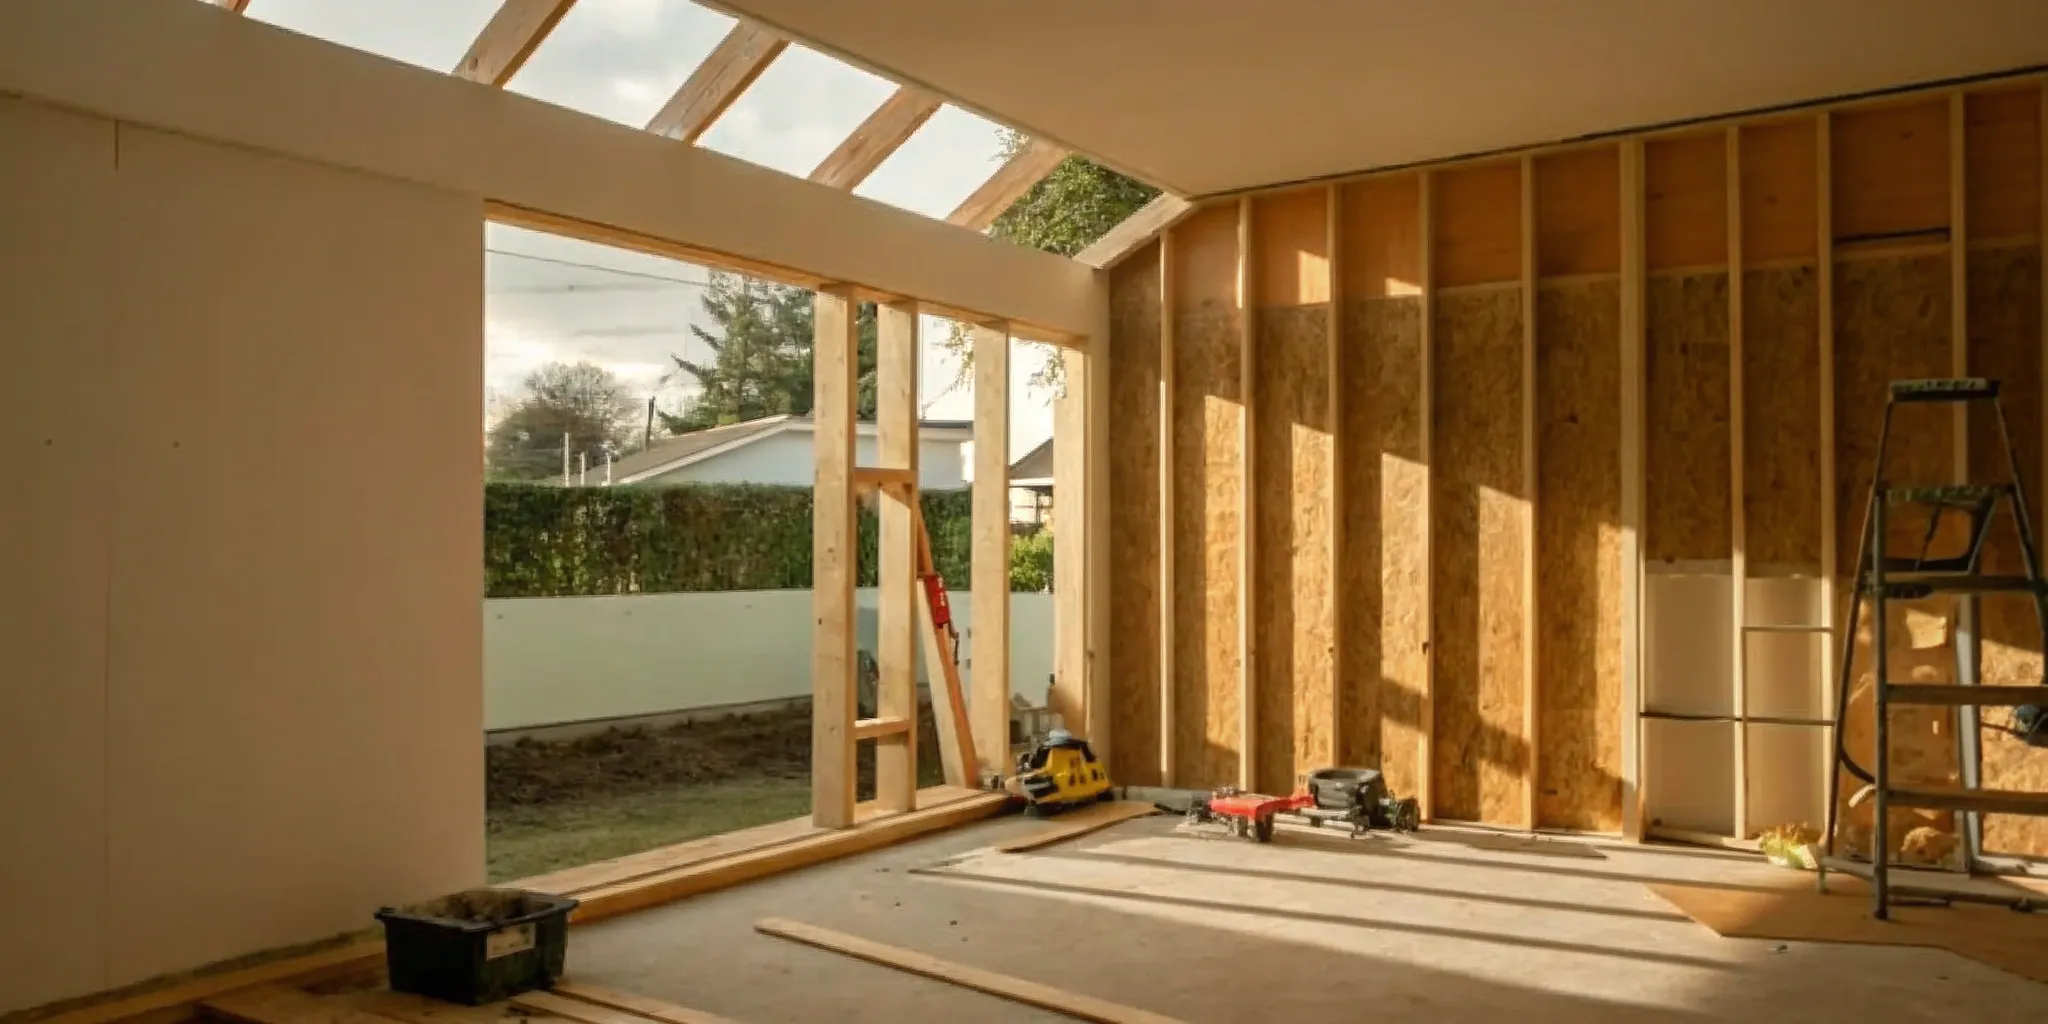
The starting point of your basement has a major impact on the budget. Are you working with a completely unfinished, concrete-walled space, or is it partially finished? A raw, unfinished basement is a blank slate, but it also needs the most work. This often includes framing, insulation, running electrical wiring, and adding plumbing from scratch.
If your basement is already partially finished, you might just be looking at cosmetic updates like replacing old flooring or updating fixtures. A Realm advisor can help you assess your basement's current state to get a clearer picture of the work involved.
Design and Finishes
This is where your personal style comes into play—and where you have the most control over your budget. The materials and finishes you select can cause your costs to vary significantly.
For example, you could choose cost-effective vinyl plank flooring and standard recessed lighting, or you could opt for high-end hardwood floors, custom built-in shelving, and a state-of-the-art home theater system. Every choice, from the type of paint to the style of doorknobs, contributes to the final cost.
This is your chance to decide where to save and where to splurge to create a space you truly love.
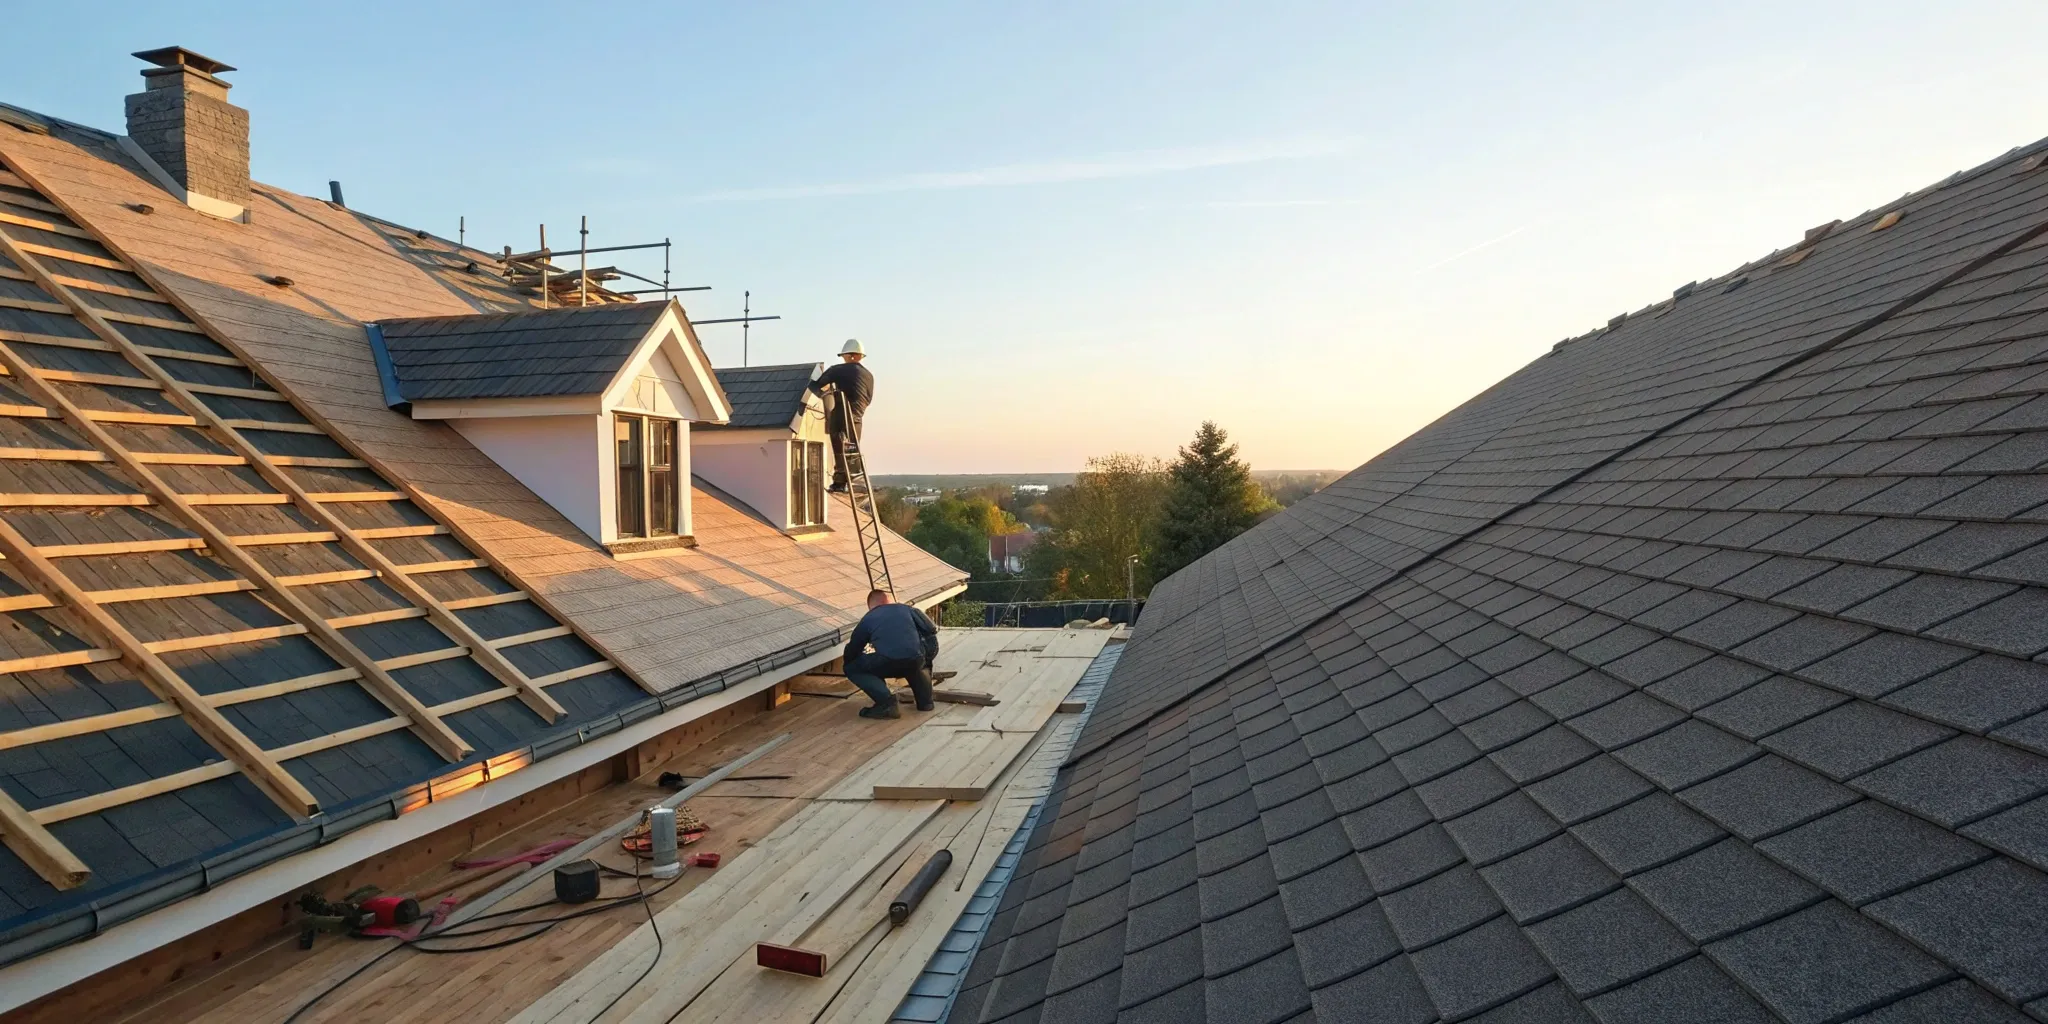
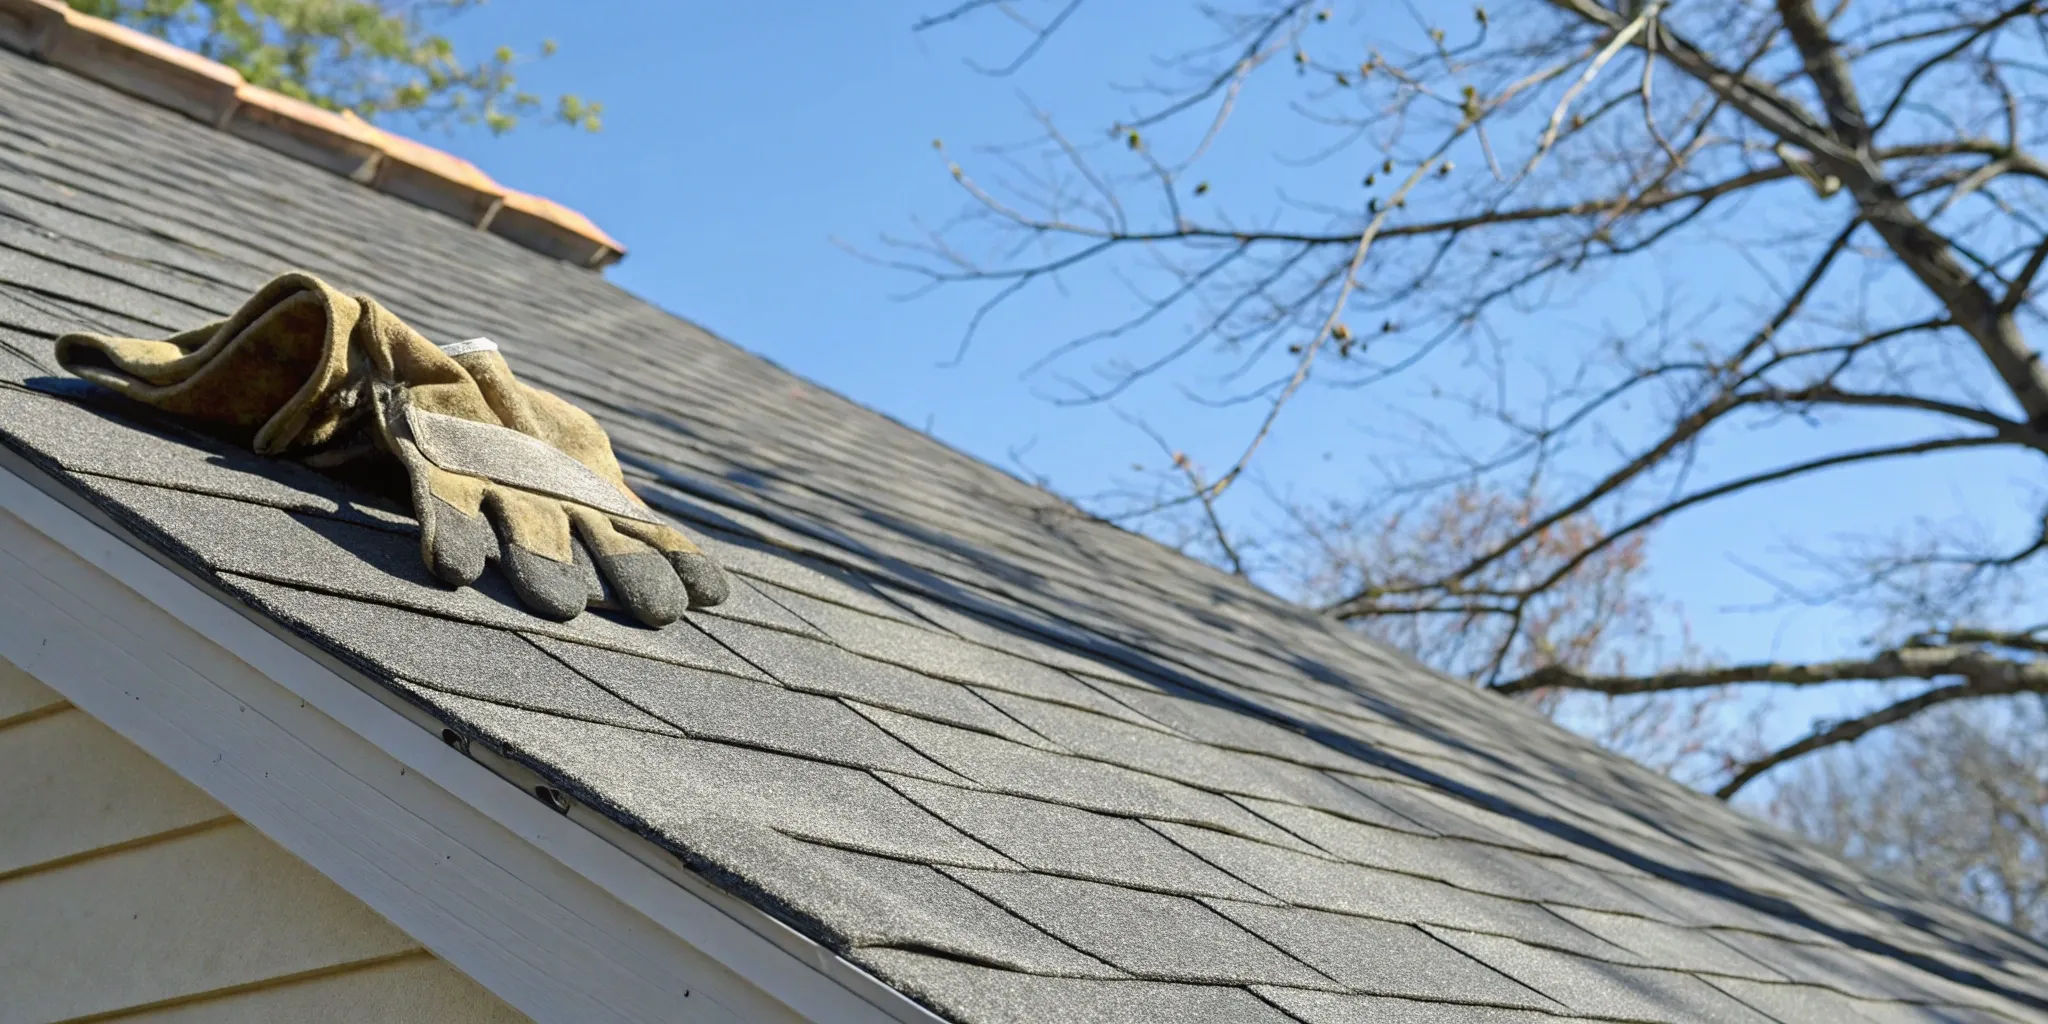
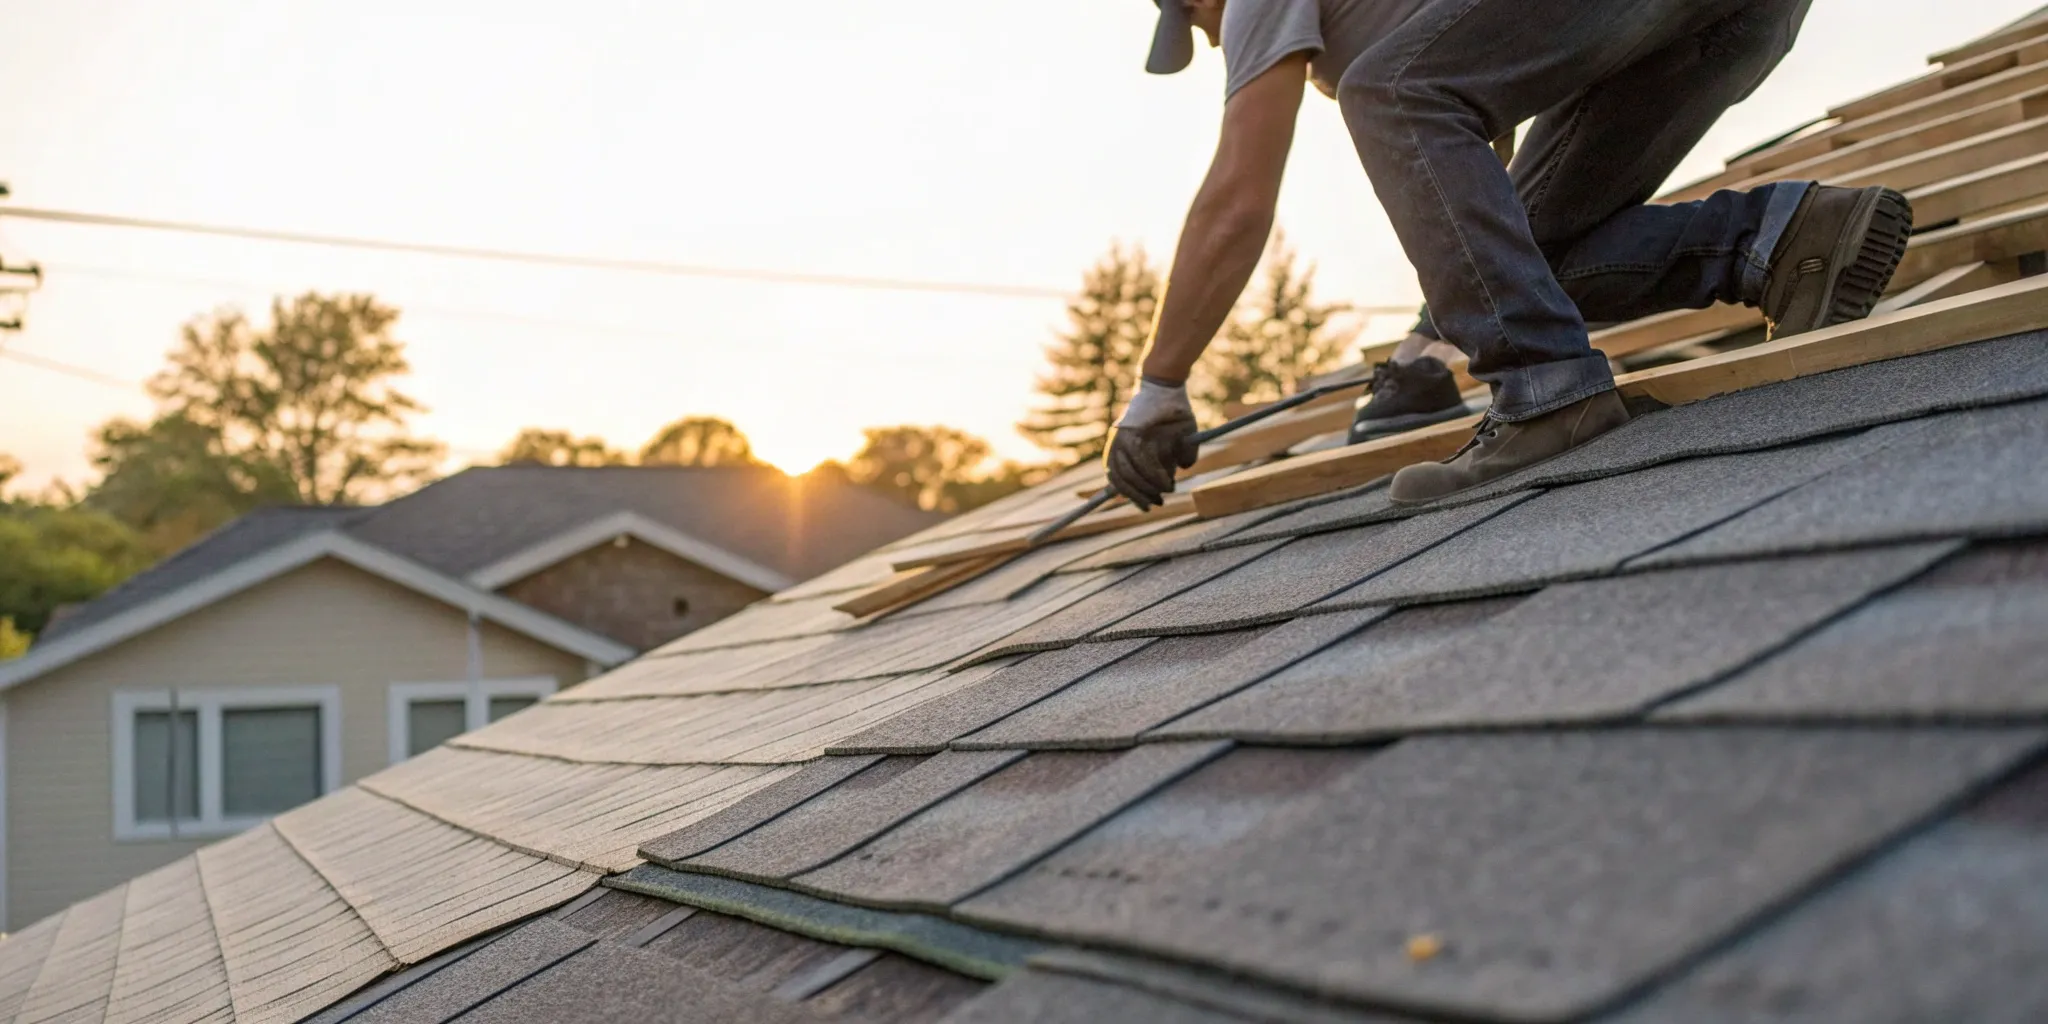
Local Building Permits
Don't forget to budget for the paperwork. Nearly every basement finishing project requires building permits, especially if you're making changes to your home's electrical, plumbing, or structural systems.
Permit costs can range from $1,200 to $2,000, depending on your city and the scope of your project.
While it might seem like a hassle, permits ensure that all work is done safely and up to code, which protects your family and your home's value. Working with an experienced, vetted professional can make this process much smoother, as they'll be familiar with local requirements.
Waterproofing and Moisture Control
Before you even think about framing walls or picking out paint colors, you have to ensure your basement is completely dry.
Because they're below ground, basements are prone to moisture, which can lead to mold, mildew, and serious water damage. Addressing any water issues is a critical first step. This could involve sealing foundation cracks, installing a sump pump, or adding a drainage system.
Waterproofing can cost between $1,900 and $6,500, but it's a non-negotiable investment that protects the rest of your renovation and ensures your new living space is healthy and safe.
Affordable Strategies for Basement Finishing
Average Costs vs. Reality
Most homeowners spend between $30 and $75 per square foot. However, you can achieve a "low-cost" finish by opting for painted "exposed" ceilings (industrial style) and luxury vinyl plank (LVP) flooring, which handles moisture better than laminate or carpet.
Moisture and Foundation Prep
Before finishing, perform a "calcium chloride test" to check for vapor emission. If your basement has a history of leaks, install a sump pump and interior French drains before framing walls.
Budget-Friendly Upgrades
To keep costs down, avoid adding a bathroom, which requires "upflush" plumbing or jackhammering the slab. Focus on lighting; recessed LED cans are the most cost-effective way to make a basement feel like an above-ground living space.
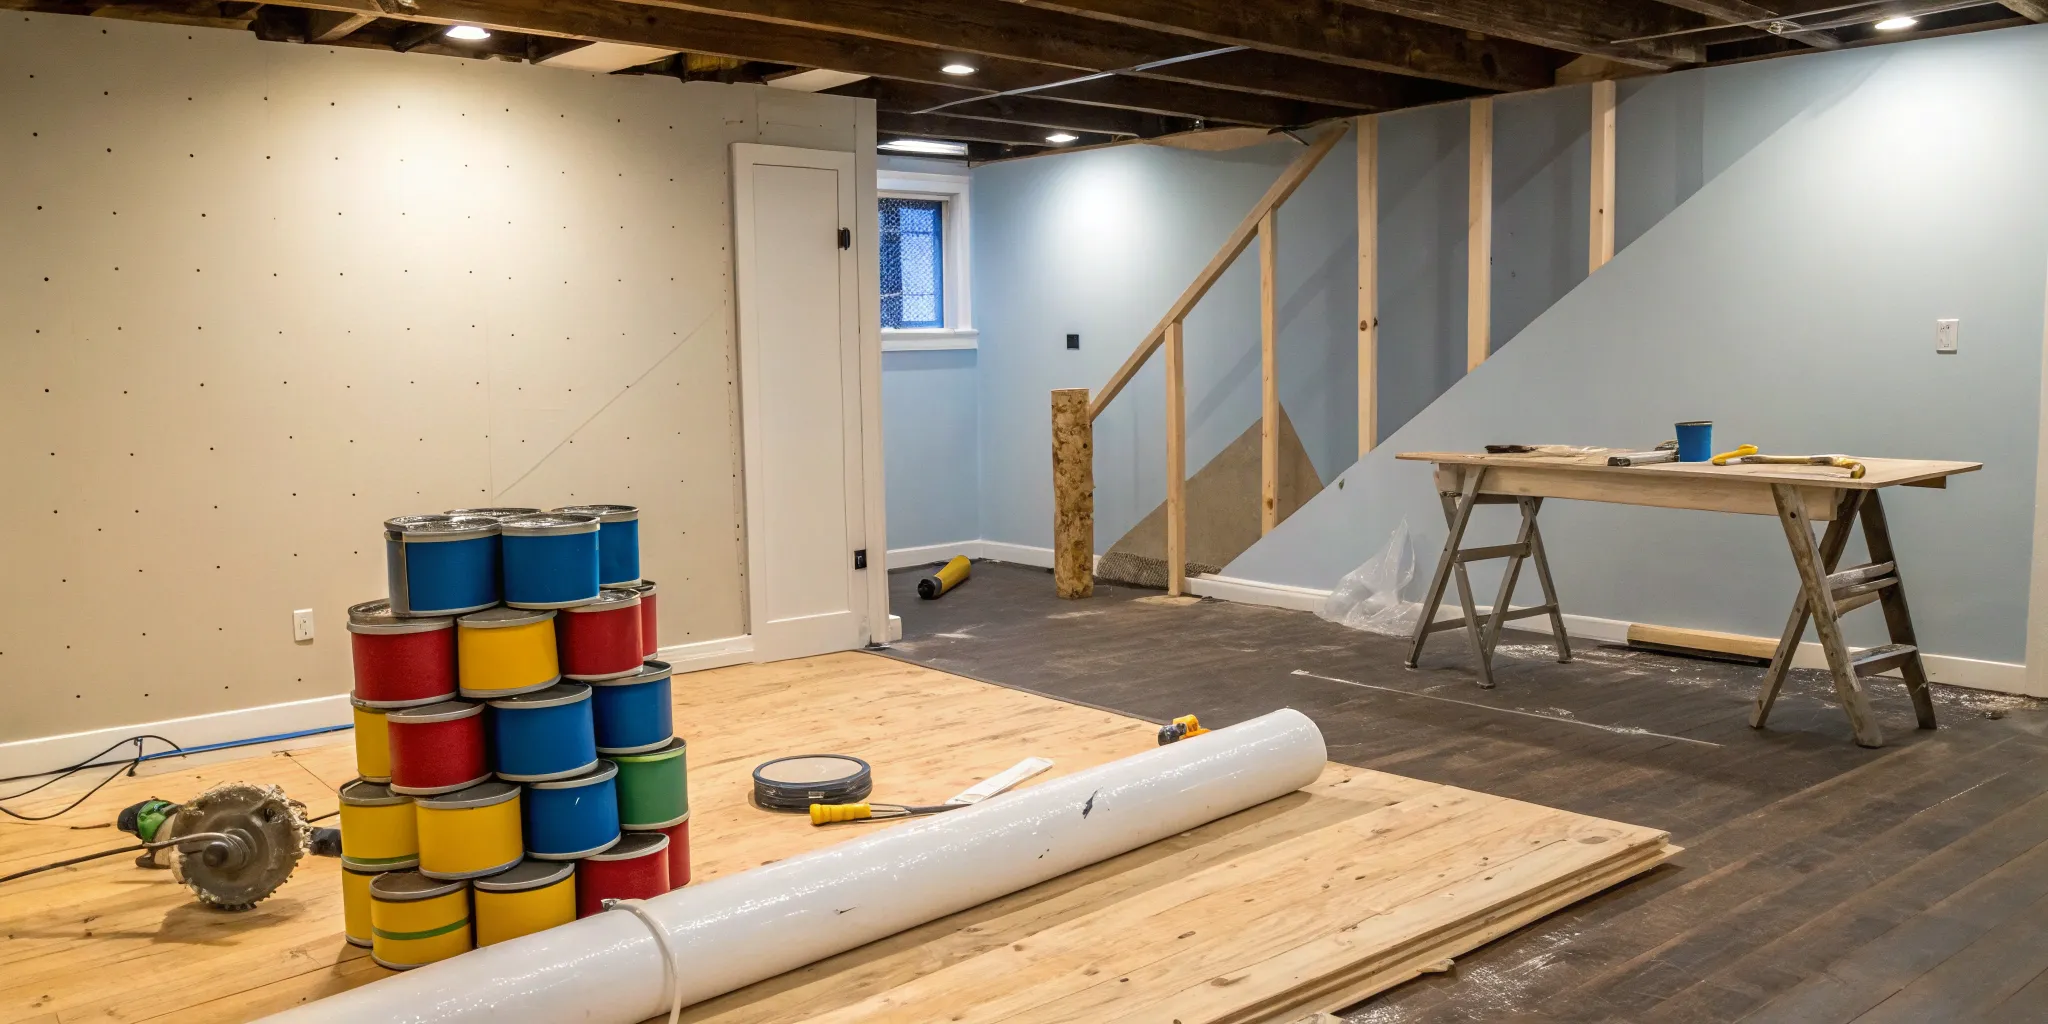
A Breakdown of Where Your Money Goes
Understanding where your money is going is the first step to creating a realistic budget. A basement remodel isn’t just one big expense; it’s a collection of smaller costs for materials, labor, and permits.
When you see the full picture, you can make smarter decisions about where to save and where to splurge. Let’s walk through the main budget categories so you know exactly what to expect.
Materials and Quality
The materials you select will have the biggest impact on your total spending.
While the average cost to finish a basement hovers around $32,000, the final price tag can swing from a modest $2,800 to over $100,000. This huge range comes down to your choices. For example, basic drywall, simple lighting, and builder-grade carpet will keep you on the lower end.
If you’re dreaming of custom built-ins, a stone accent wall, or luxury vinyl plank flooring, your material costs will naturally be higher. The cost per square foot generally lands between $7 and $23, giving you a flexible starting point for your estimates.
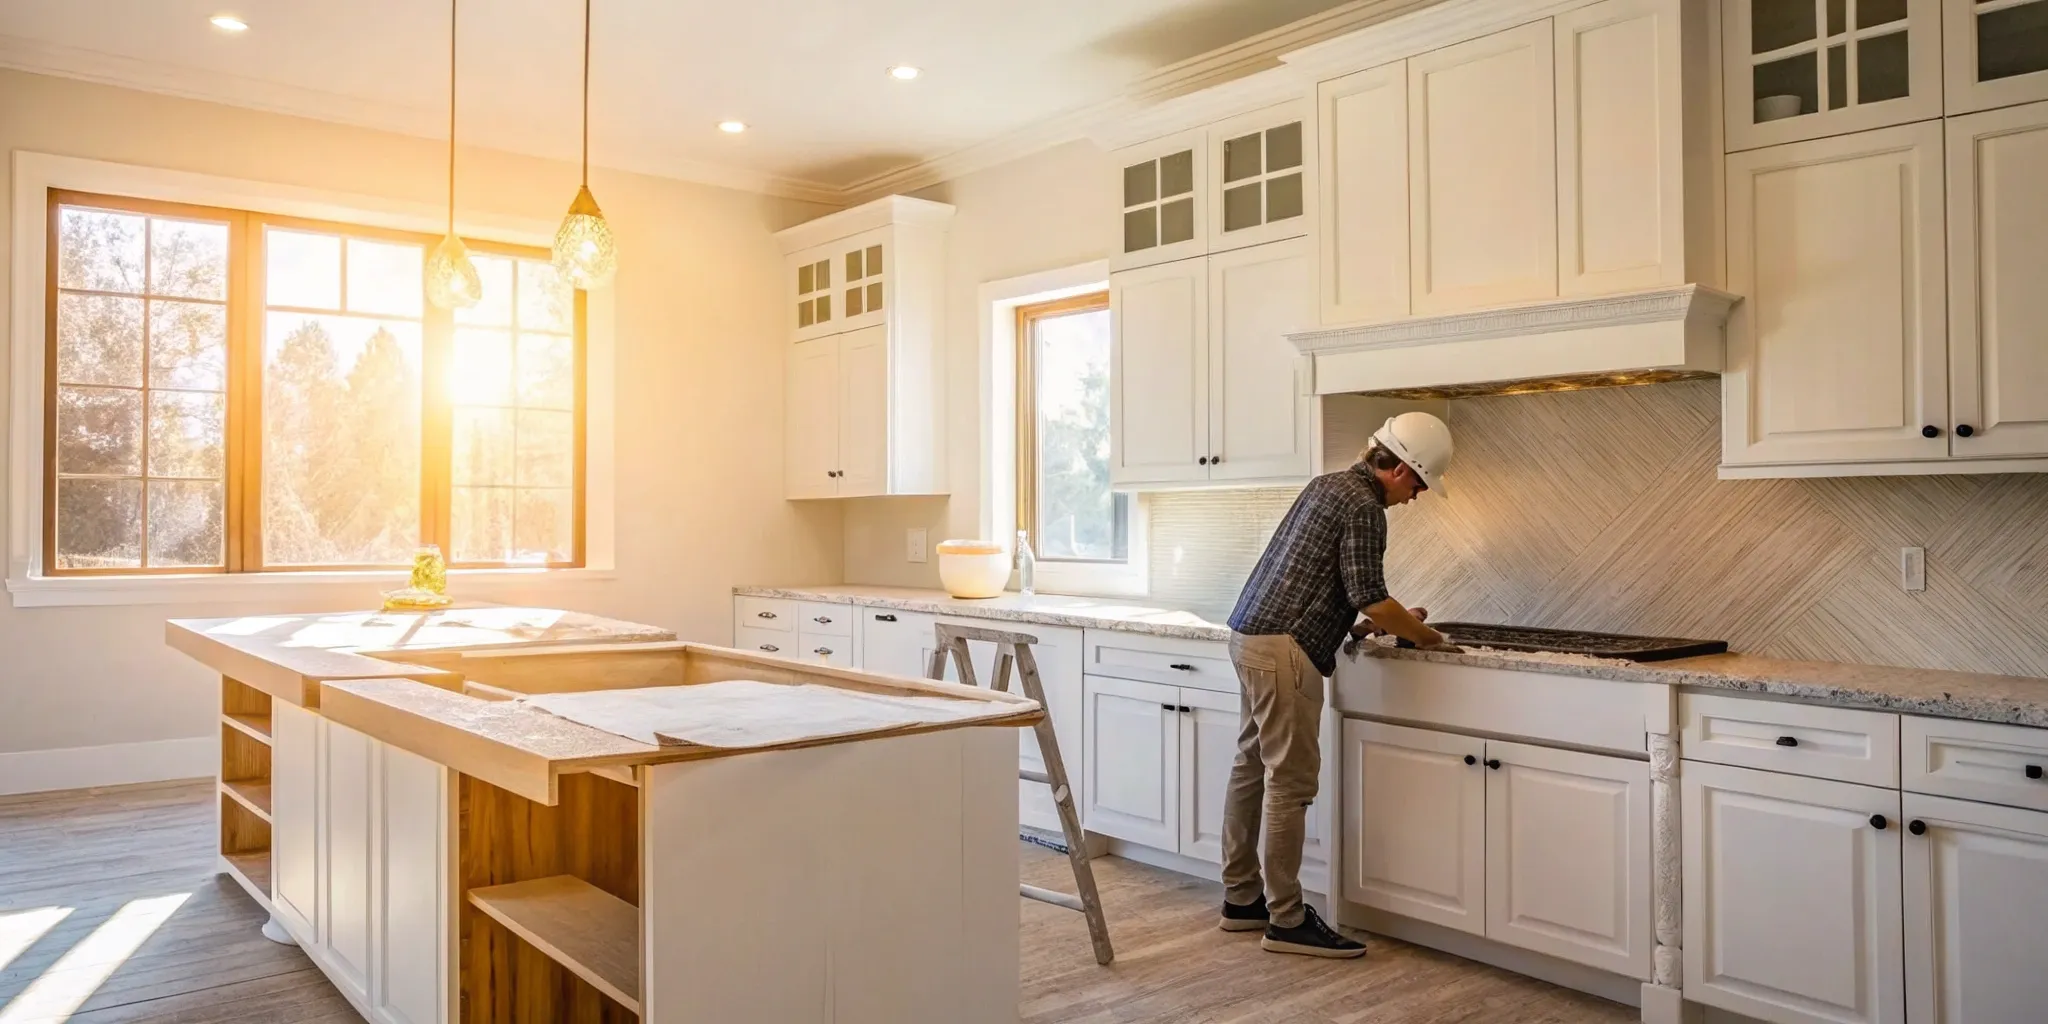
Contractor and Labor Fees
Unless you’re a seasoned DIY pro, labor will be a significant part of your budget—typically accounting for about 40% of the total project cost. Hiring a general contractor to manage the entire renovation from start to finish will add another 10% to 20% to your bill. While that might sound like a lot, a good GC coordinates all the subcontractors, handles scheduling, and ensures the project runs smoothly. This fee often pays for itself in peace of mind and by preventing costly mistakes, making it a worthwhile investment for many homeowners.
Permits and Inspections
Don’t forget to budget for the paperwork. Most basement finishing projects require building permits, especially if you’re adding or altering any electrical, plumbing, or HVAC systems. These permits ensure your project is built to code, which is crucial for your family’s safety and your home’s resale value.
Depending on your city and the scope of your project, you can expect to pay between $1,200 and $2,000 for the necessary permits and subsequent inspections. It’s a non-negotiable step that protects your investment.
Hiring Specialized Trades
Some jobs are best left to the experts. For complex tasks like wiring, plumbing, and HVAC installation, you’ll need to hire licensed professionals. These trades require specific skills and knowledge to ensure everything is installed safely and functions correctly. Attempting to DIY this work can lead to dangerous situations, failed inspections, and expensive repairs down the road. Working with vetted, licensed electricians and plumbers is essential for the safety and long-term integrity of your home.
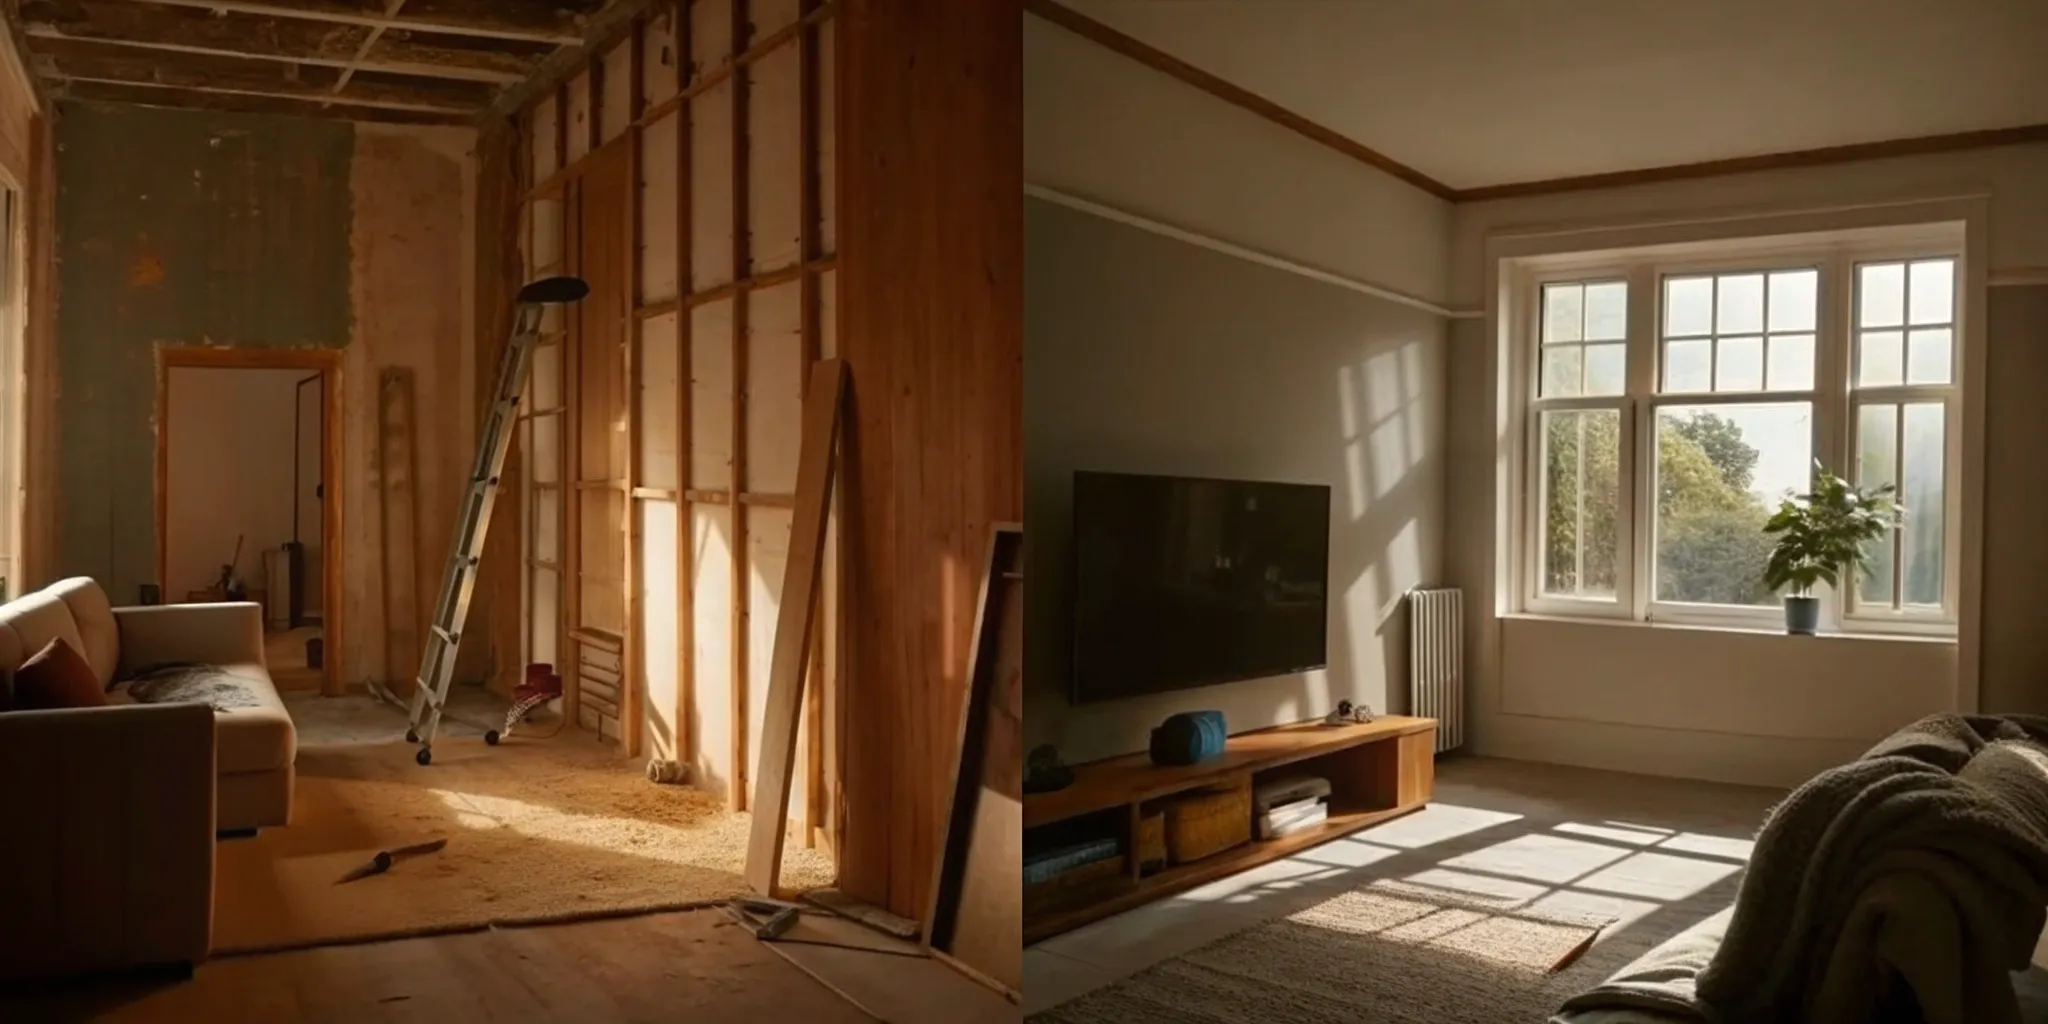
Planning for Hidden Costs
One of the most common renovation pitfalls is underestimating the total cost. It’s easy to focus on the finishes, but sometimes your basement has other plans.
Unexpected issues like needing to upgrade your home’s electrical panel to handle the new load, rerouting HVAC ducts, or adding structural support can pop up. To avoid having your project stall halfway through, it’s smart to plan a remodel budget that includes a contingency fund of 10% to 20% of your total cost.
This buffer gives you the flexibility to handle surprises without derailing your project.
How Different Rooms Impact Your Budget
The way you plan to use your new basement space is one of the biggest drivers of your final cost. A simple, open-plan family room will be far more affordable than a basement apartment with a full kitchen and bath. Let’s look at how some of the most popular room additions will affect your budget.
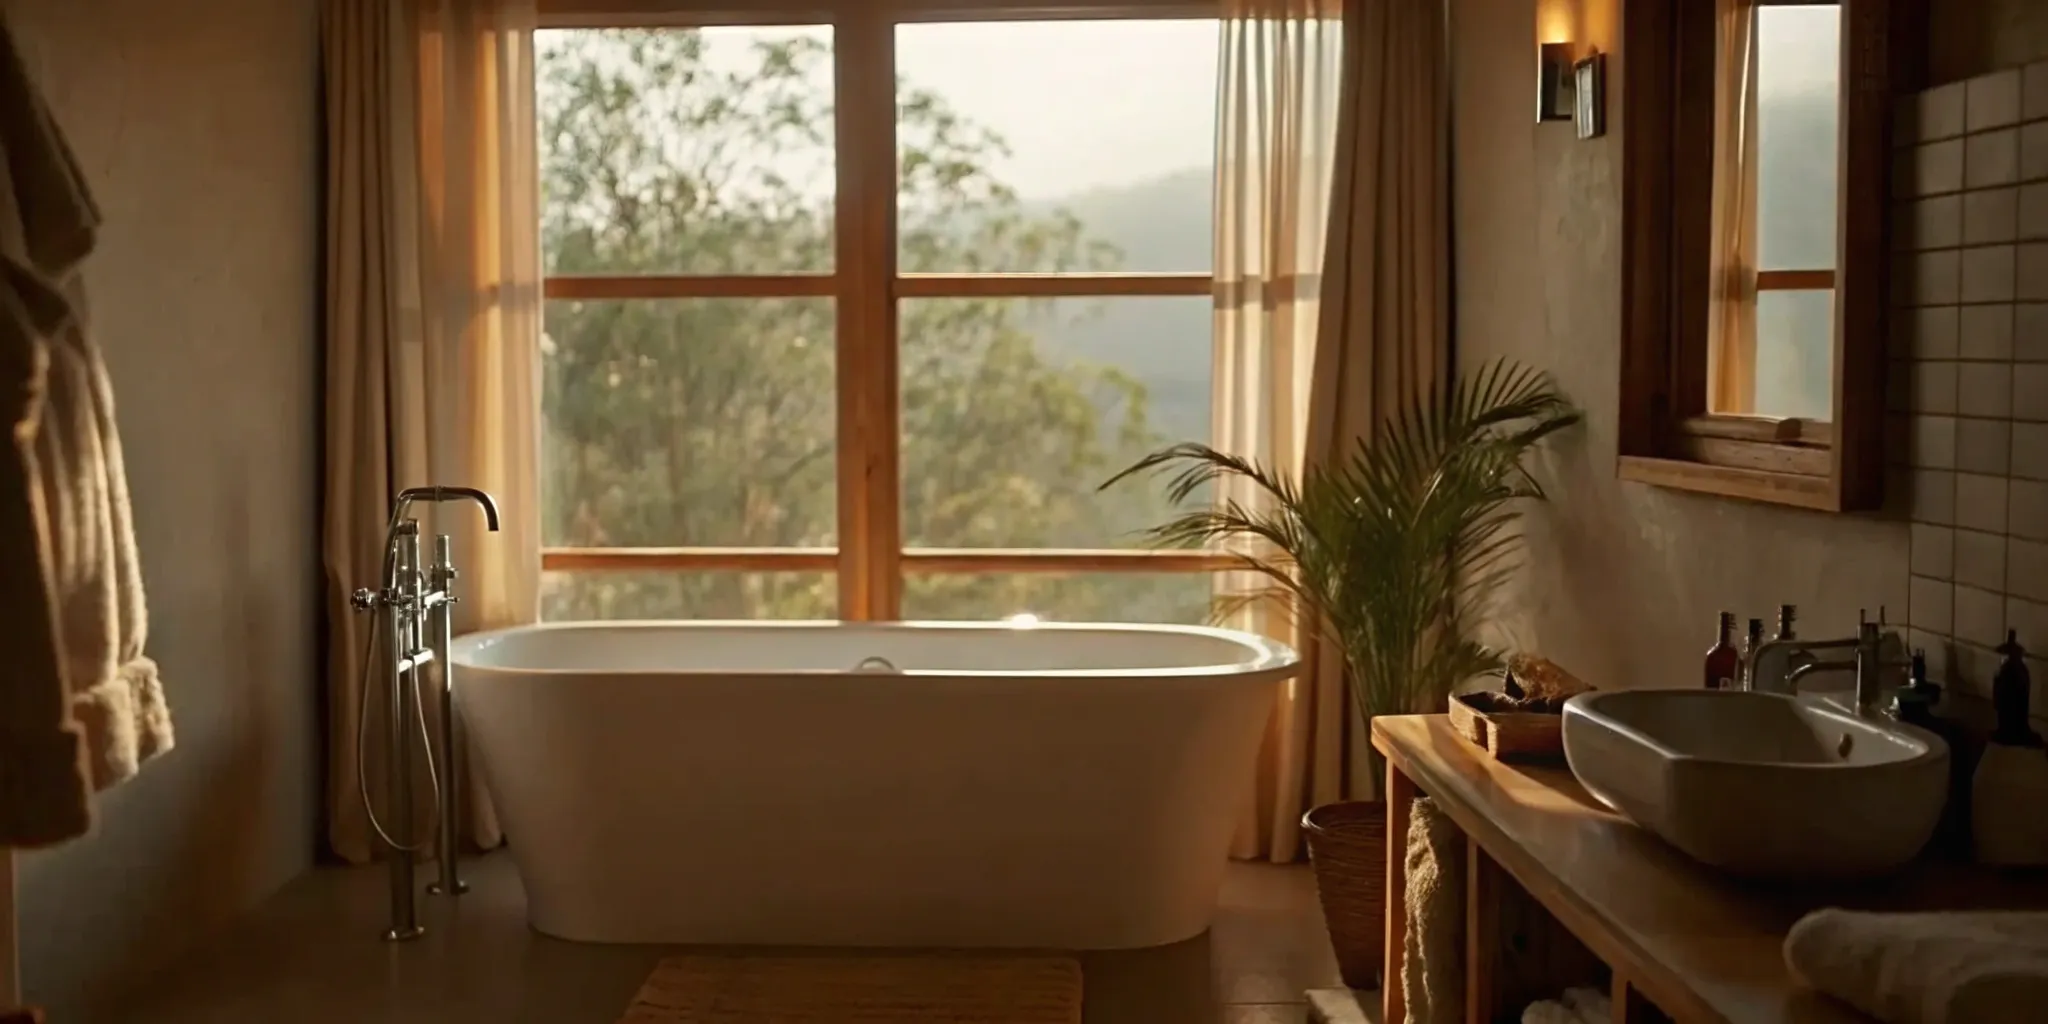
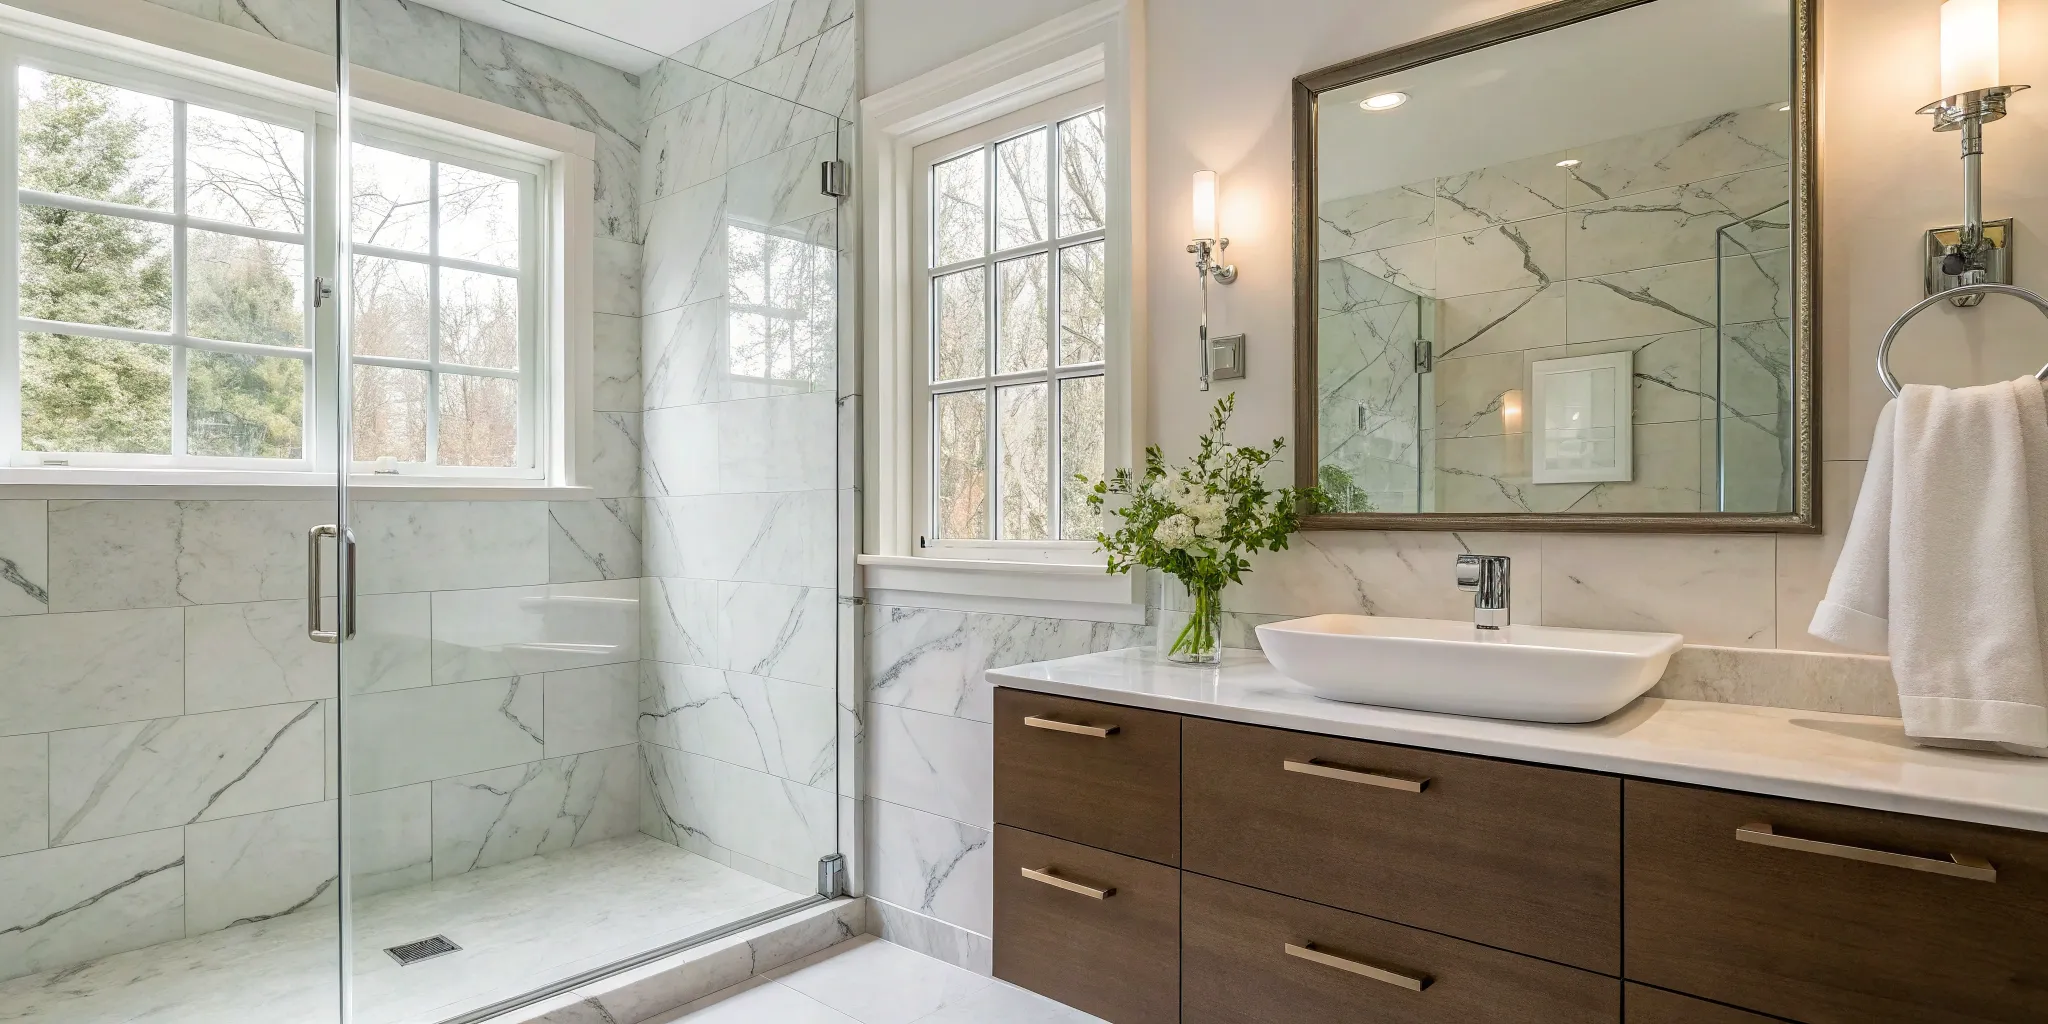
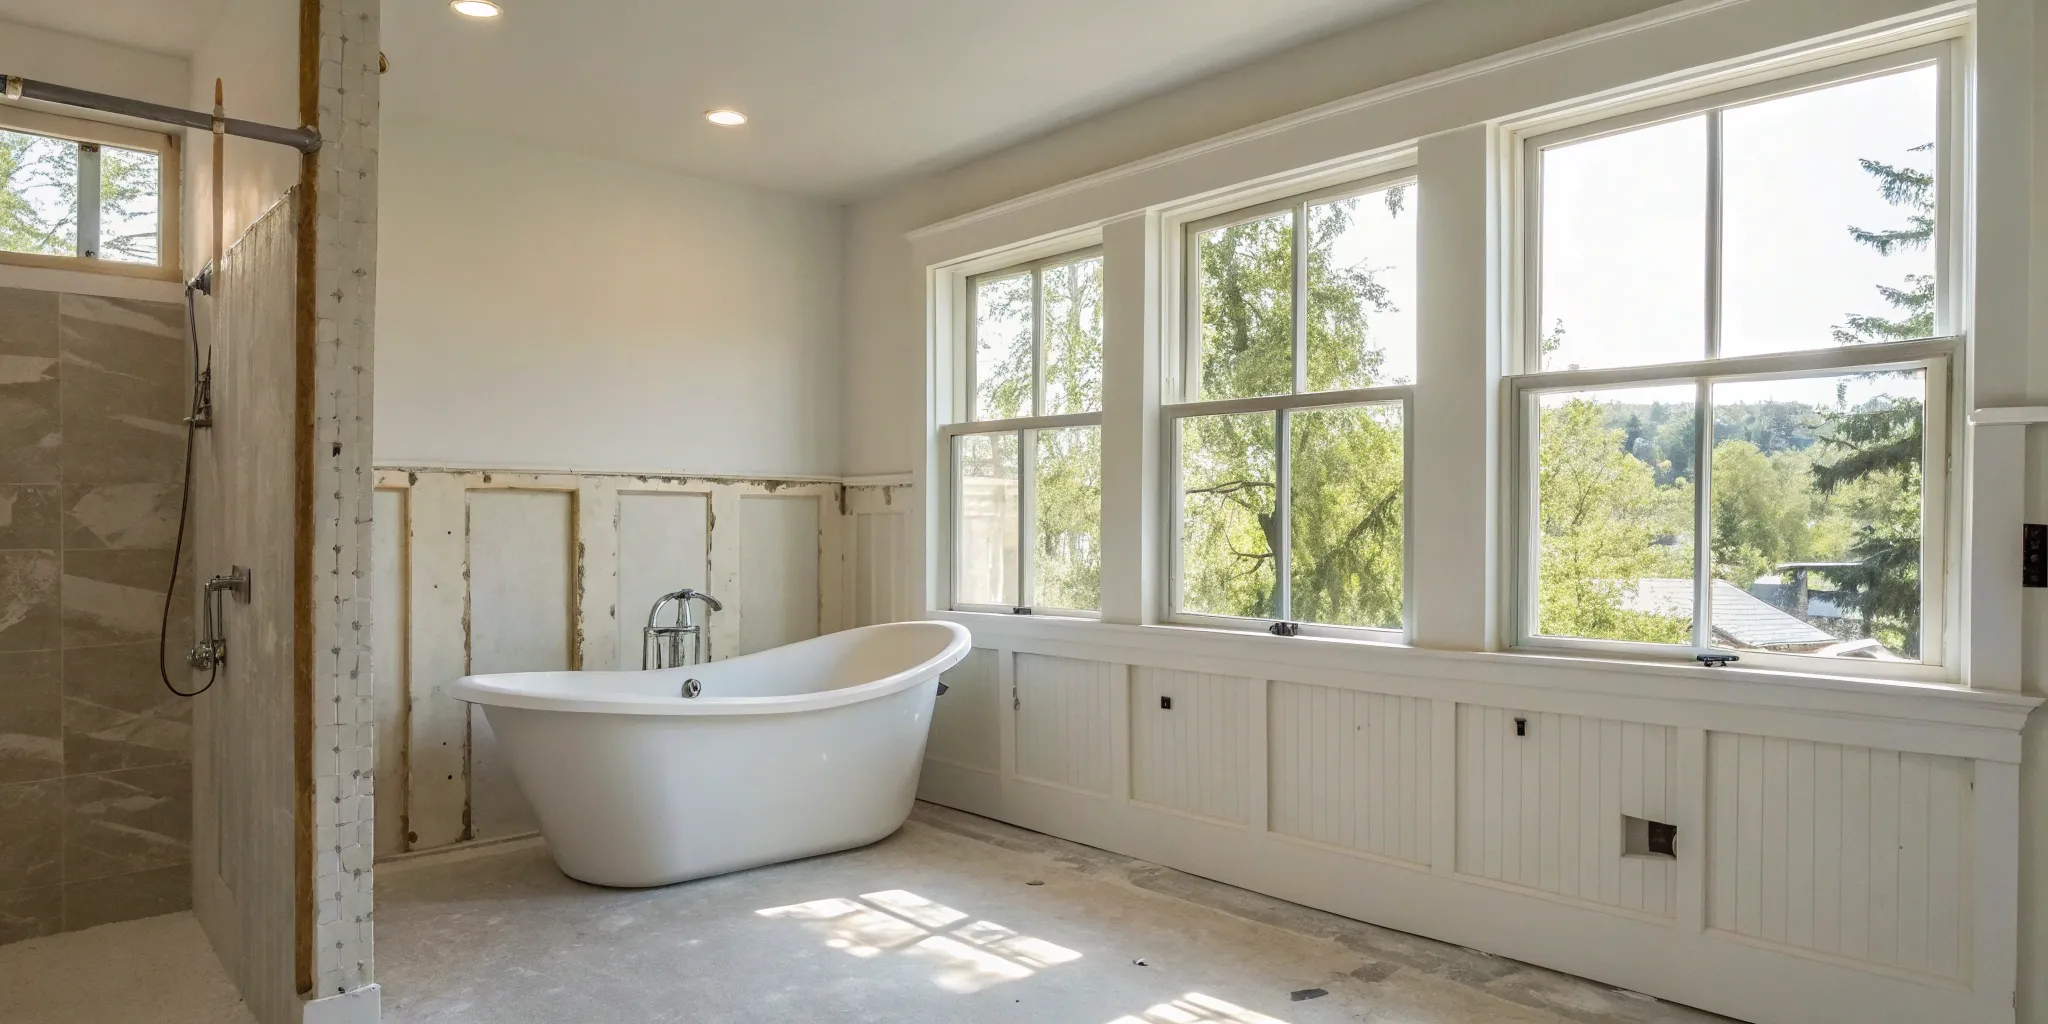
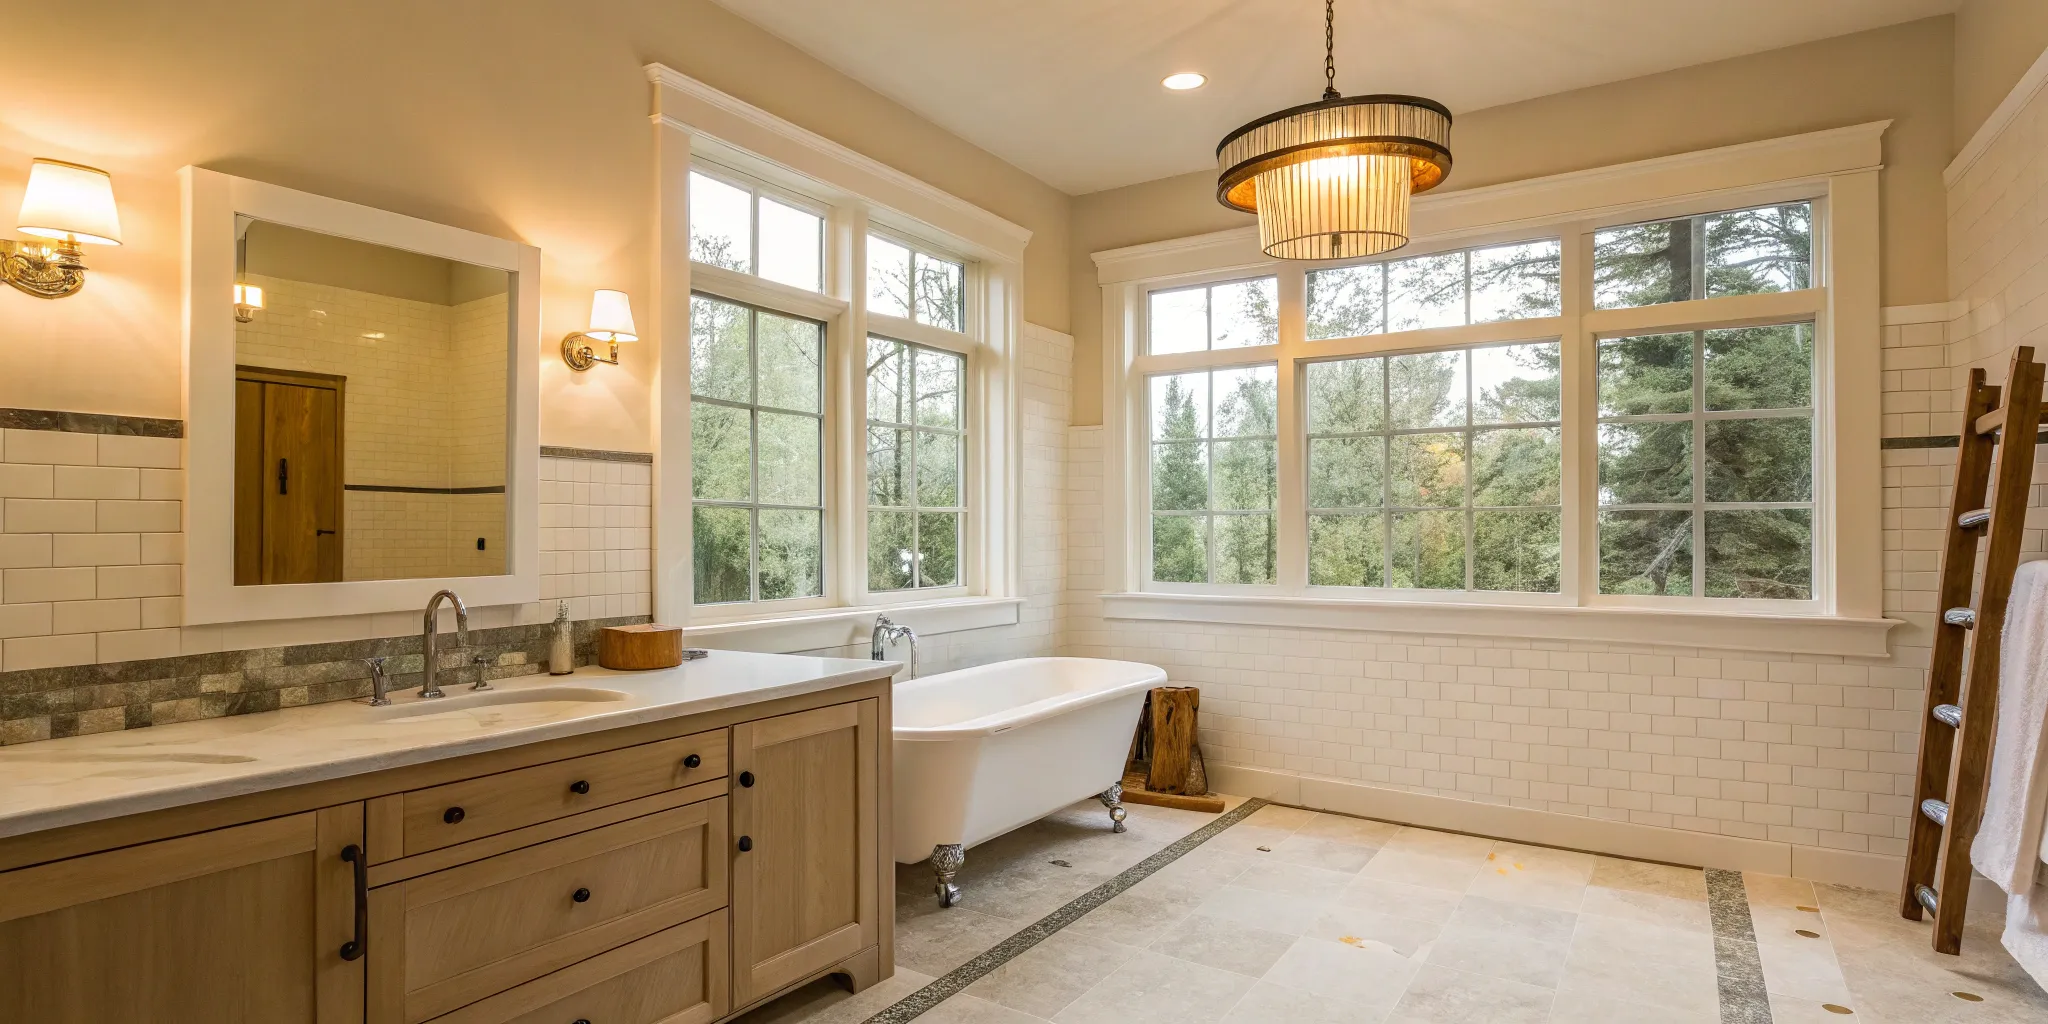
Adding a Bathroom
Putting a bathroom in your basement is a fantastic way to add convenience and value, but it comes with a significant price tag. You’ll need to account for plumbing, which can be complex below ground, along with tiling, fixtures, and ventilation.
On average, adding a bathroom can cost around $15,000. While it’s a big line item, this investment makes the basement a truly livable space for family or guests.
It also gives you a solid return on investment by increasing your home’s overall value. A full bath will cost more than a half-bath, so consider what you truly need for the space.
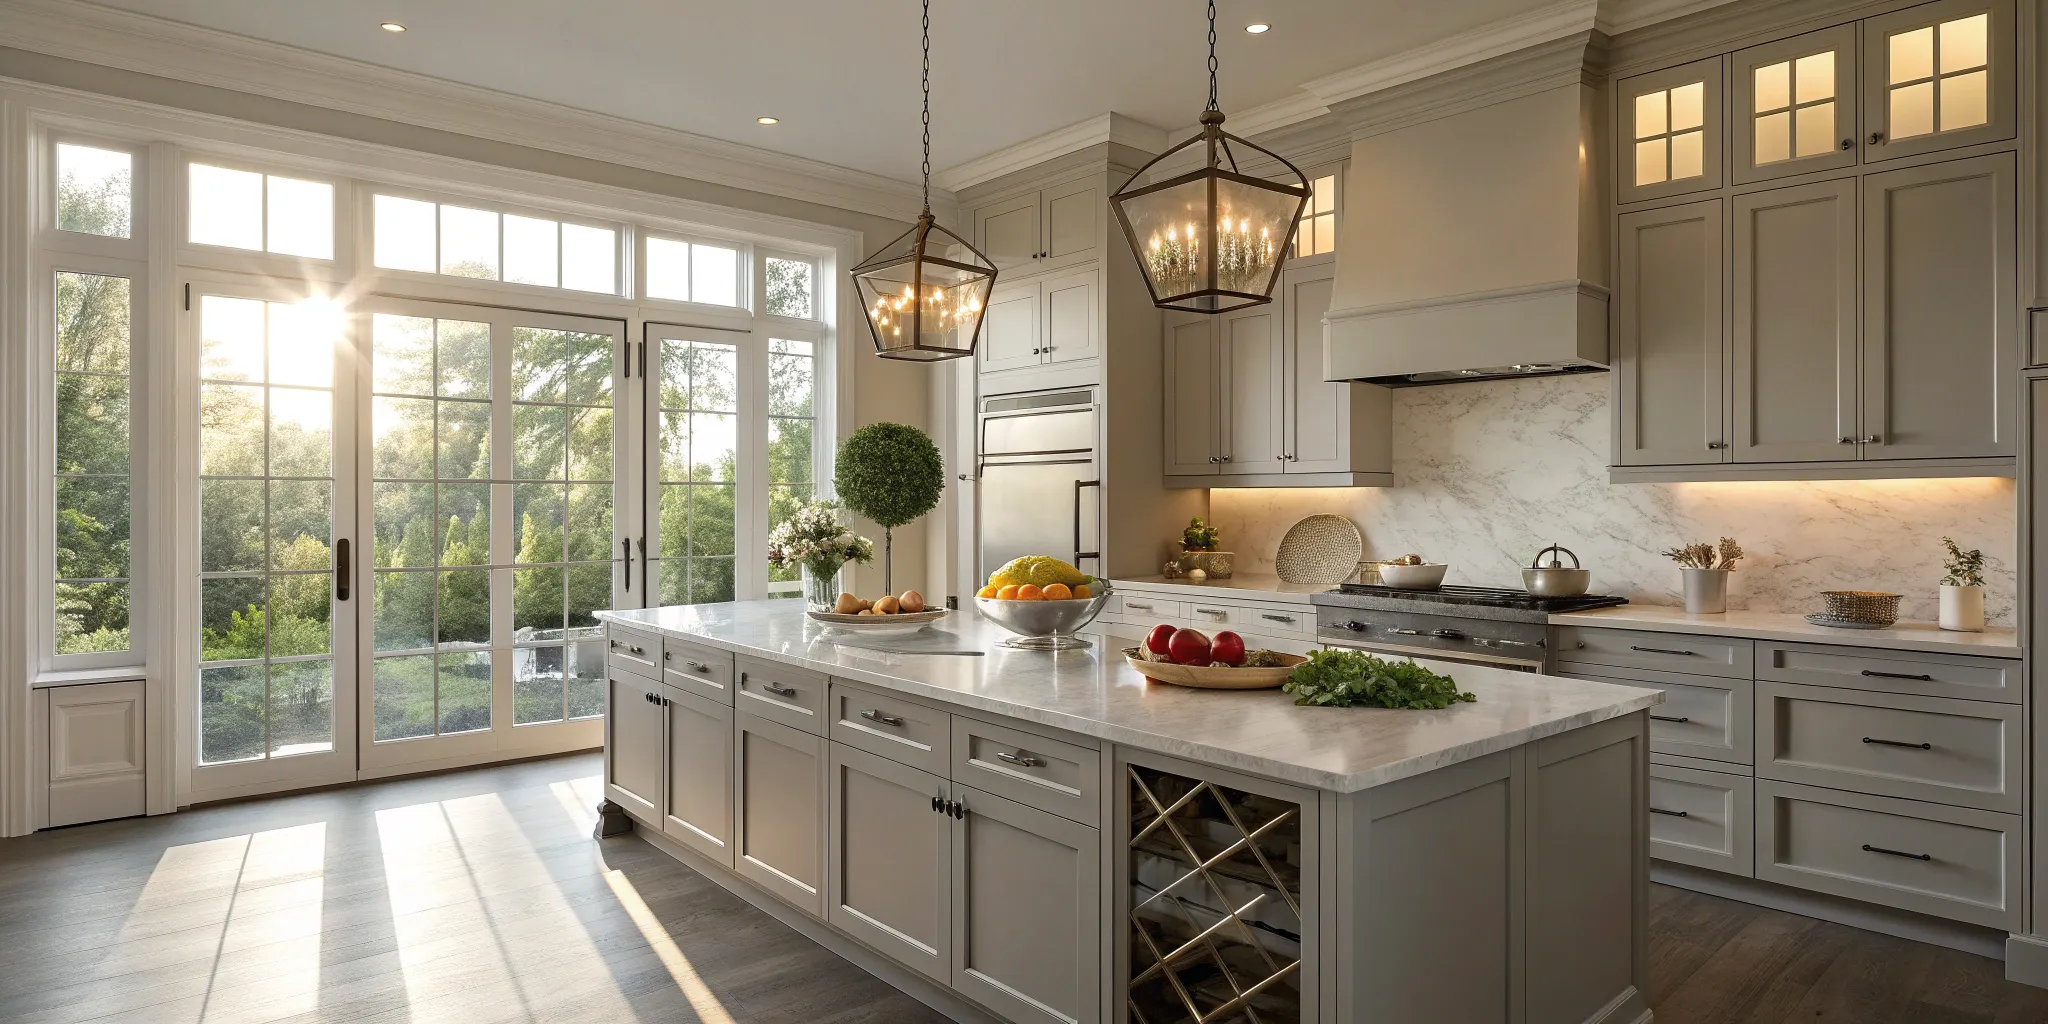
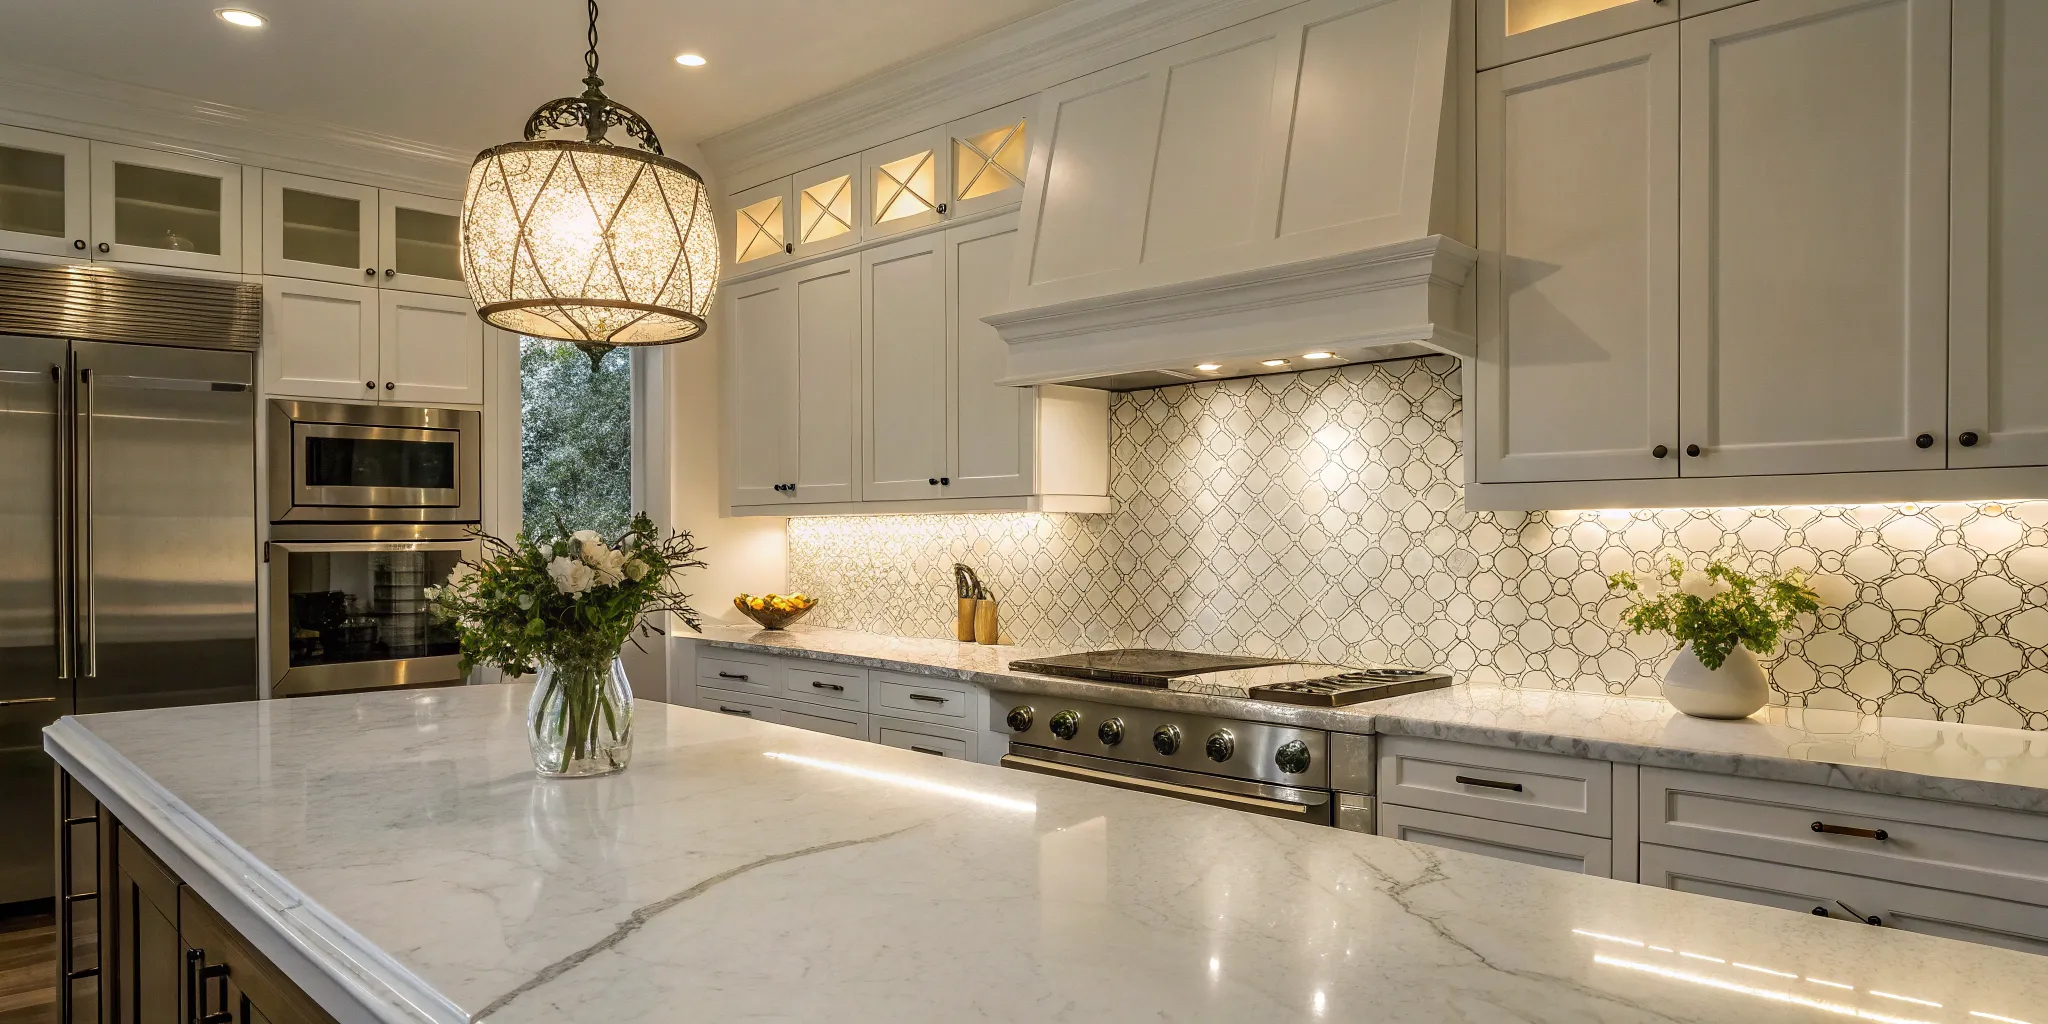
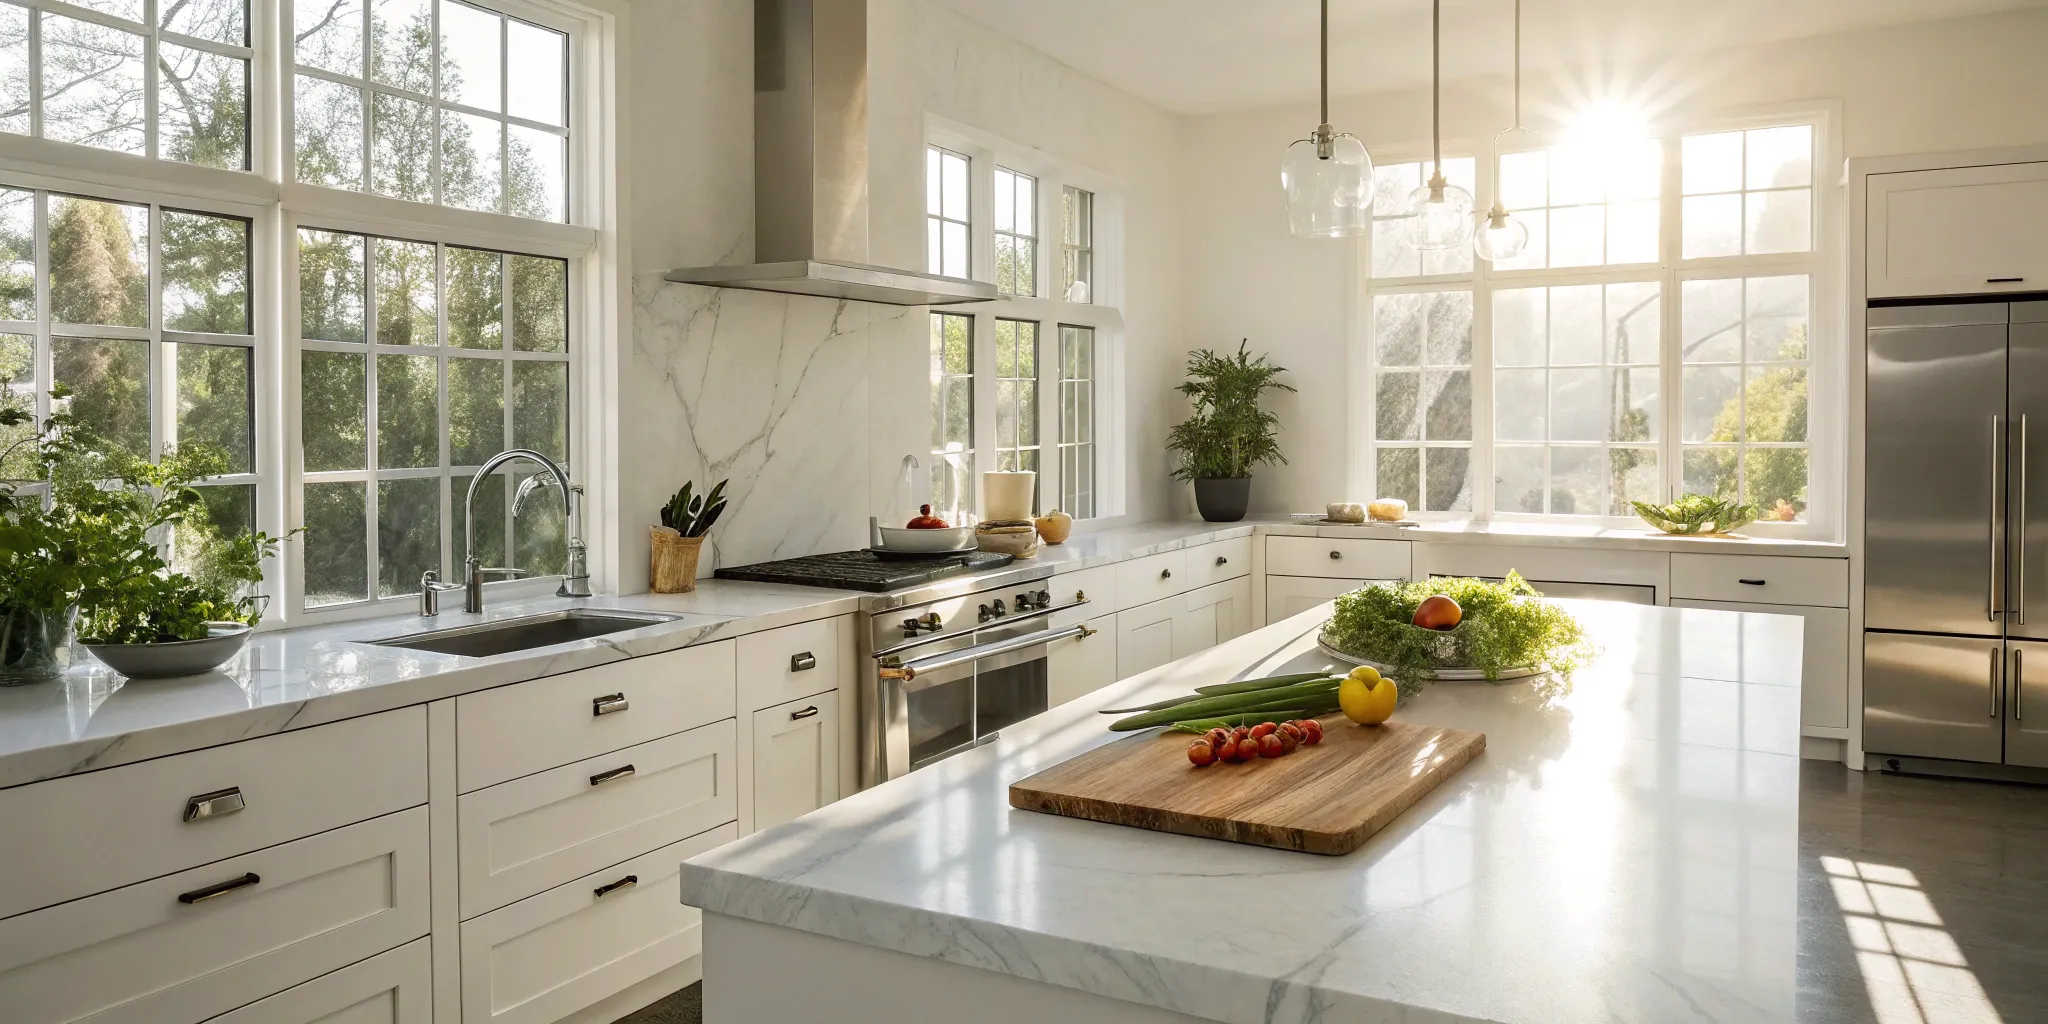
Installing a Kitchen or Wet Bar
If you dream of hosting parties or creating an in-law suite, a basement kitchen or wet bar is a game-changer. This feature will raise your costs because it requires dedicated plumbing, electrical work for appliances, and cabinetry.
A full kitchen is a major undertaking, similar to a main-floor kitchen remodel. A wet bar is a more streamlined option that still offers great functionality for entertaining.
While it adds to the budget, a well-designed kitchenette or bar can transform your basement into the most popular spot in the house for gatherings. A Realm advisor can help you weigh the costs and benefits for your specific home.
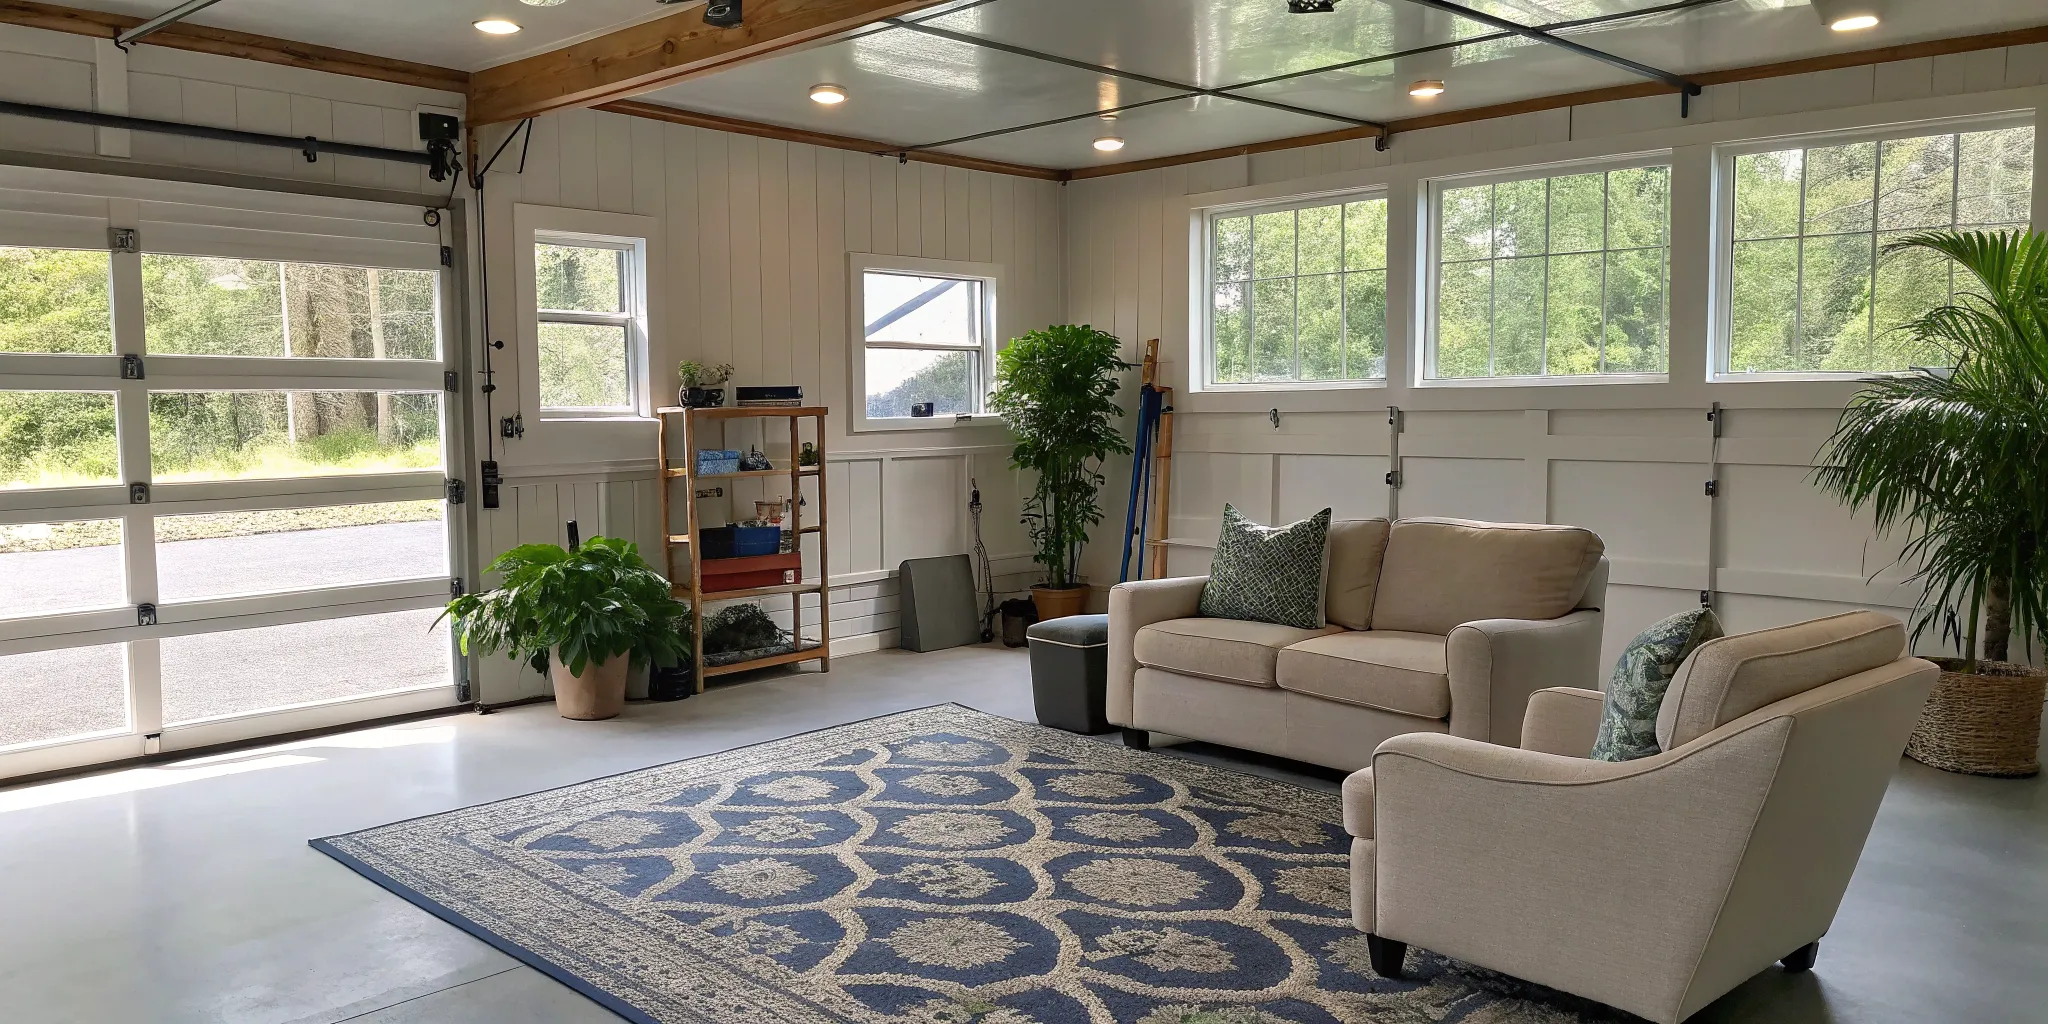
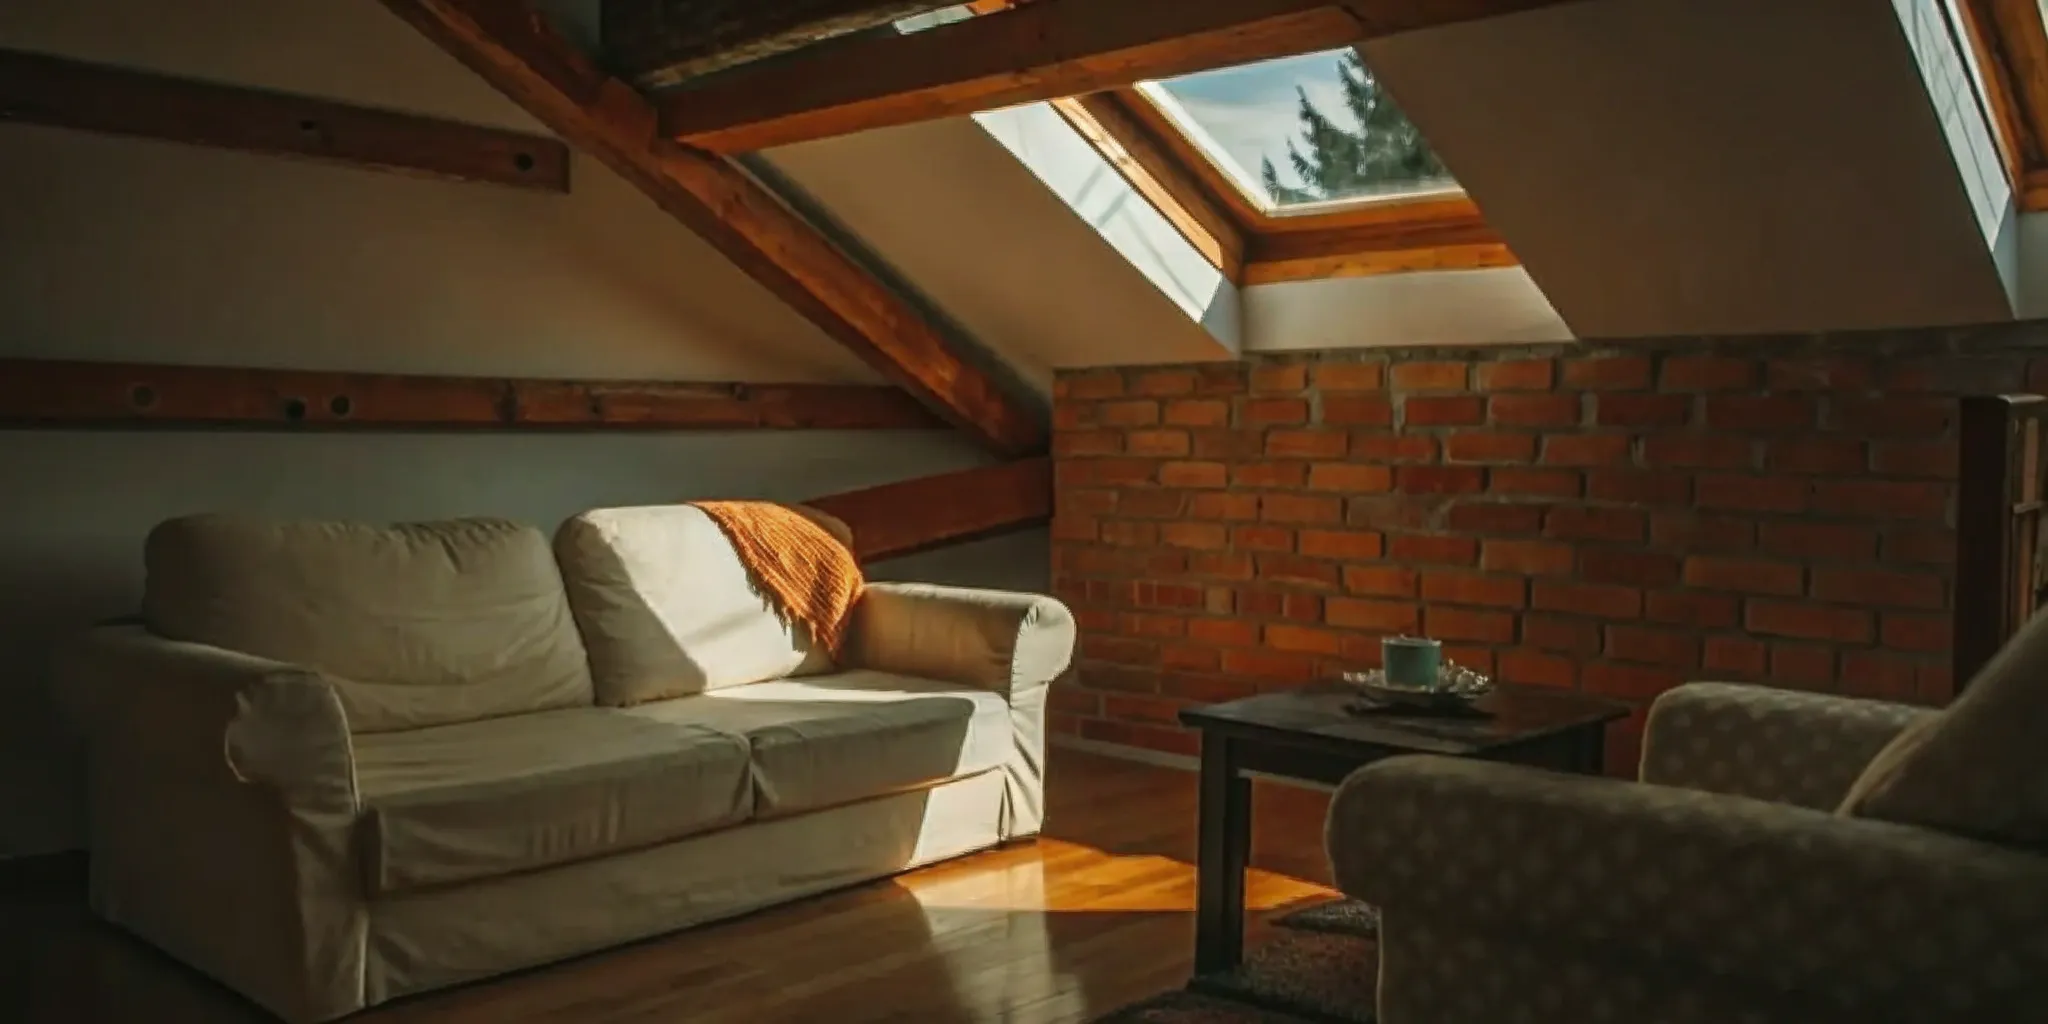
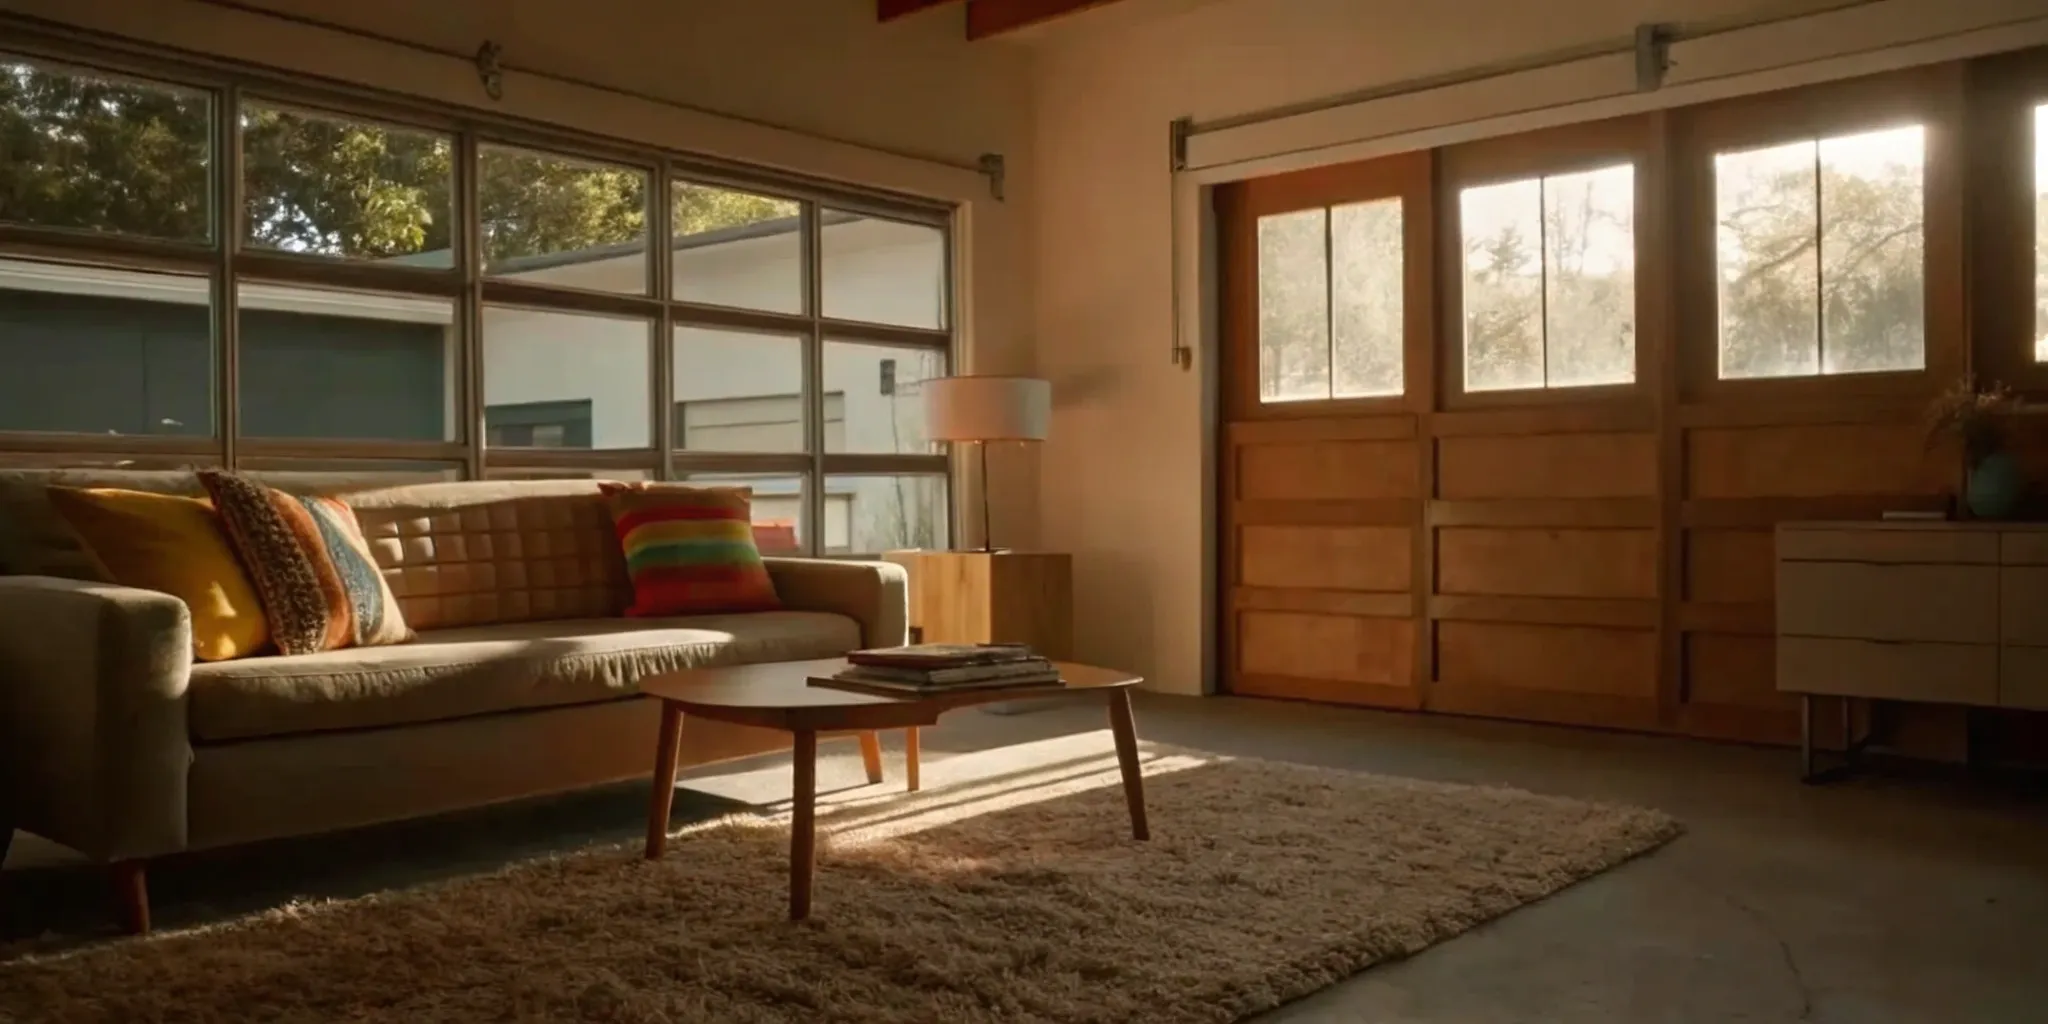
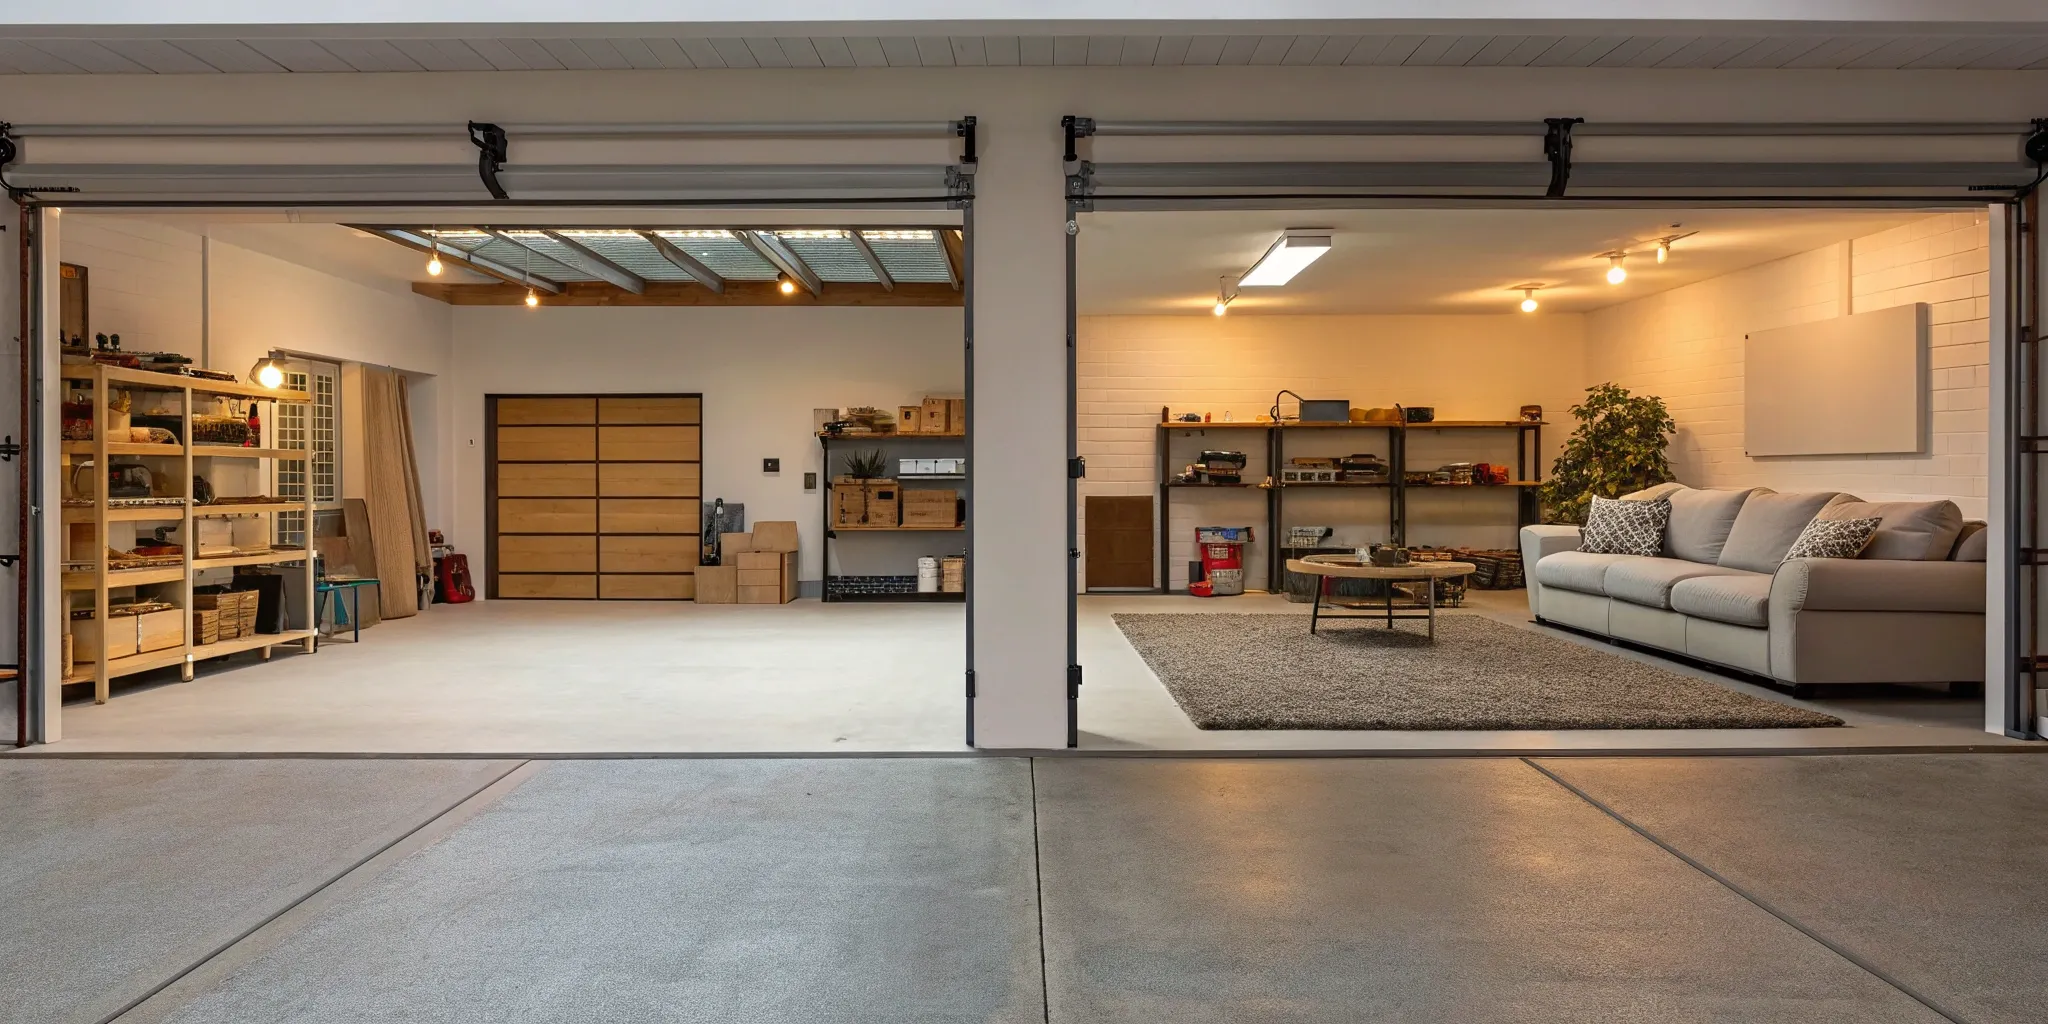
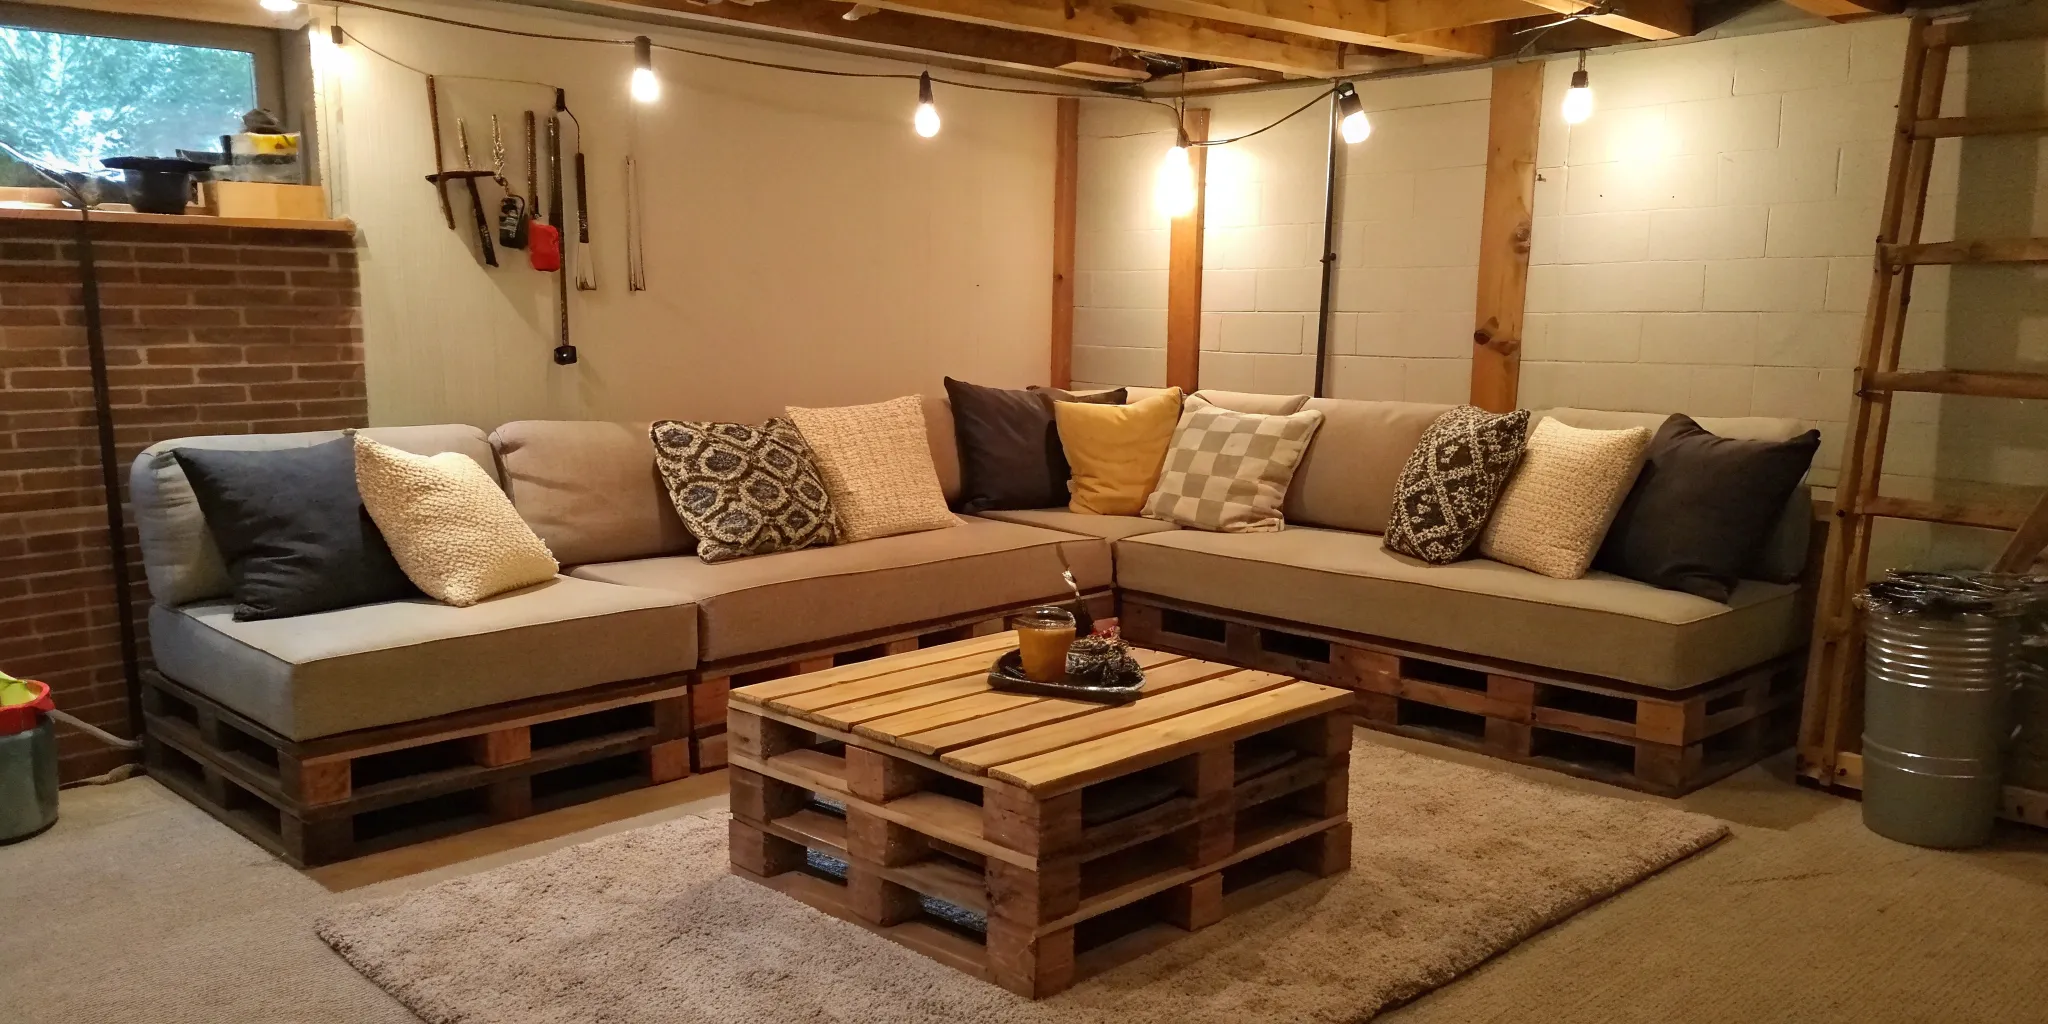
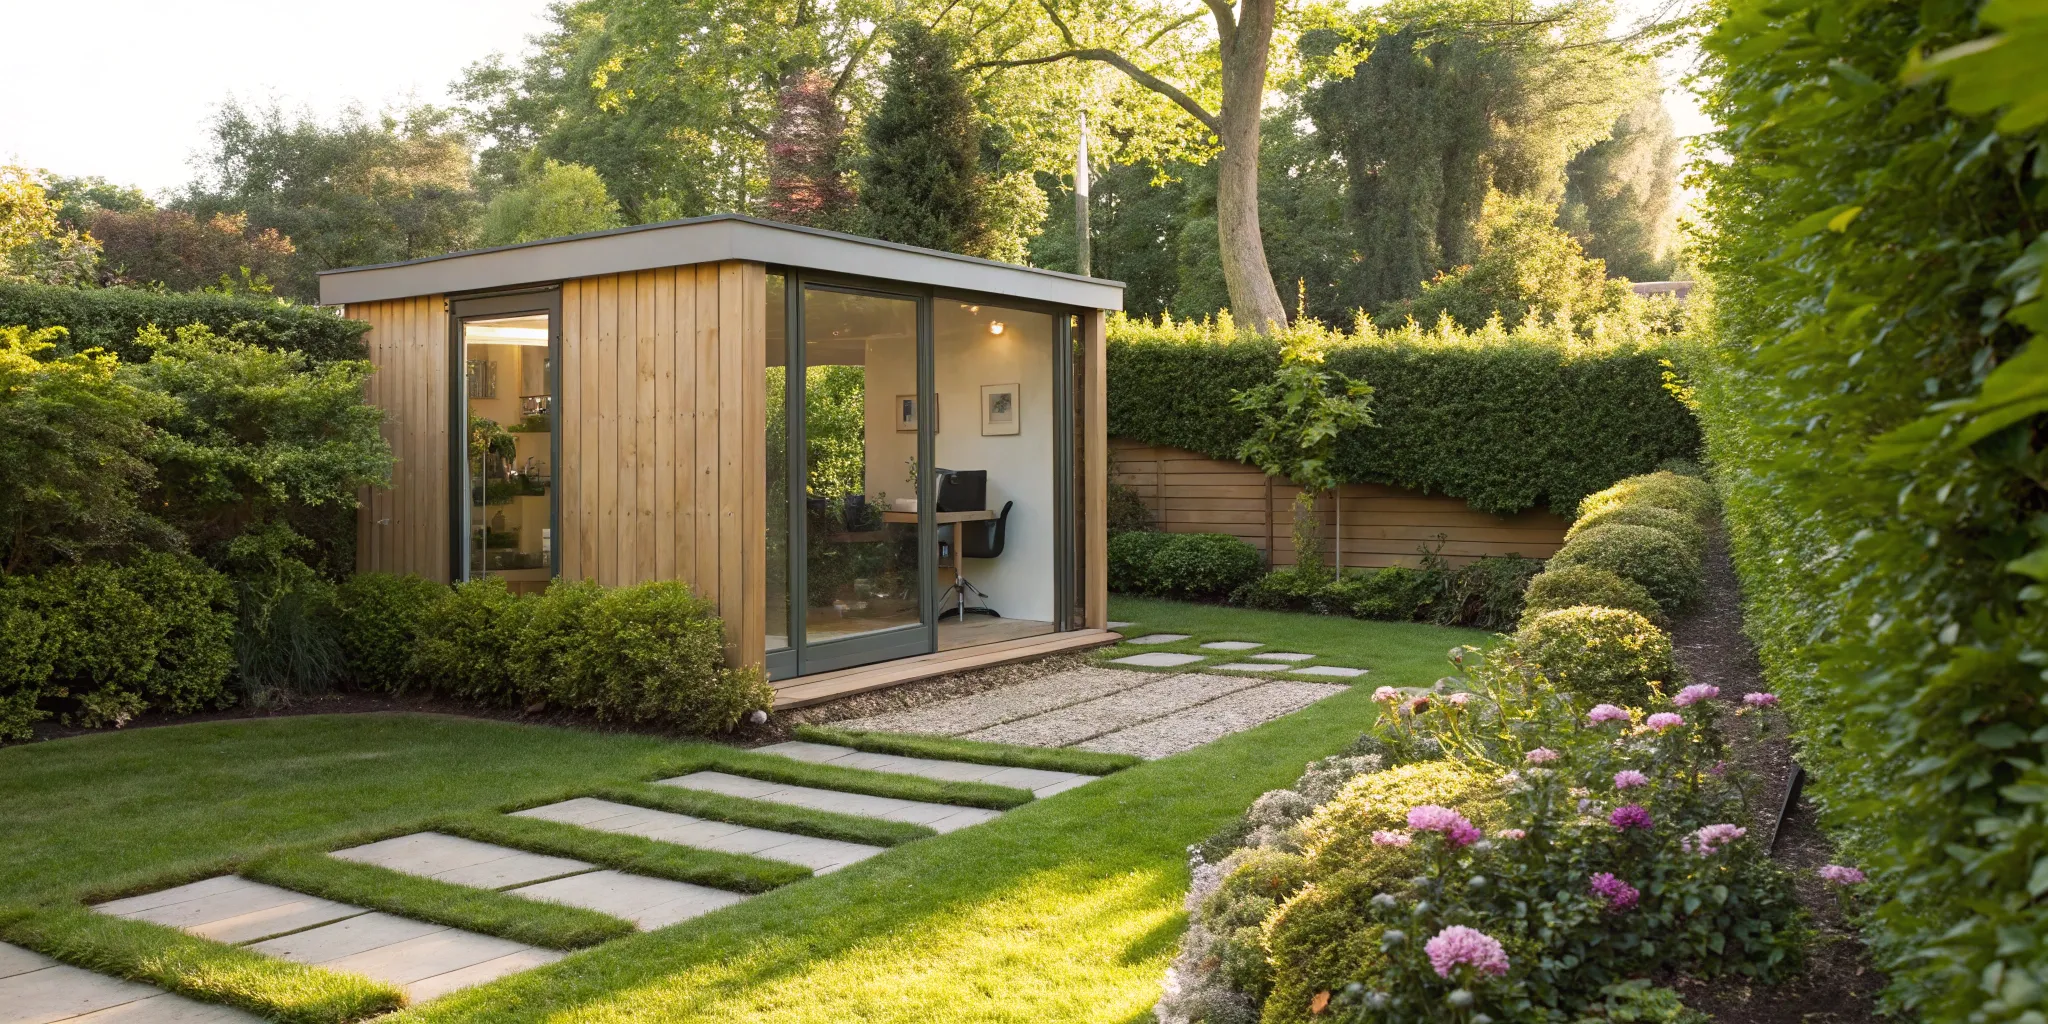
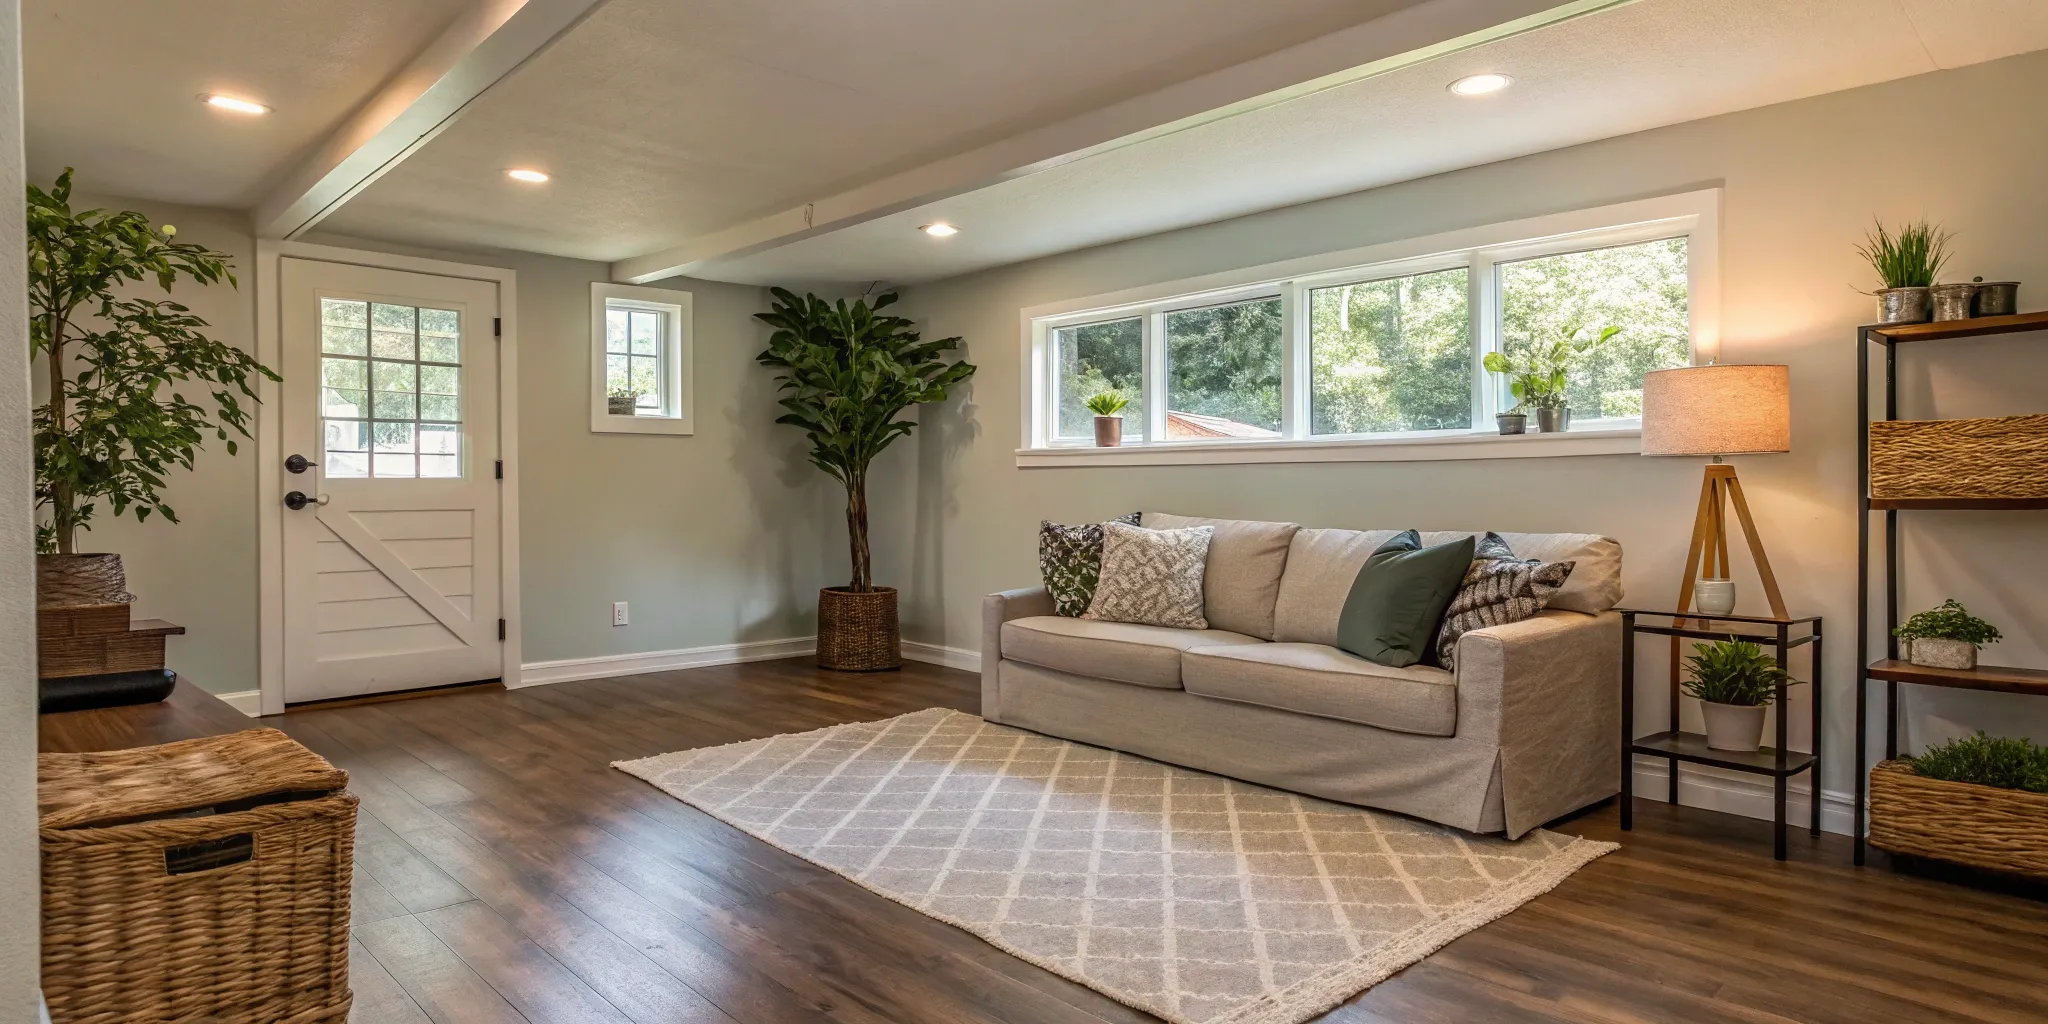
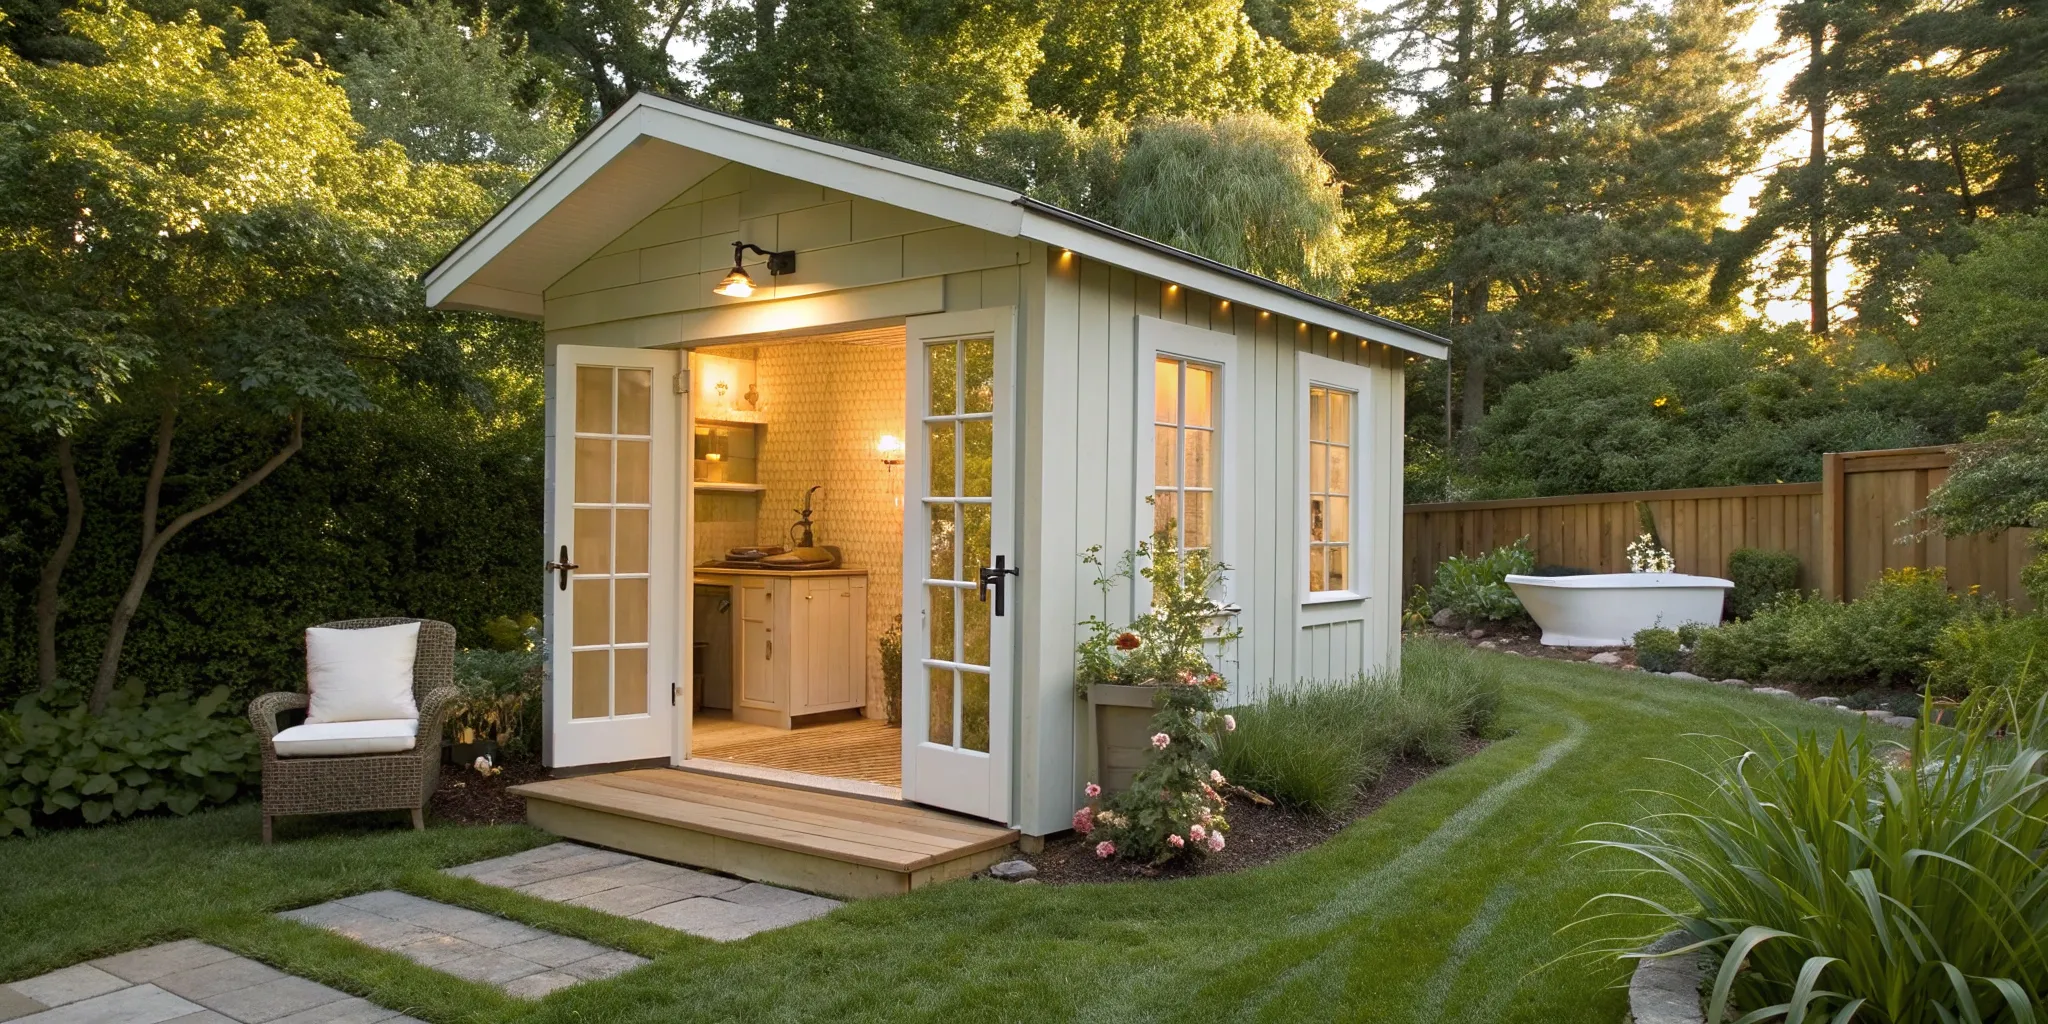
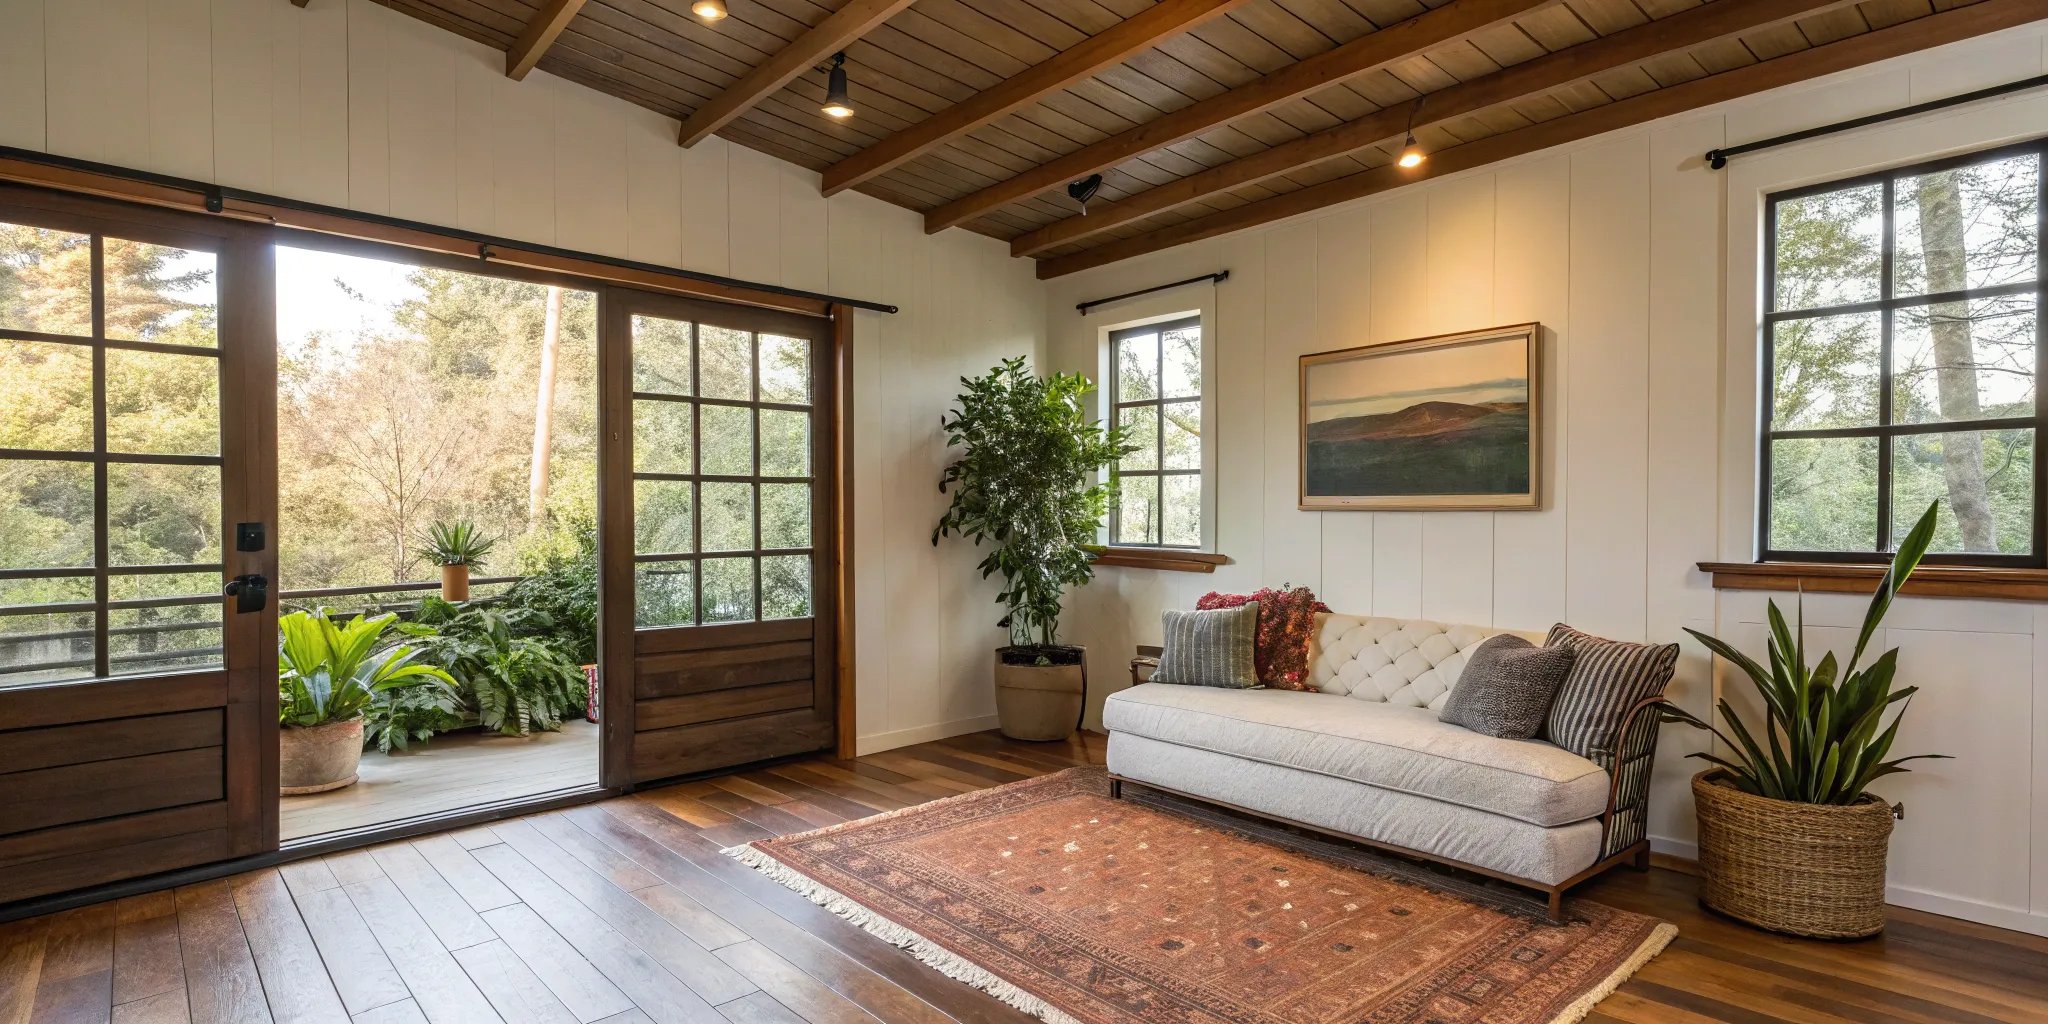
Creating an Entertainment Space
Turning your basement into the ultimate entertainment zone is a popular and valuable choice.
Whether you envision a home theater, a game room, or a cozy family den, this project can seriously enhance your lifestyle. The costs here can vary widely depending on your plans.
A simple media room is fairly straightforward, but custom built-ins, soundproofing, and high-end AV equipment will add to the price. The good news? Finishing a basement to create an entertainment space is a worthwhile investment. It can increase your home’s worth and give you a dedicated area for relaxation and fun.
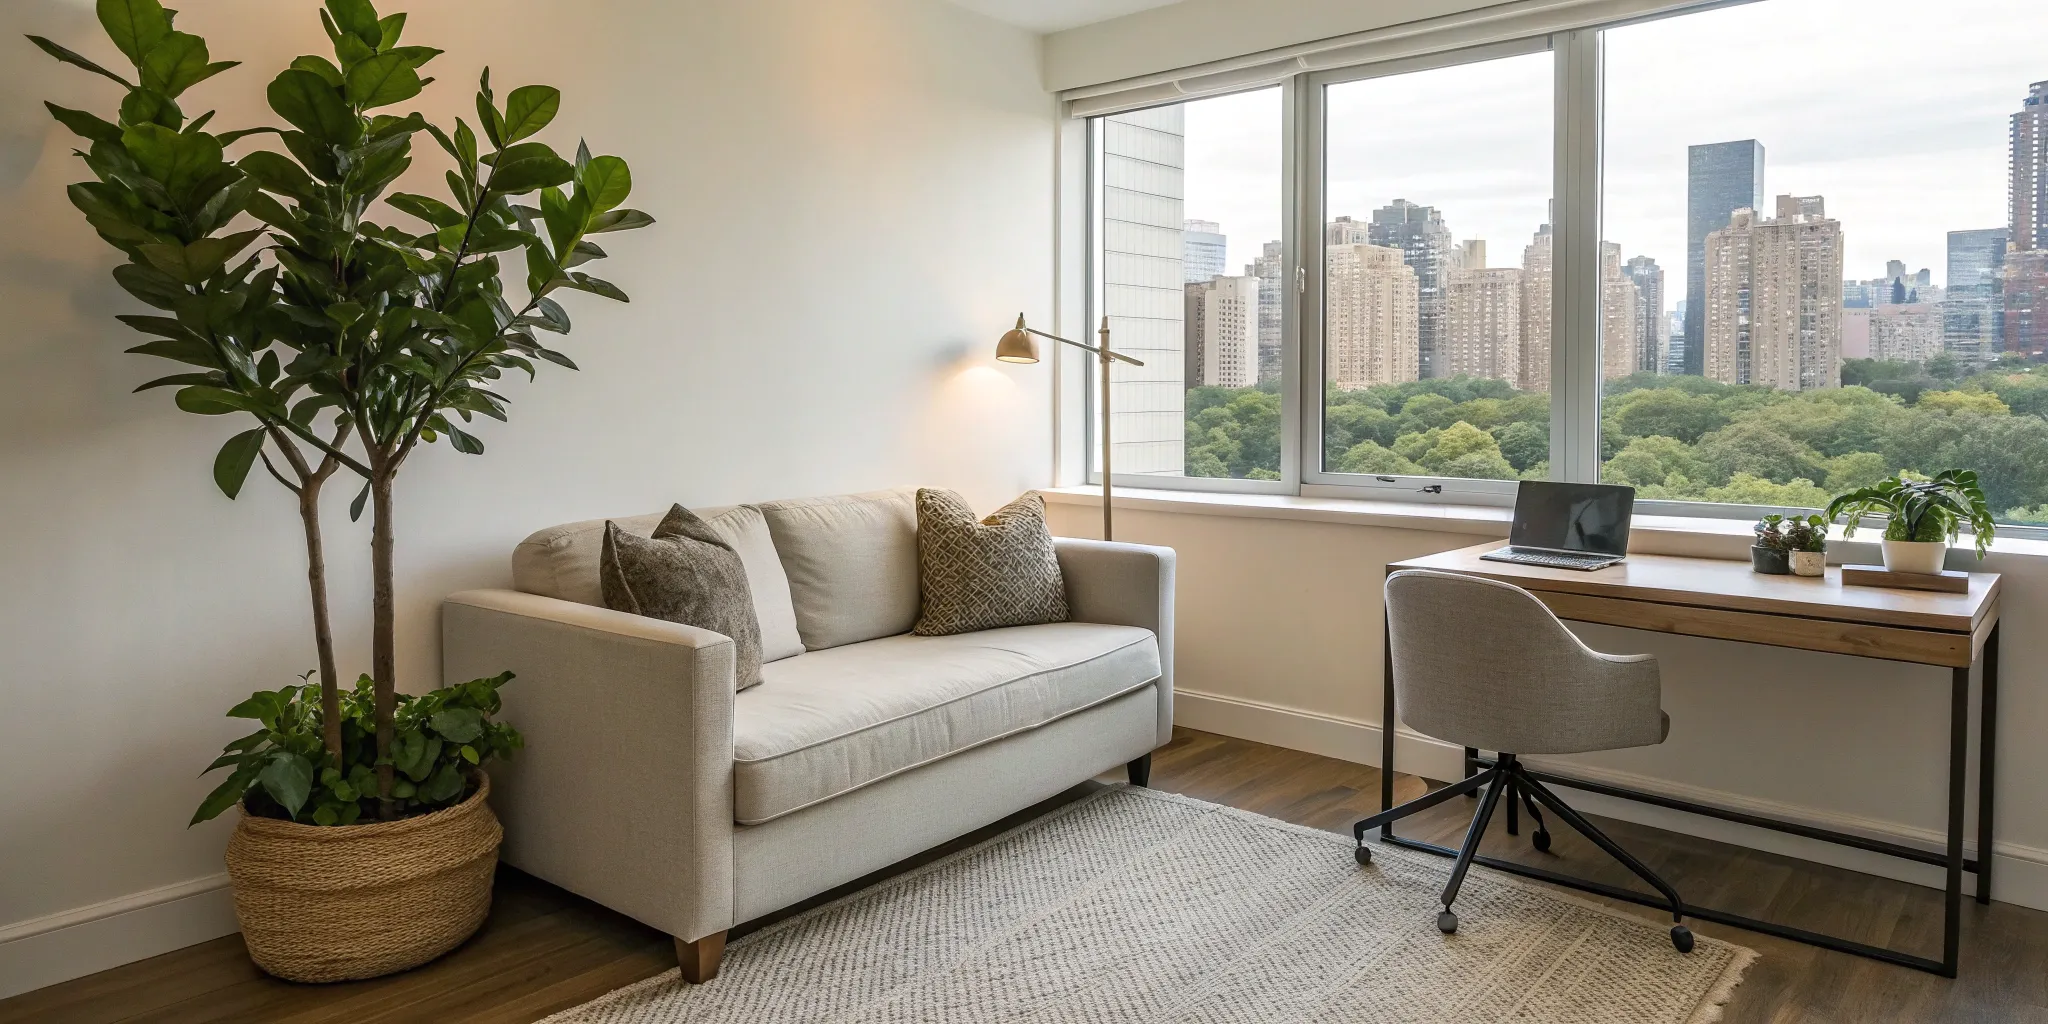
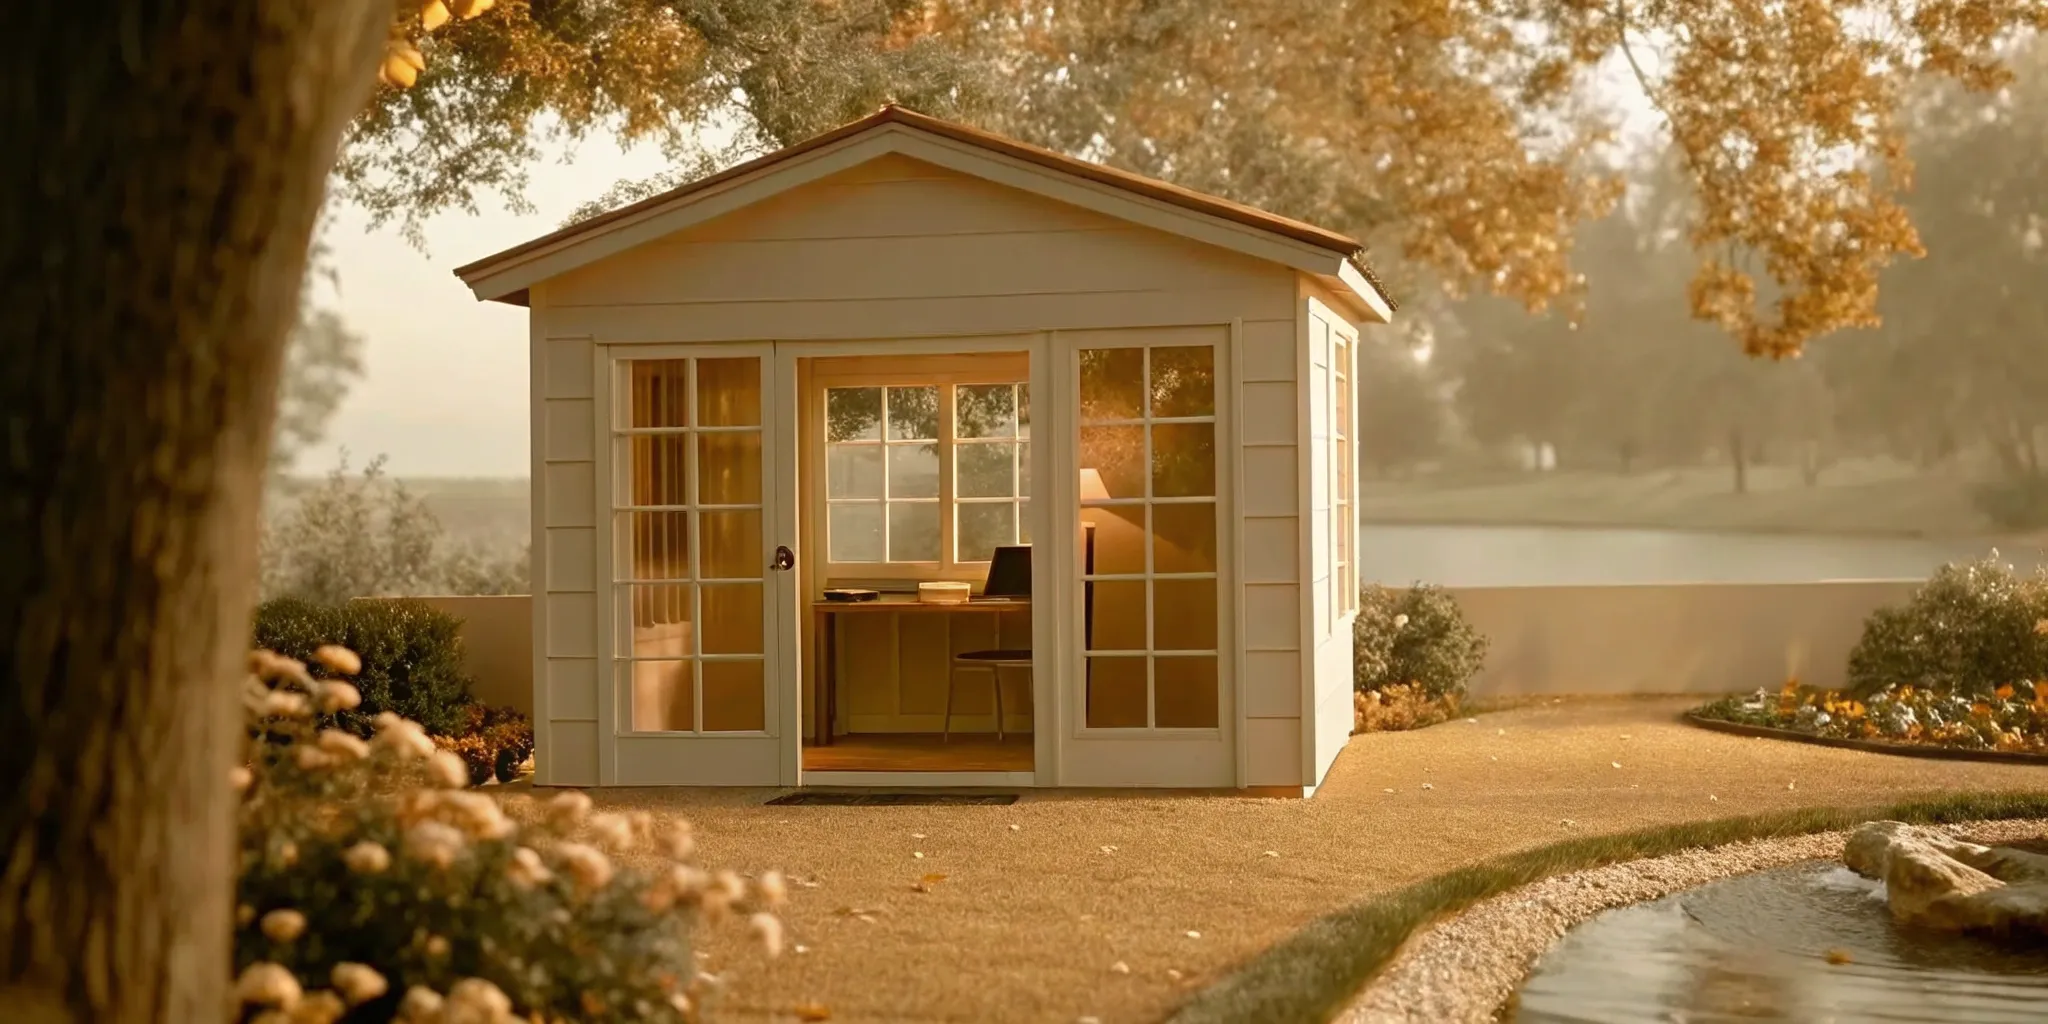
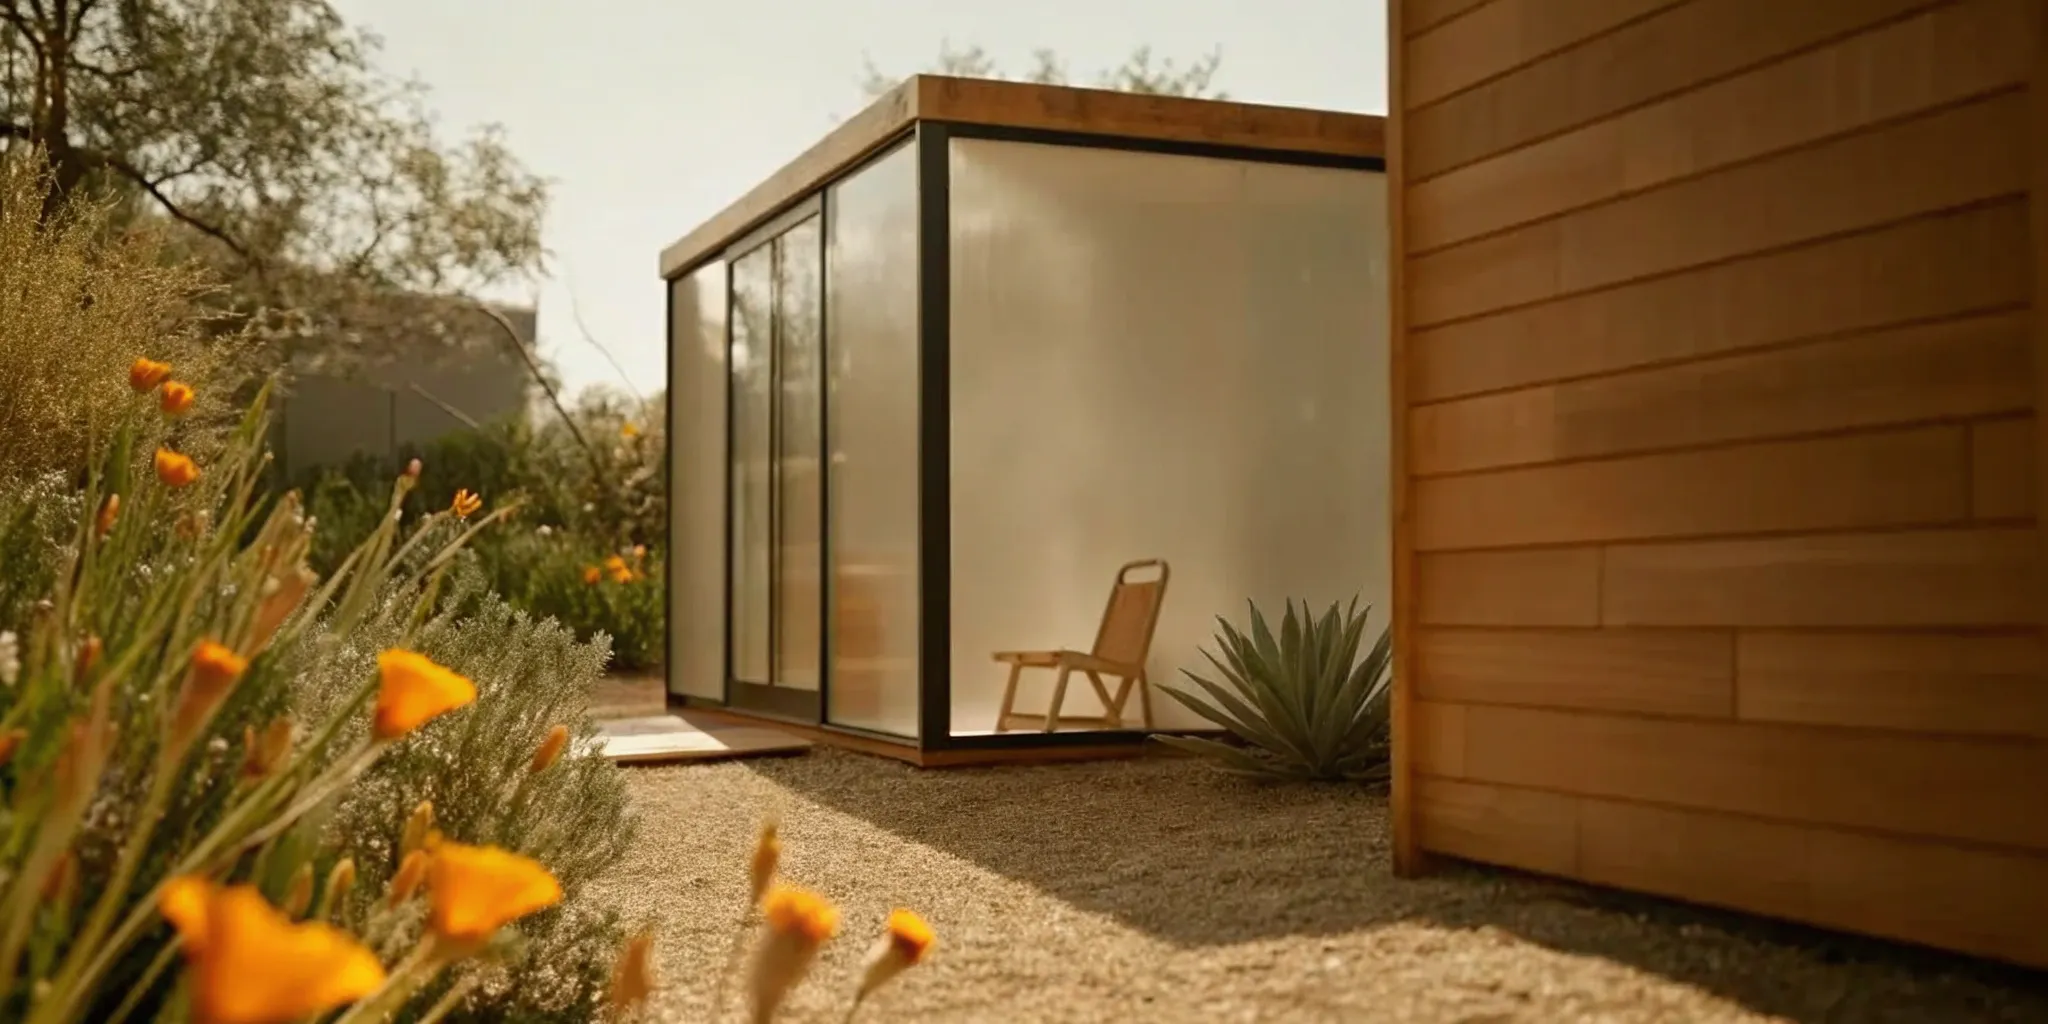
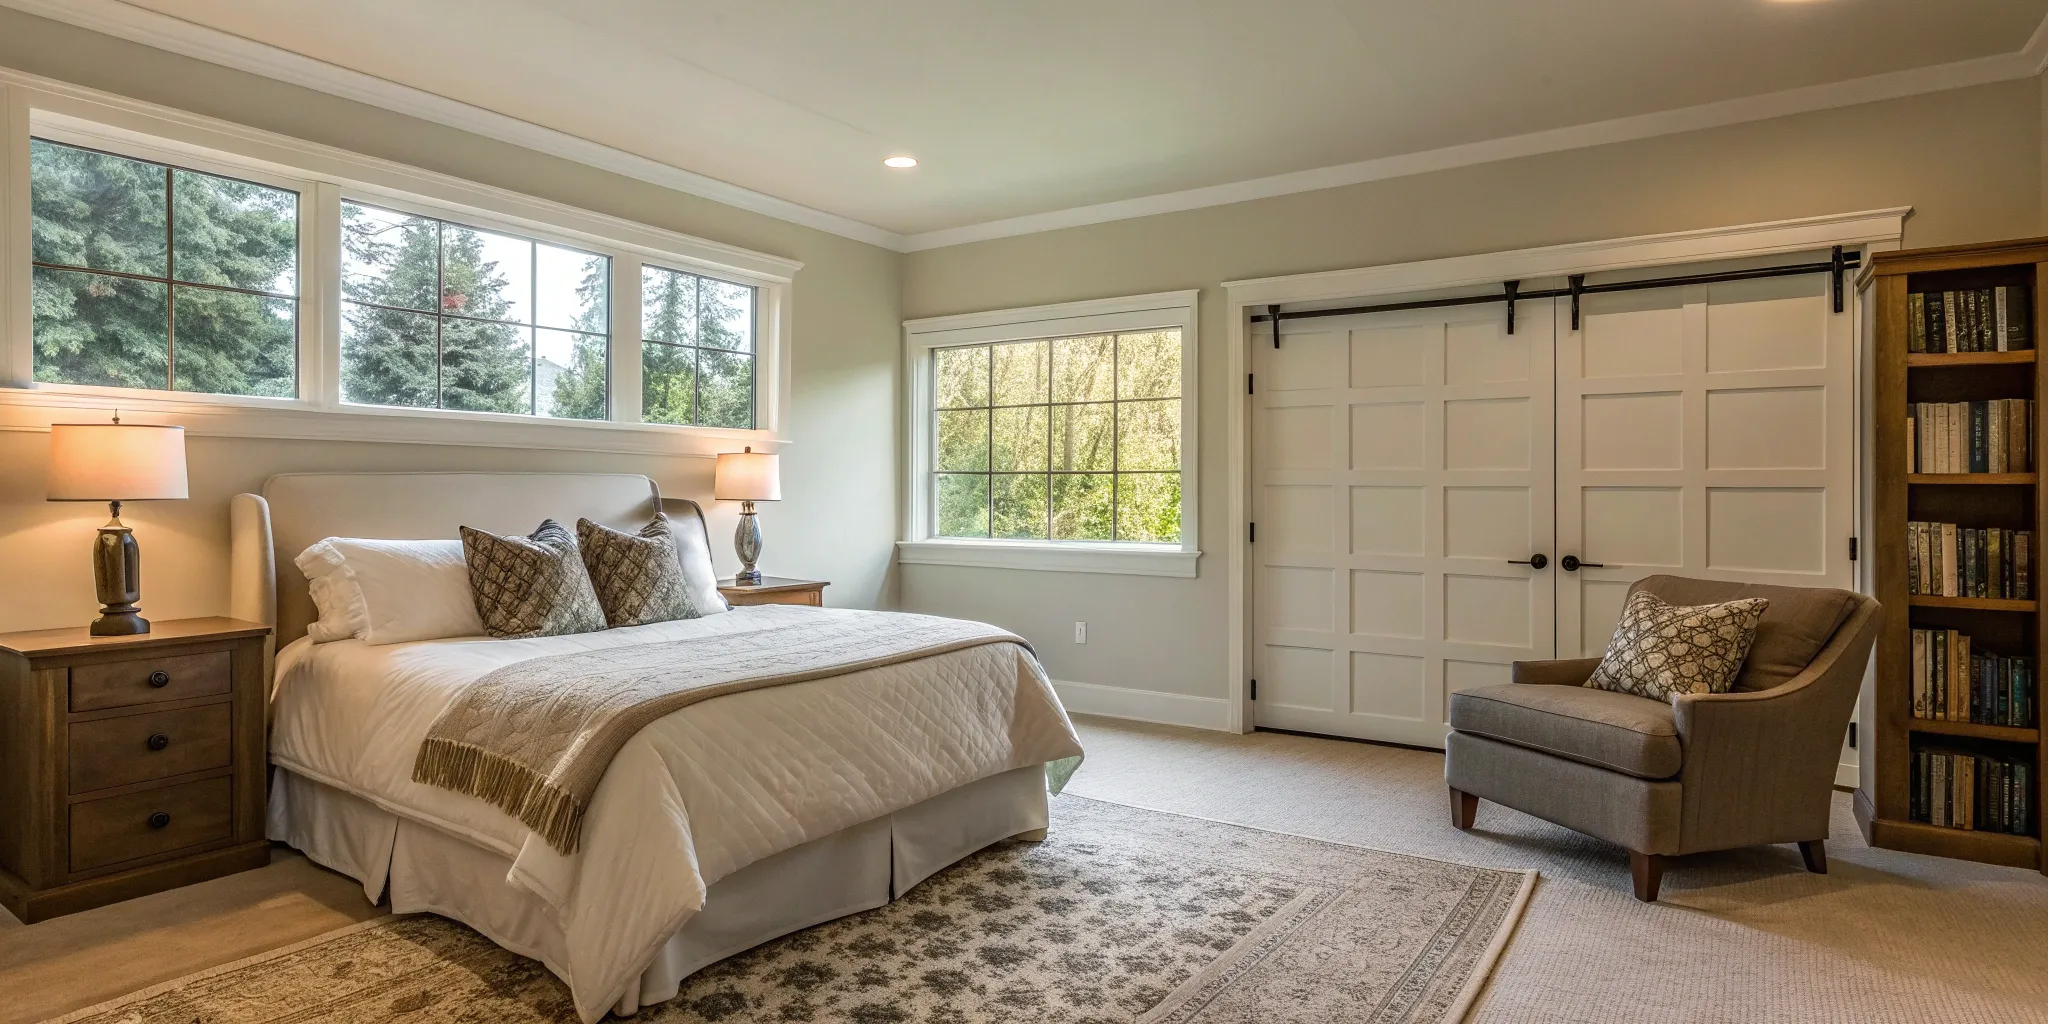
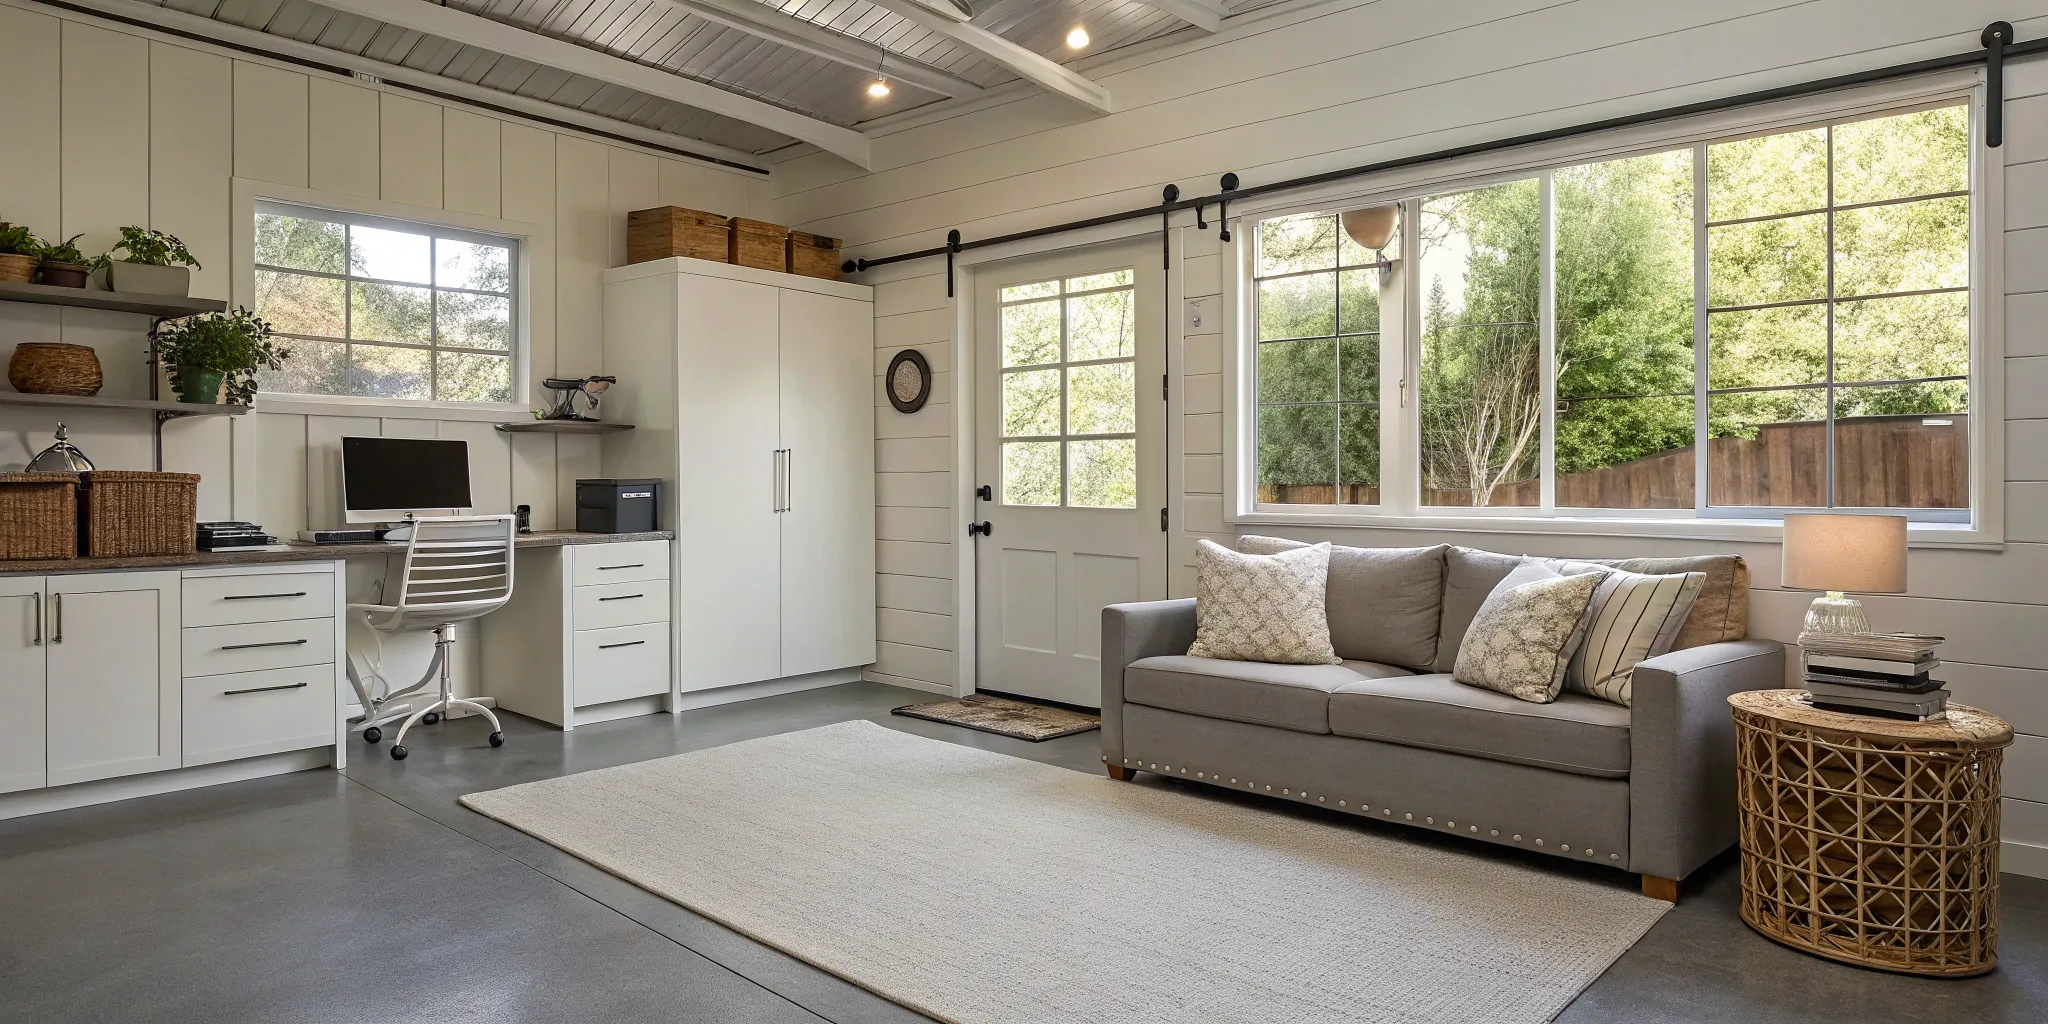
Building a Home Office
With more people working from home, transforming a section of your basement into a quiet, functional workspace is a smart move. This is often a more budget-friendly option compared to adding a bathroom or kitchen.
The main costs involve proper lighting, electrical outlets for your equipment, and perhaps some insulation for soundproofing. This addition offers incredible flexibility, allowing you to create a customized workspace that’s separate from the main living areas, helping you focus and maintain a healthy work-life balance.
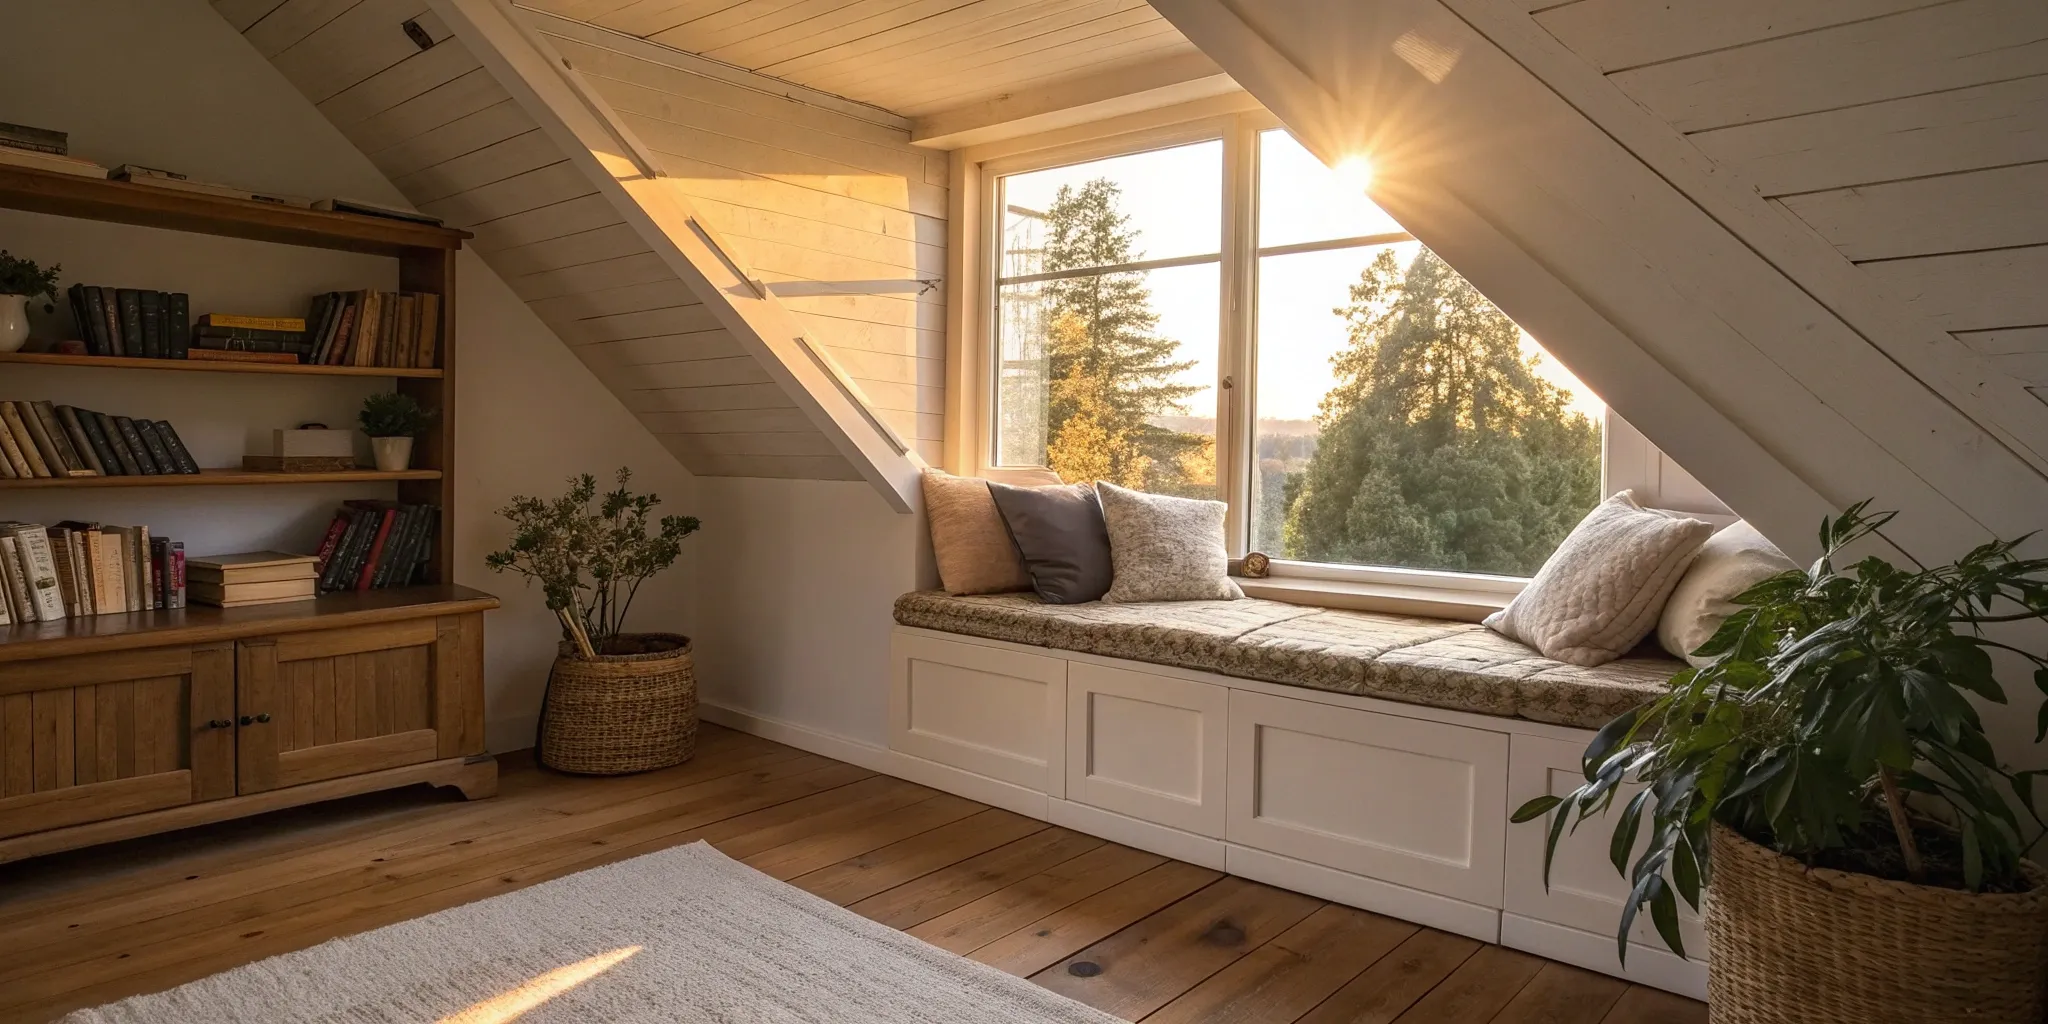
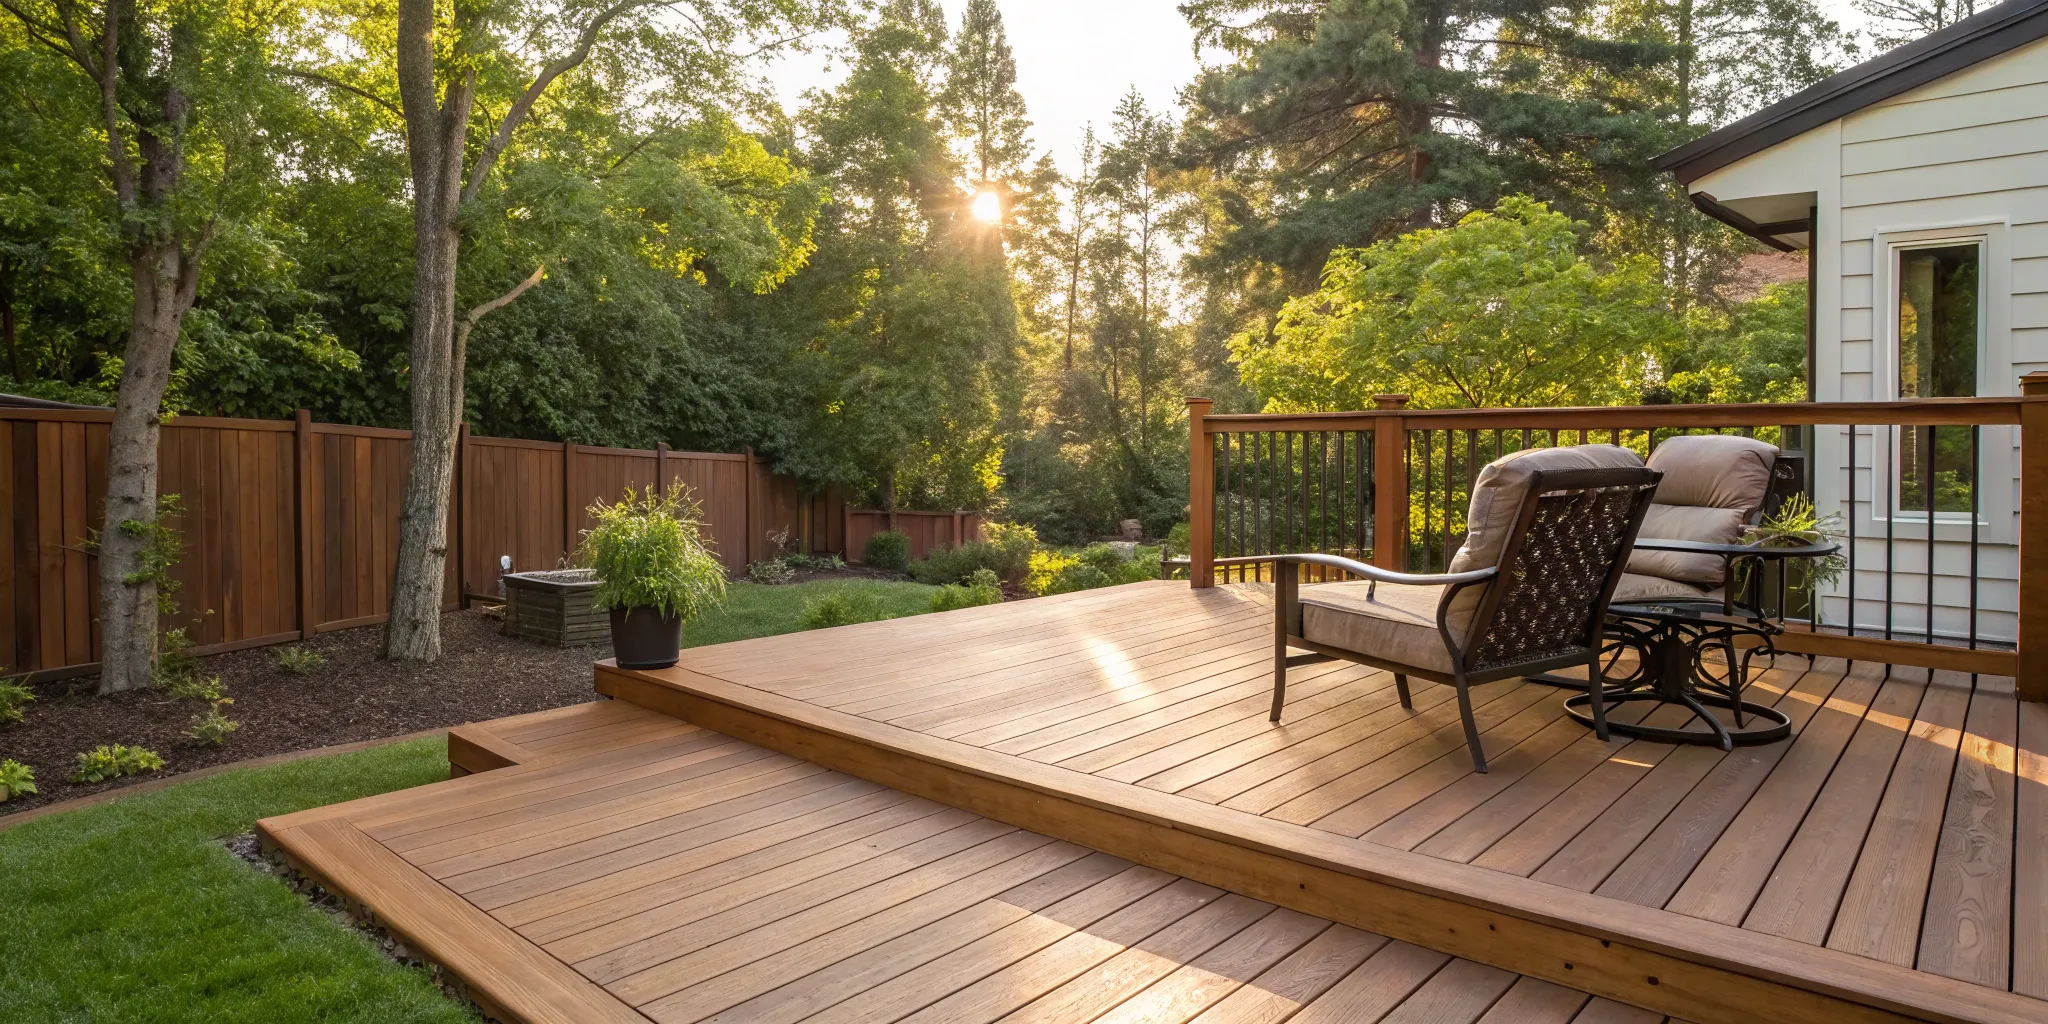
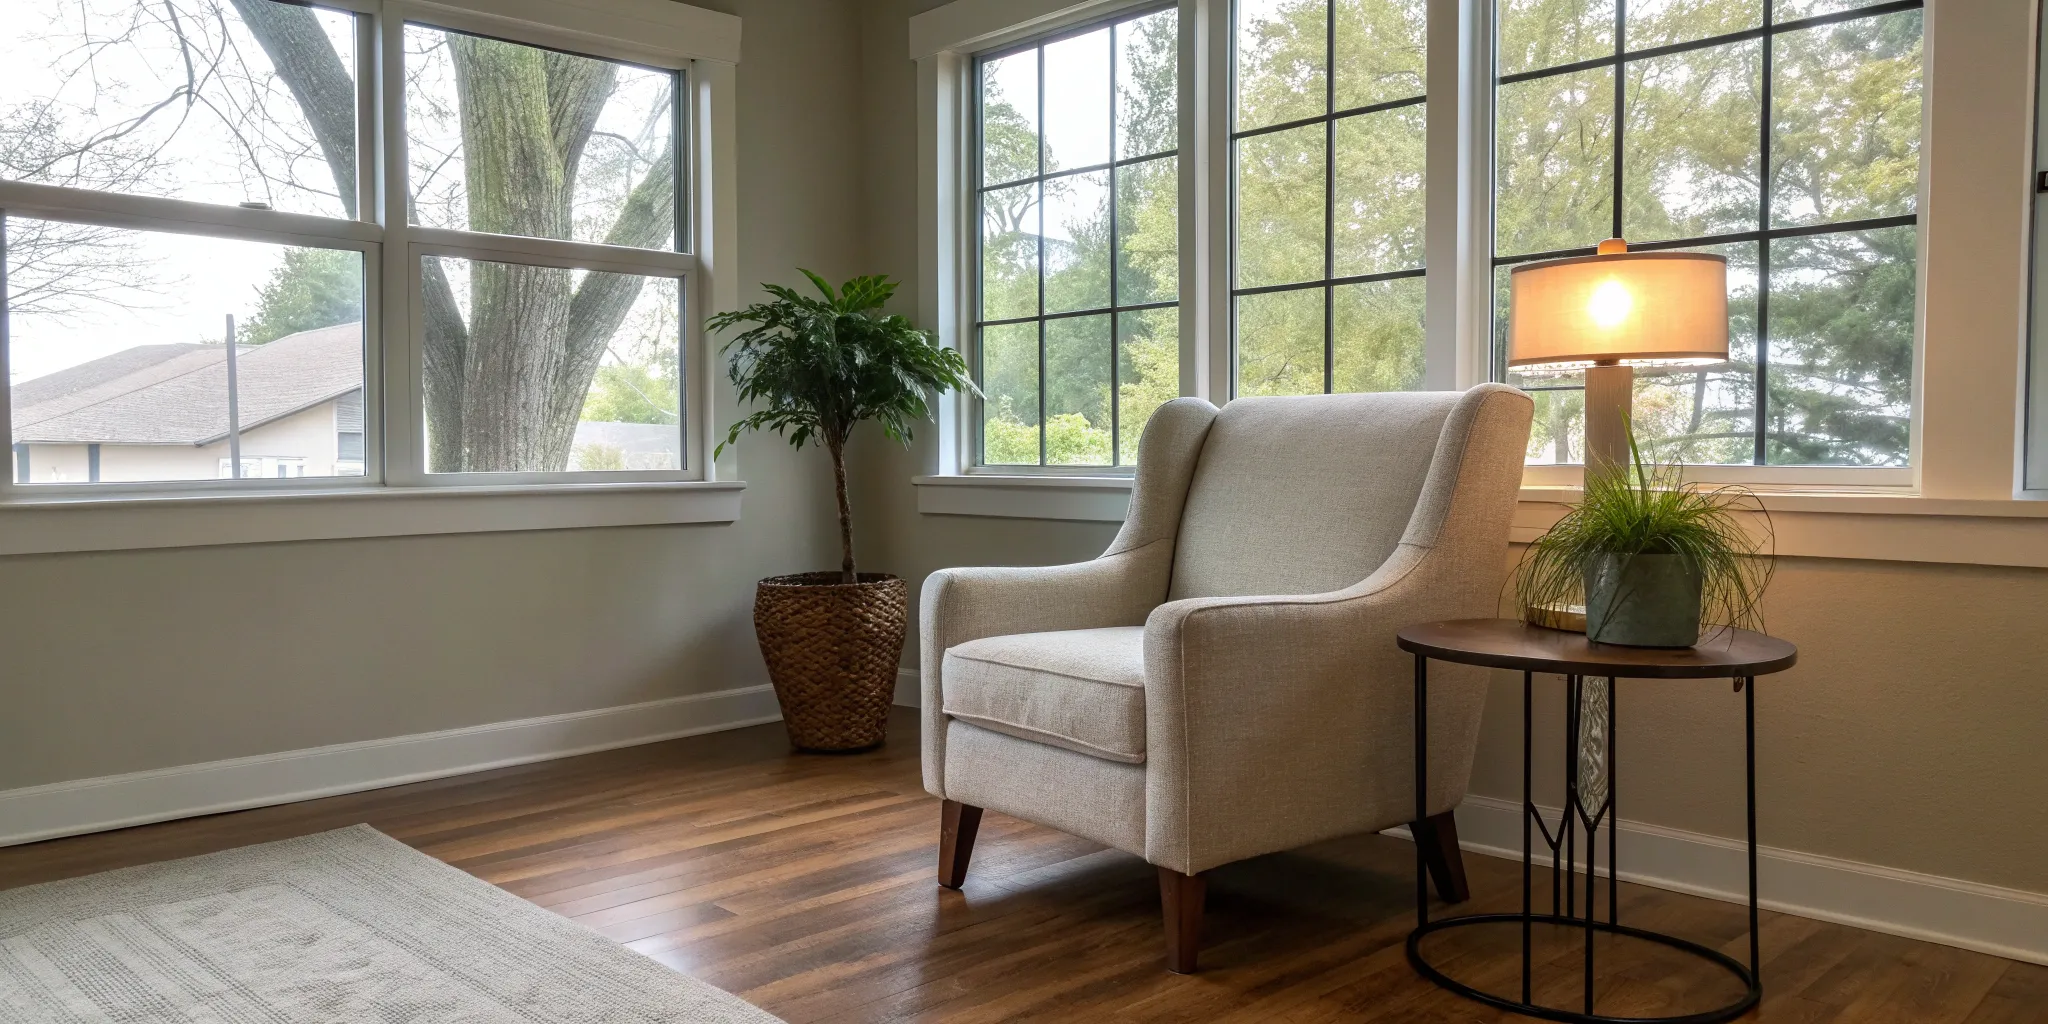
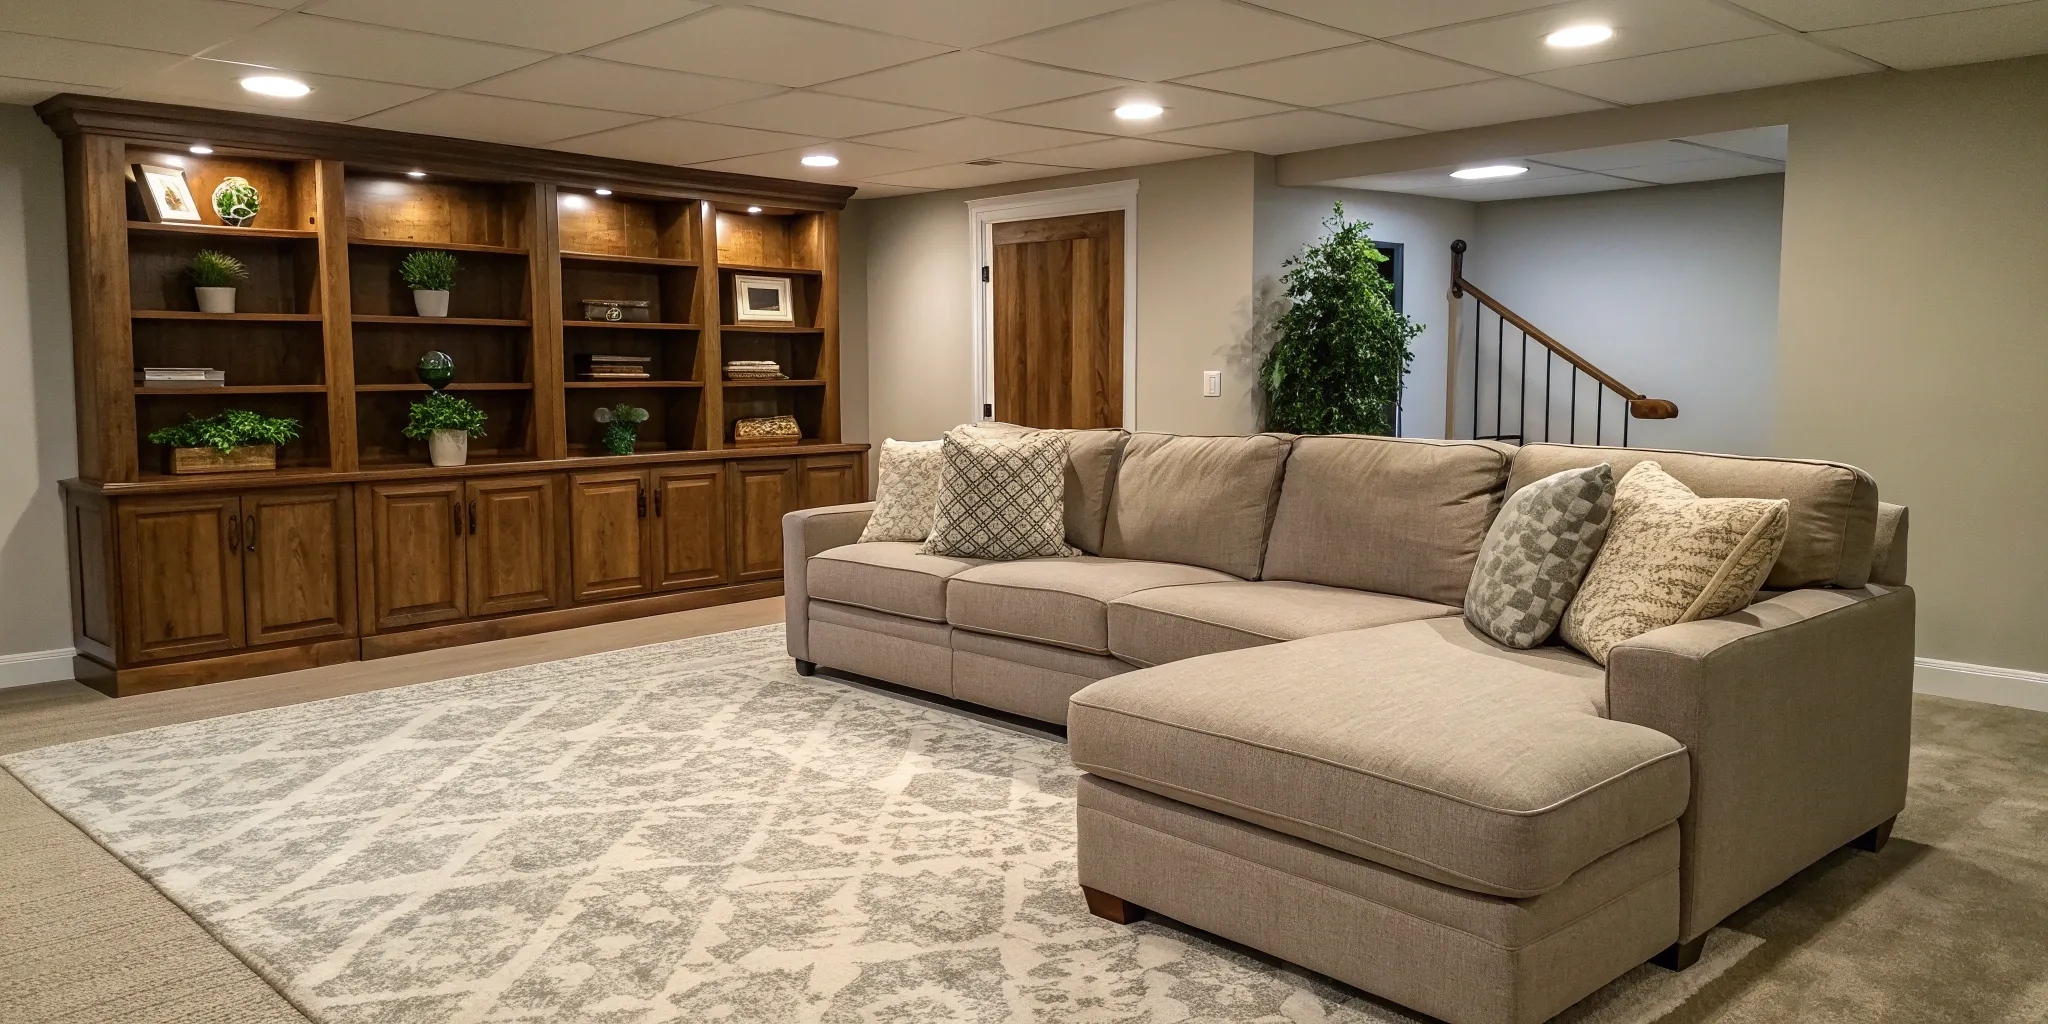
Designing Smart Storage
Don’t underestimate the power of great storage. A well-organized basement can make your entire home feel more spacious and functional. Creating smart storage solutions is also one of the most budget-friendly ways to finish a part of your basement. You can use cost-effective shelving units or plan for custom built-ins to hide clutter and organize everything from seasonal decor to sports equipment.
To keep costs down, you can tackle simpler tasks like painting or installing basic flooring yourself.
Thoughtful storage ensures every square foot of your finished basement is put to good use without breaking the bank.
Budgeting for Safety and Essential Systems
Before you start picking out paint colors and flooring, it’s crucial to budget for the systems that make your basement a safe, comfortable, and legal living space. These foundational elements aren’t the most glamorous part of a renovation, but they are non-negotiable.
Addressing waterproofing, electrical, HVAC, and structural needs from the start prevents costly headaches down the road. Think of this as the essential groundwork that ensures your beautiful new space is built to last. Planning for these core systems protects your investment and ensures your finished basement is as functional as it is stylish.
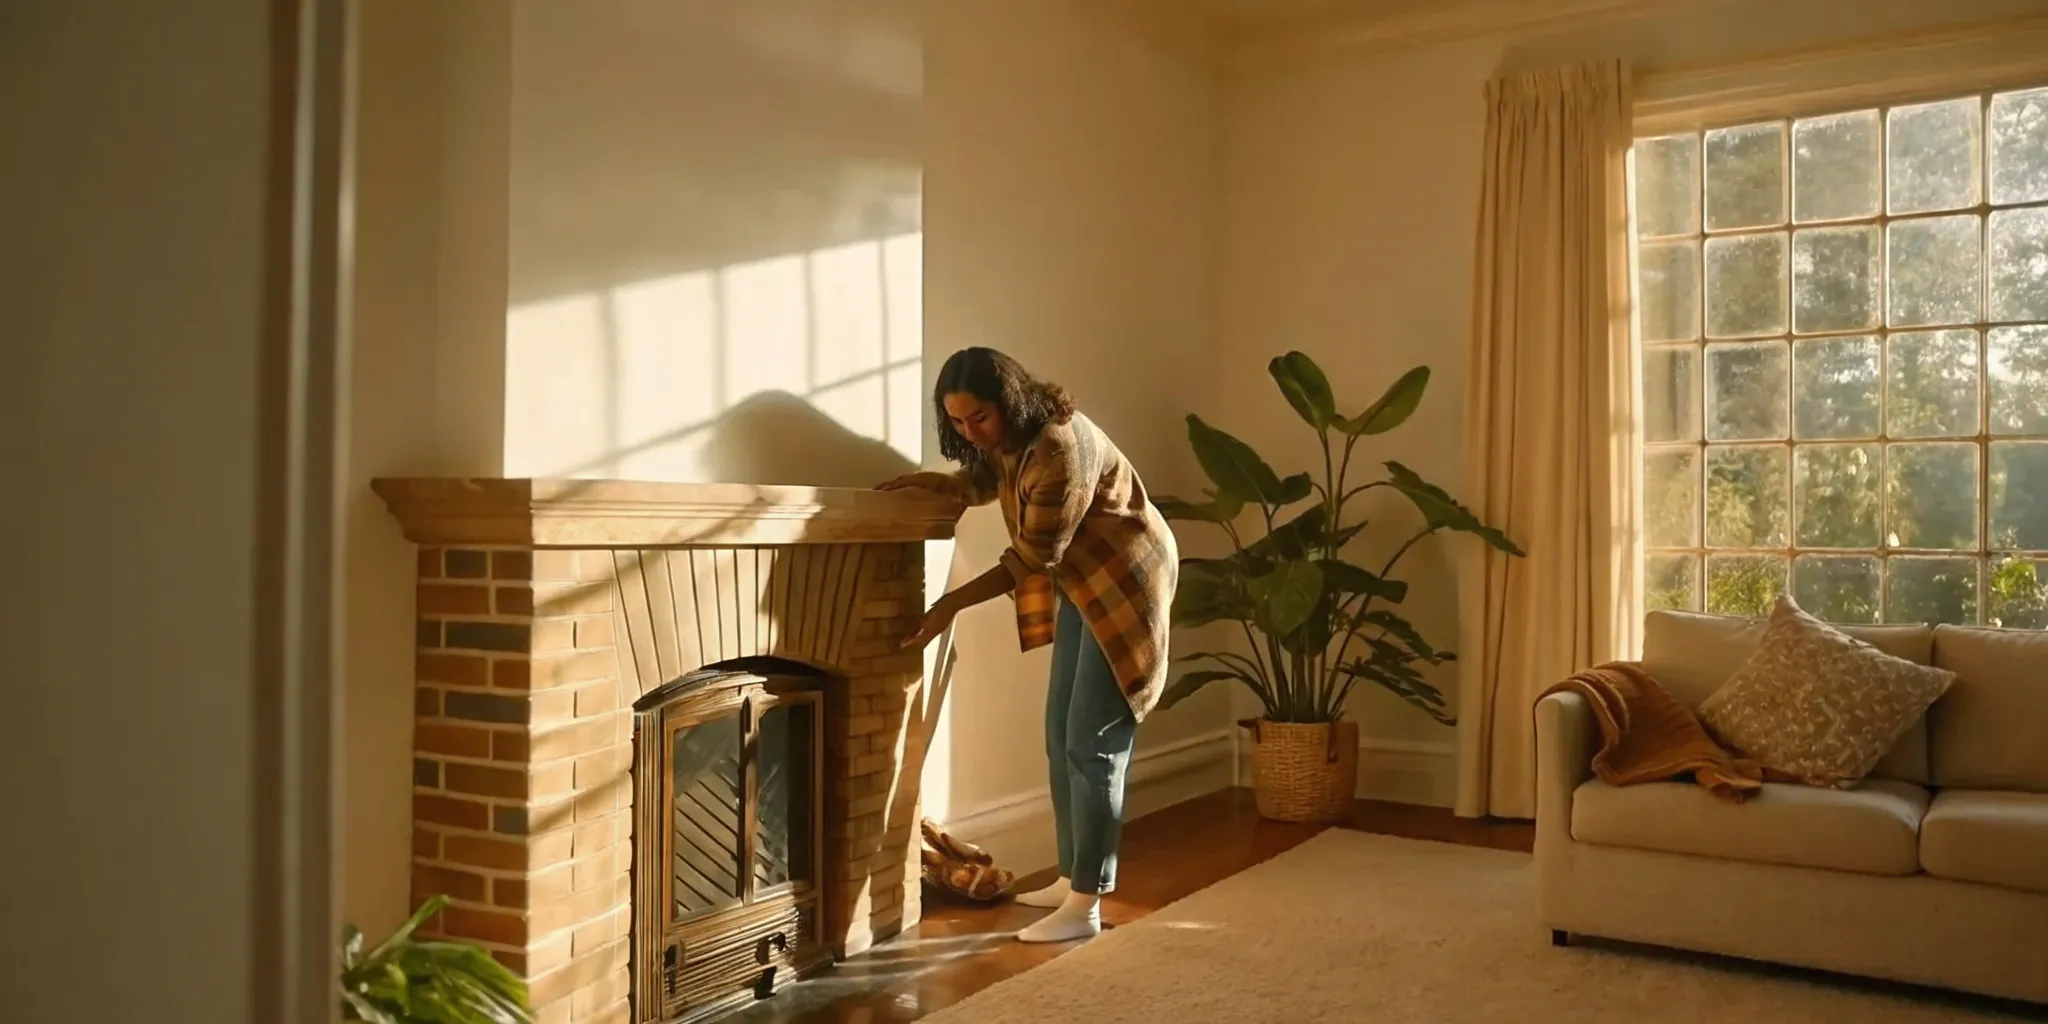
Waterproofing and Foundation
A dry basement is the foundation of a successful renovation. Before any other work begins, you have to ensure the space is completely free of moisture. Waterproofing is a critical first step that can involve sealing foundation cracks, installing a sump pump, or adding interior drainage systems.
While the cost can range from around $1,900 to $6,500, skipping this stage can lead to mold, mildew, and water damage that will ruin your new drywall and flooring. It’s far better to invest in a comprehensive waterproofing solution upfront than to face expensive repairs and health hazards later. A dry, sealed space is the only canvas on which you should build your dream basement.
Electrical and HVAC Needs
To transform your basement from a storage area into a true living space, you’ll need proper lighting, power, and climate control. This means budgeting for significant electrical and HVAC work.
You’ll need a licensed electrician to run new wiring for outlets, overhead lighting, and any special features like a home theater. Similarly, you’ll need an HVAC professional to extend your home’s existing ductwork or install a separate, dedicated system like a ductless mini-split to keep the space comfortable year-round.
These mechanical systems are complex and must be installed correctly to meet safety codes and function efficiently, so this is definitely a job for the pros.
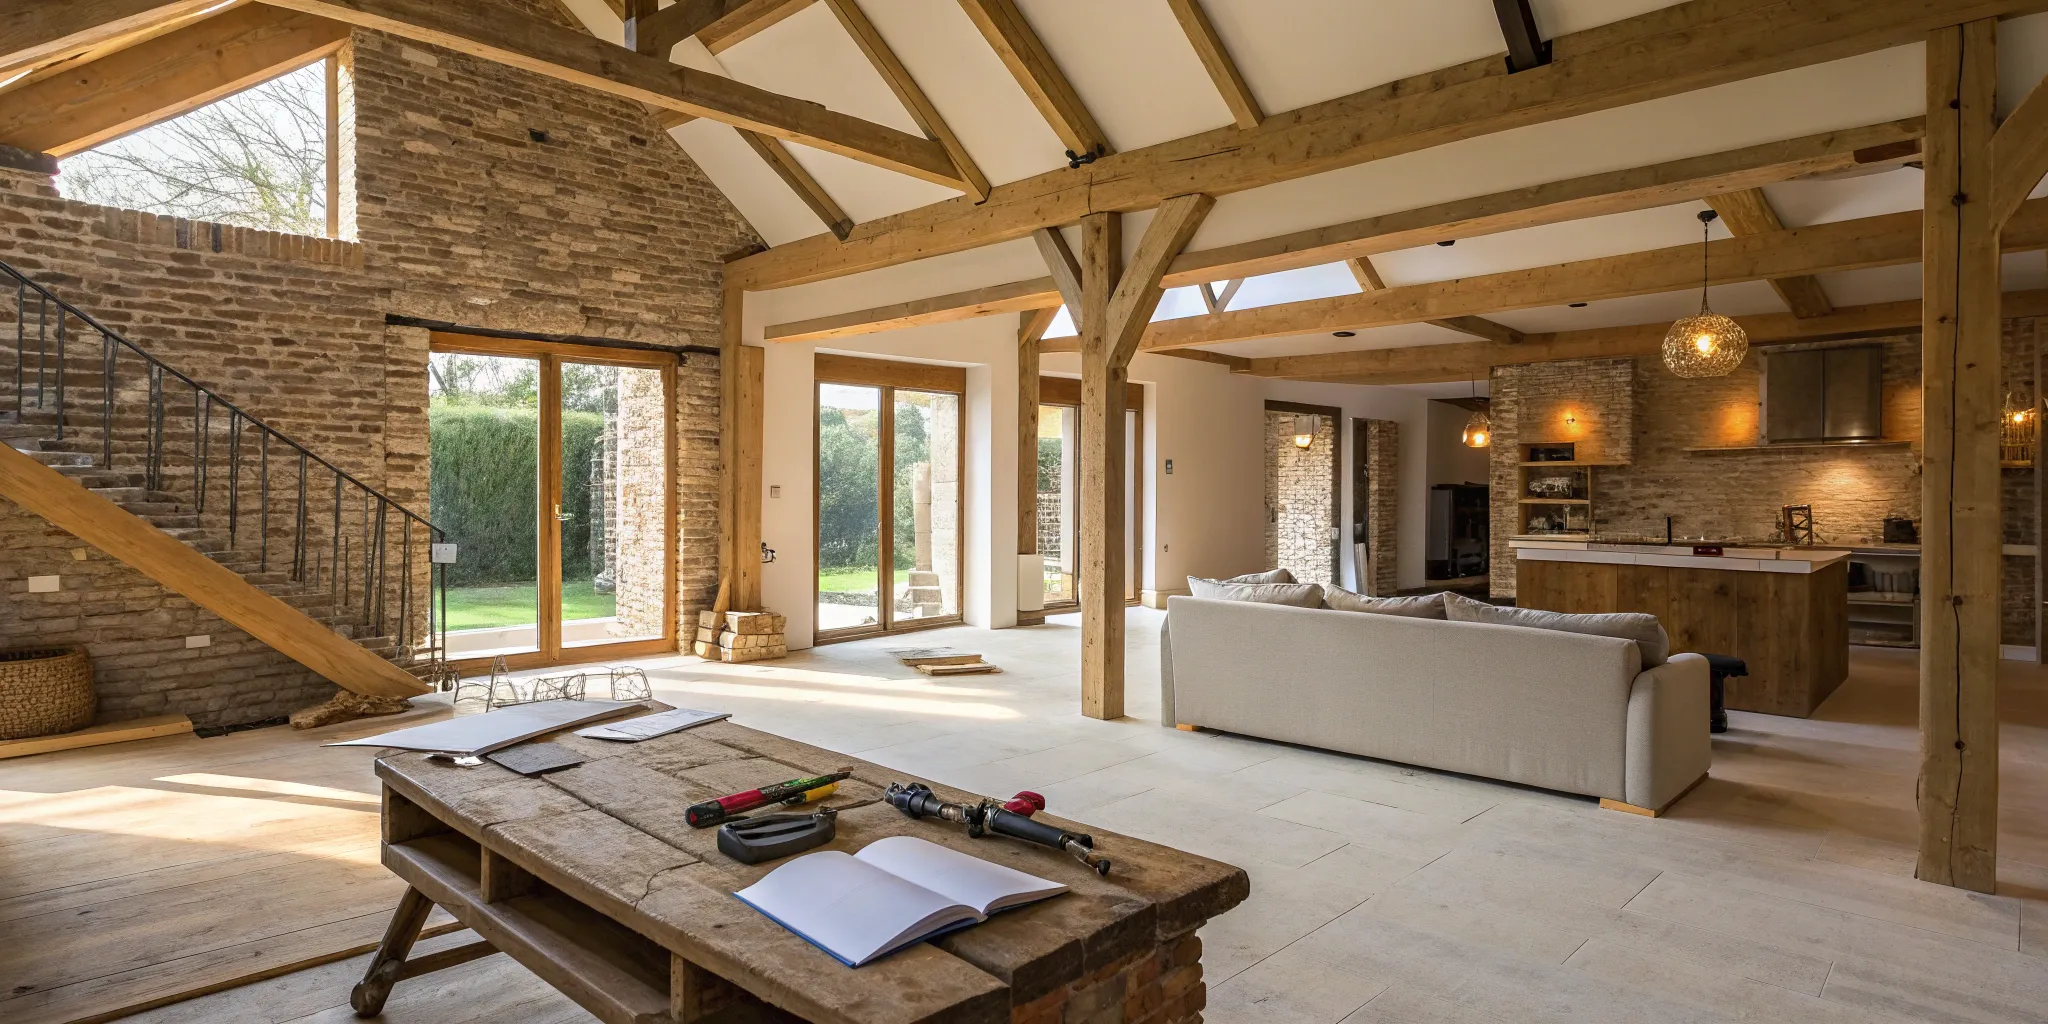
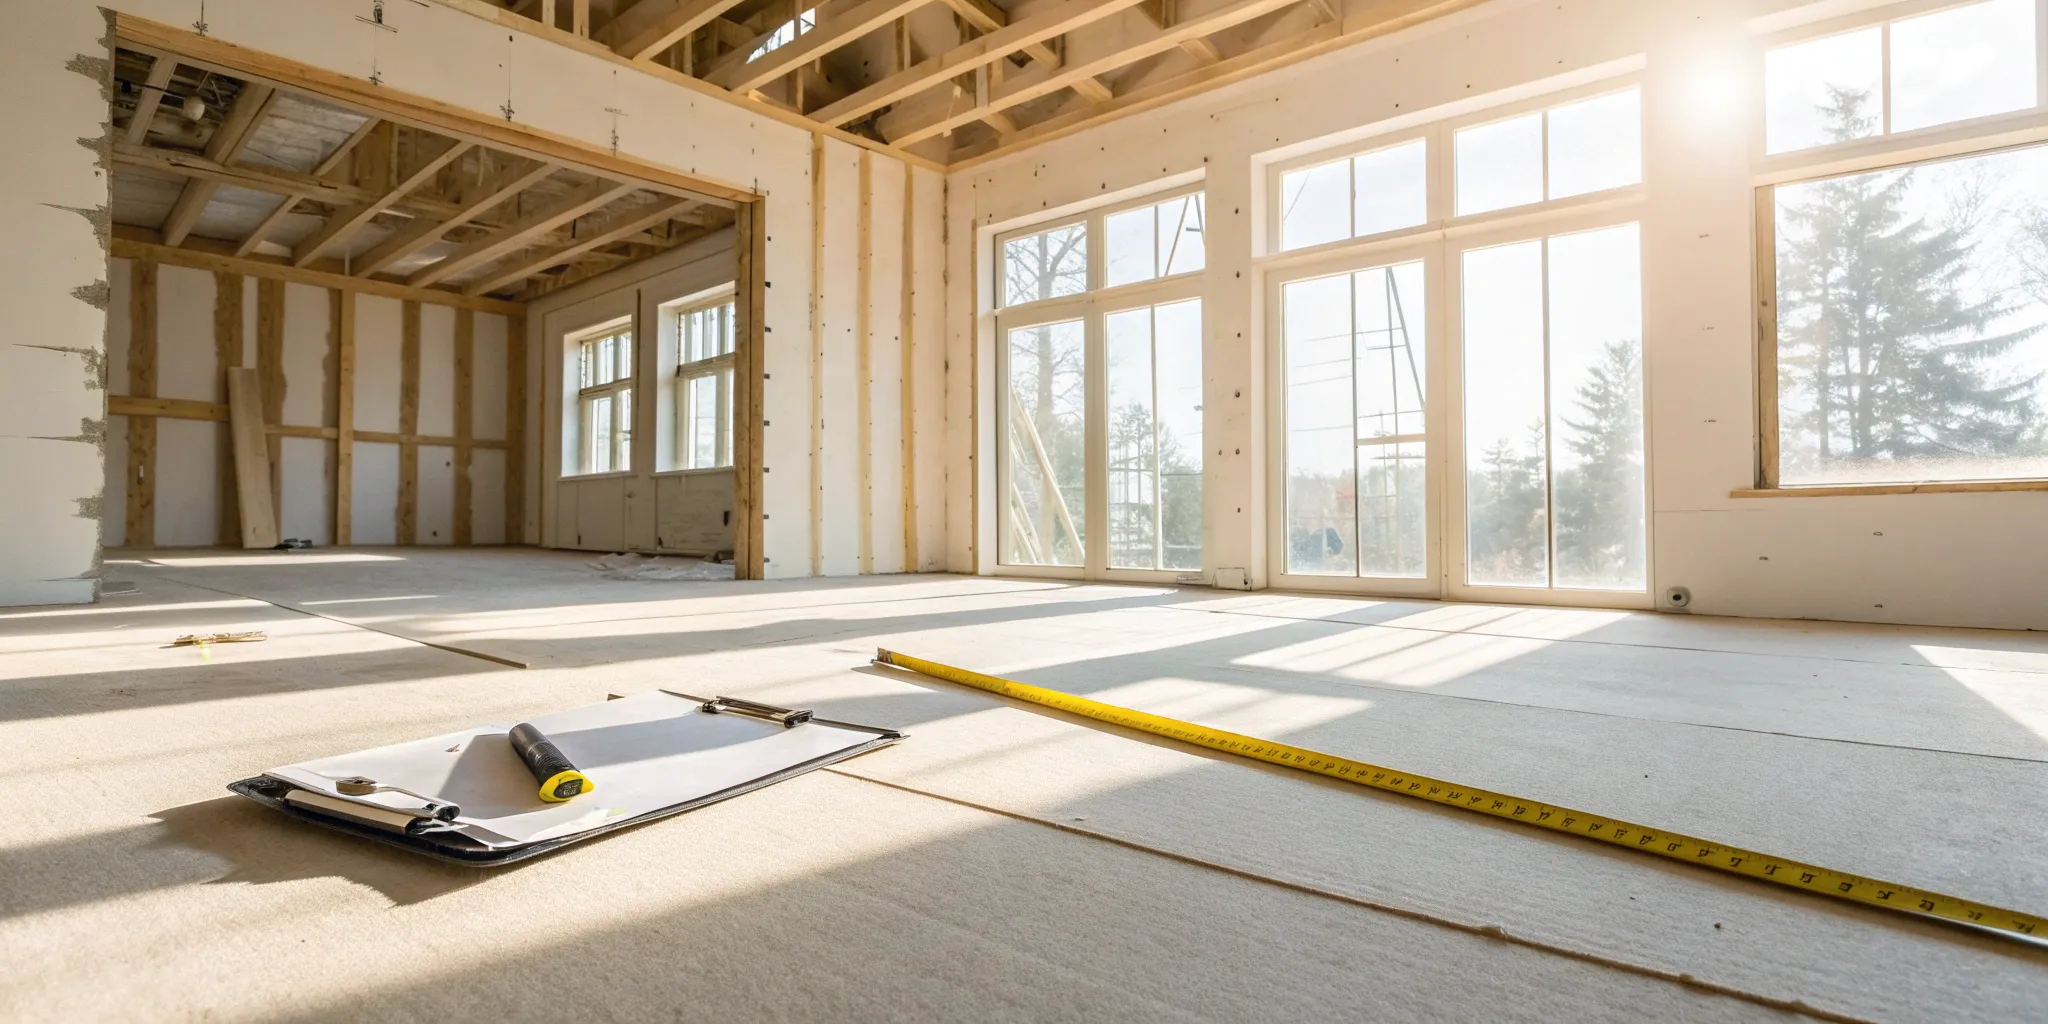
Structural Changes
Basements often come with structural quirks like low ceilings or awkwardly placed support columns. While it’s tempting to imagine an open-concept space, altering these elements is a major undertaking.
As one expert notes, "Ignoring these obstacles could result in costly mistakes." Removing or relocating support posts requires careful planning with a structural engineer to ensure your home’s integrity isn’t compromised. Other major changes, like digging out the floor to increase ceiling height, are also complex and expensive.
To keep your budget in check, it’s often best to create a design that works with the existing structural layout of your basement whenever possible.
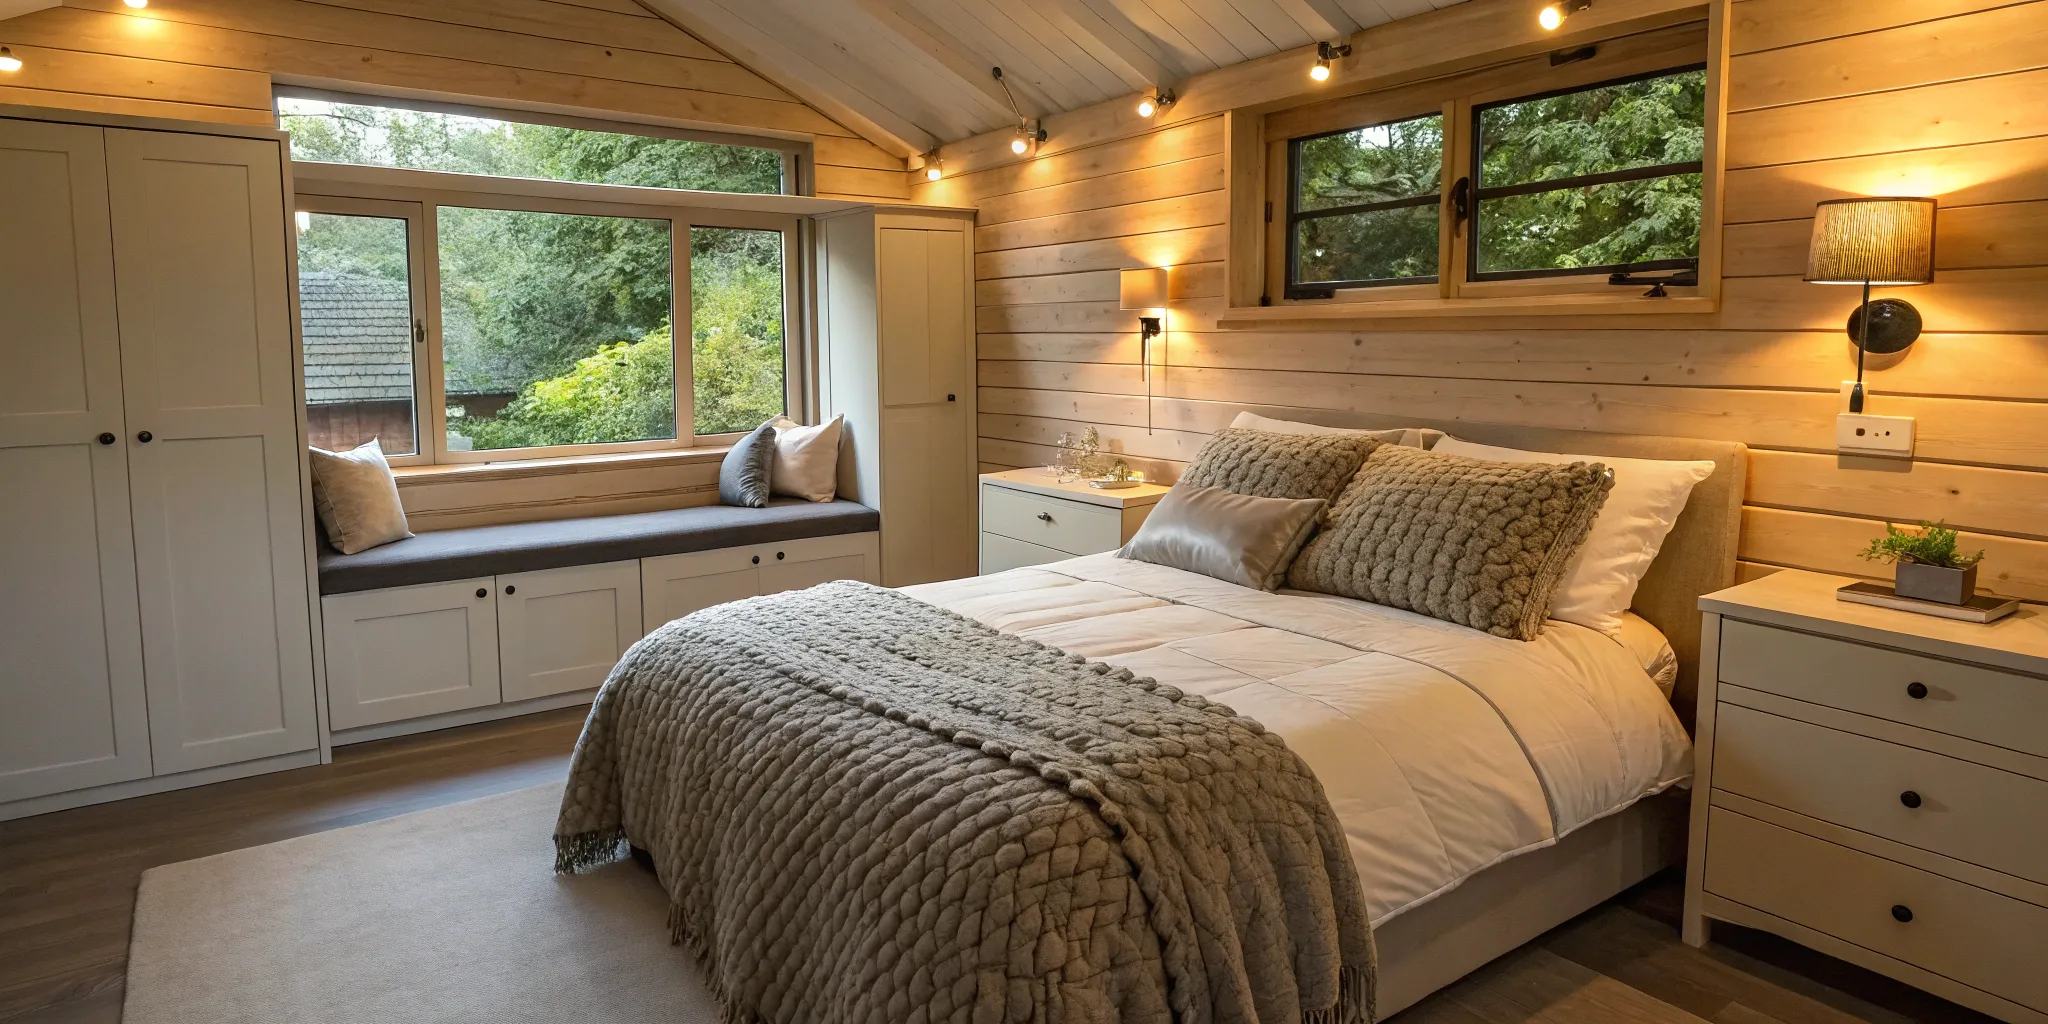
Egress Windows and Safety Codes
If your basement plan includes adding a bedroom, you must also plan for an egress window. This isn’t just a good idea—it’s required by law.
An egress window is large enough for a person to exit through in case of a fire or other emergency. Installing one is a significant job, as it requires cutting a large opening into your home’s foundation.
While this adds to the project's cost, it’s a non-negotiable safety feature for any legal sleeping area below ground. Be sure to check your local building codes for the specific size and placement requirements in your area to ensure your new space is fully compliant and safe for your family.
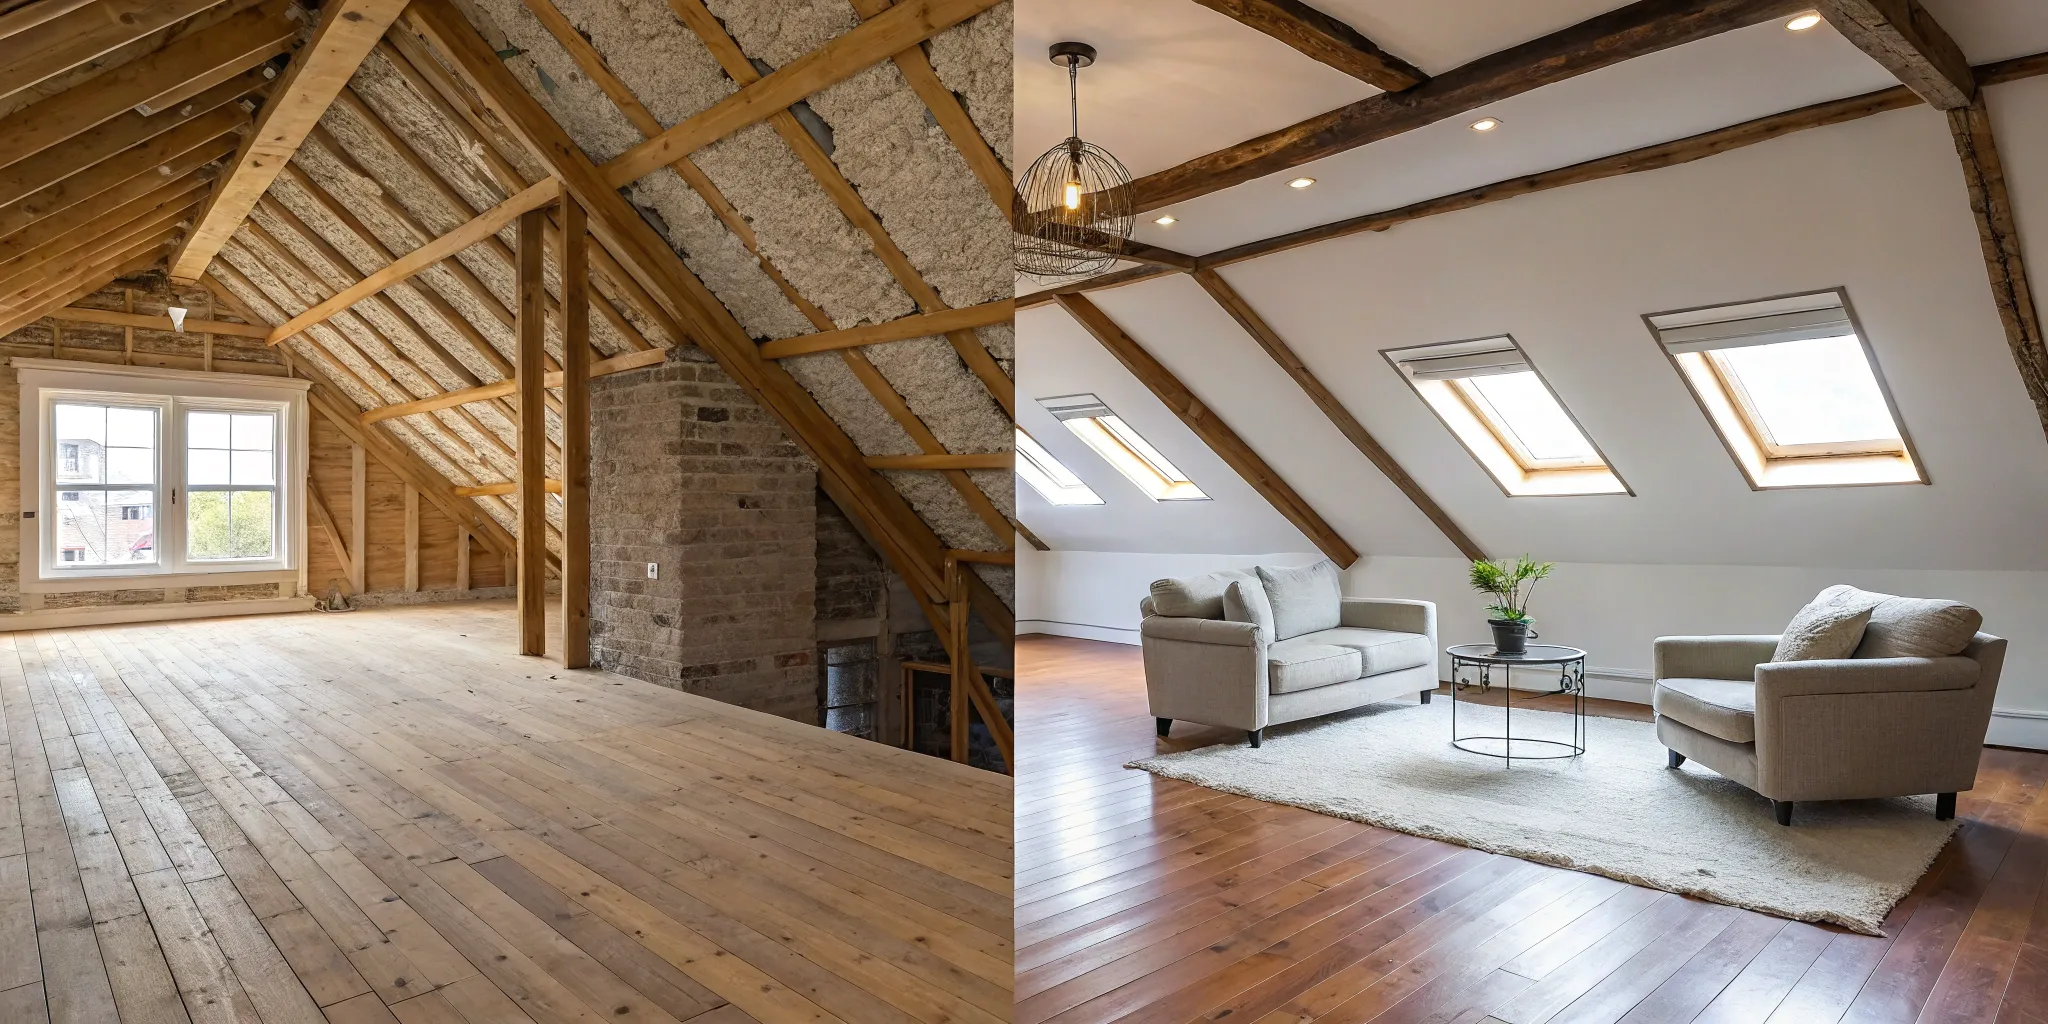
Insulation
Proper insulation is key to making your basement feel like a part of your home, not a dungeon. It plays a huge role in regulating temperature, reducing energy bills, and controlling moisture.
As one homeowner advises, "Make sure to insulate well, especially the floor (slab) if you live where winters are cold." Insulating the exterior walls is essential for preventing heat loss and keeping the space comfortable.
Using materials like rigid foam or spray foam insulation creates a vapor barrier that helps keep dampness out.
Don’t forget about insulating the ceiling, which can provide excellent soundproofing from the floor above—a must-have for a peaceful home office or a lively entertainment room.
How to Keep Your Project on Budget
Finishing your basement is a major investment, but it doesn’t have to break the bank. With careful planning and a few smart strategies, you can create a beautiful, functional space that respects your budget.
The key is to make informed decisions from the very beginning, from the materials you choose to the team you hire.
Here’s how you can manage your spending and keep your project on track without sacrificing your vision.
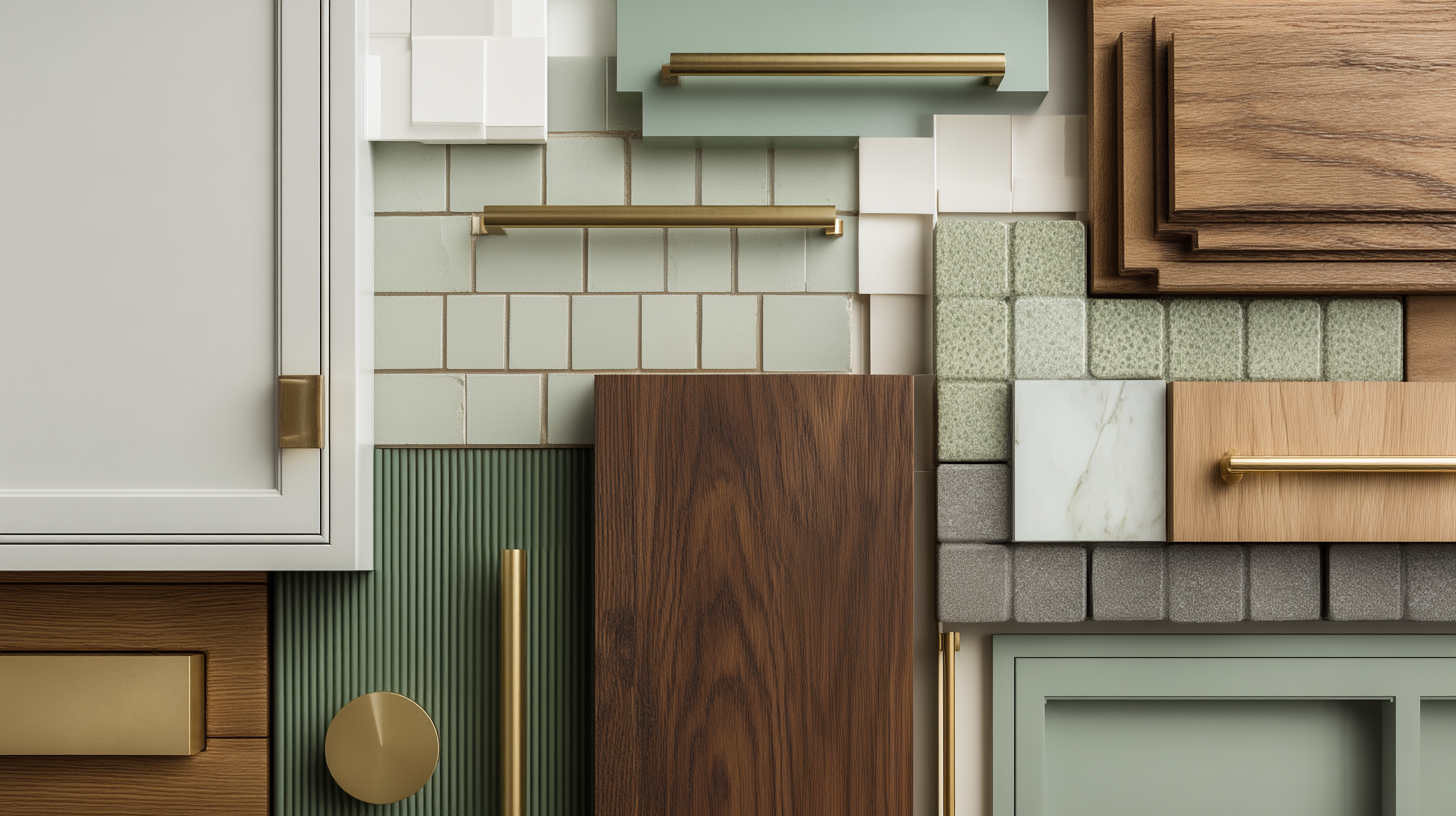
Choose Cost-Effective Materials
Your choice of materials can cause the total cost of a basement project to swing dramatically. While high-end finishes are tempting, there are many stylish and durable alternatives that deliver a similar look for less.
For example, consider luxury vinyl tile (LVT) instead of hardwood floors; it’s waterproof, resilient, and comes in countless realistic wood-grain finishes. Similarly, stock or semi-custom cabinets can provide excellent storage in a new kitchenette or wet bar without the expense of fully custom work.
By doing some research on cost-effective building materials, you can find options that fit both your aesthetic and your budget.
Plan Your Project in Phases
If your budget is tight, you don’t have to complete the entire project at once. Breaking the renovation down into phases allows you to spread the cost over time, making it much more manageable.
You could start by focusing on the essentials, like framing, electrical, and plumbing. Once that’s done, you can pause and save up for the next phase, which might include drywall and flooring.
This approach gives you more financial breathing room. No matter how you plan, always add a contingency of at least 10% to your budget to cover any unexpected repairs or problems that might pop up along the way.
Decide Between DIY and Hiring a Pro
Taking on some of the work yourself is a classic way to save money on labor costs. Tasks like painting, installing trim, or laying click-lock flooring are often manageable for a handy homeowner.
However, it’s important to be honest about your skill level and the time you can commit. More complex and critical jobs—especially electrical, plumbing, and structural work—are best left to licensed professionals.
A mistake in these areas can be costly and dangerous. When you need an expert, Realm can connect you with vetted local contractors to ensure the job is done right.
Get Multiple Contractor Bids
Before you hire anyone, make it a rule to get at least three written estimates from different contractors. This step is crucial for understanding the fair market price for your project and for finding a partner you trust.
When you review the bids, make sure each one outlines the same scope of work and quality of materials so you can make an accurate comparison.
Be wary of any quote that is significantly lower than the others, as it could be a red flag for cutting corners or inexperience. A detailed bid should clearly break down the costs for labor, materials, permits, and other expenses.
Set Aside a Contingency Fund
Unexpected issues are almost a guarantee in any major renovation. That’s why a contingency fund—money set aside specifically for surprises—is essential.
Many homeowners underestimate the final cost because of hidden expenses like needing to upgrade an electrical panel, rerouting HVAC ducts, or discovering a foundation crack that needs repair.
Your contingency fund should be about 10% to 20% of your total project cost. This financial cushion ensures that a surprise problem doesn’t derail your entire project or force you to compromise on the finishes you really want. Think of it as built-in peace of mind.
How to Hire the Right Contractor
Choosing the right contractor is the single most important decision you'll make for your basement project. The right partner will bring your vision to life on time and on budget, while the wrong one can turn your renovation into a headache.
This isn't just about finding someone who can do the work; it's about finding a professional you can trust in your home. Taking the time to properly vet your options will save you stress and money down the line.
Find and Vet Professionals
Your first step is to gather a list of potential contractors. Ask for recommendations from friends and neighbors, but also do your own research. It’s a good rule of thumb to get several estimates from different builders to compare prices and expertise. This process isn't just about finding the lowest price. It’s an opportunity to see how different professionals communicate, what solutions they propose, and how thorough their quotes are. At Realm, we simplify this process by connecting you with a network of vetted professionals who have a proven track record of quality work in your area.
Read Quotes and Contracts Carefully
Once you have a few quotes, it's time to look closely at the details. A professional quote should be itemized, clearly outlining the costs for labor, materials, and permits.
Be cautious of bids that are significantly higher or lower than the others, as this can be a red flag. Before signing anything, read the contract from top to bottom. Ensure it includes a detailed scope of work, a payment schedule, a projected timeline, and procedures for handling any changes.
Having a clear plan in writing protects both you and the contractor.
Establish a Project Timeline
Before work begins, you and your contractor should agree on a realistic timeline. Ask them about the major phases of the project and the estimated completion date. A professional contractor should be able to provide a schedule that outlines key milestones, from demolition and framing to final inspections.
While unexpected delays can happen in any renovation, establishing a clear timeline from the start helps keep everyone accountable and manages expectations. It also allows you to plan for the disruption to your daily life and know what to expect week by week.
Understand Payment Schedules
Never pay for the entire project upfront. A standard payment schedule involves an initial deposit, followed by milestone payments as specific parts of the job are completed.
For example, you might make payments after the framing is done, once the electrical and plumbing are installed, and upon final completion. This structure ensures that the contractor is motivated to keep the project moving forward. Make sure the payment schedule is clearly detailed in your contract, and never make a final payment until you are completely satisfied with the work and all inspections have passed.
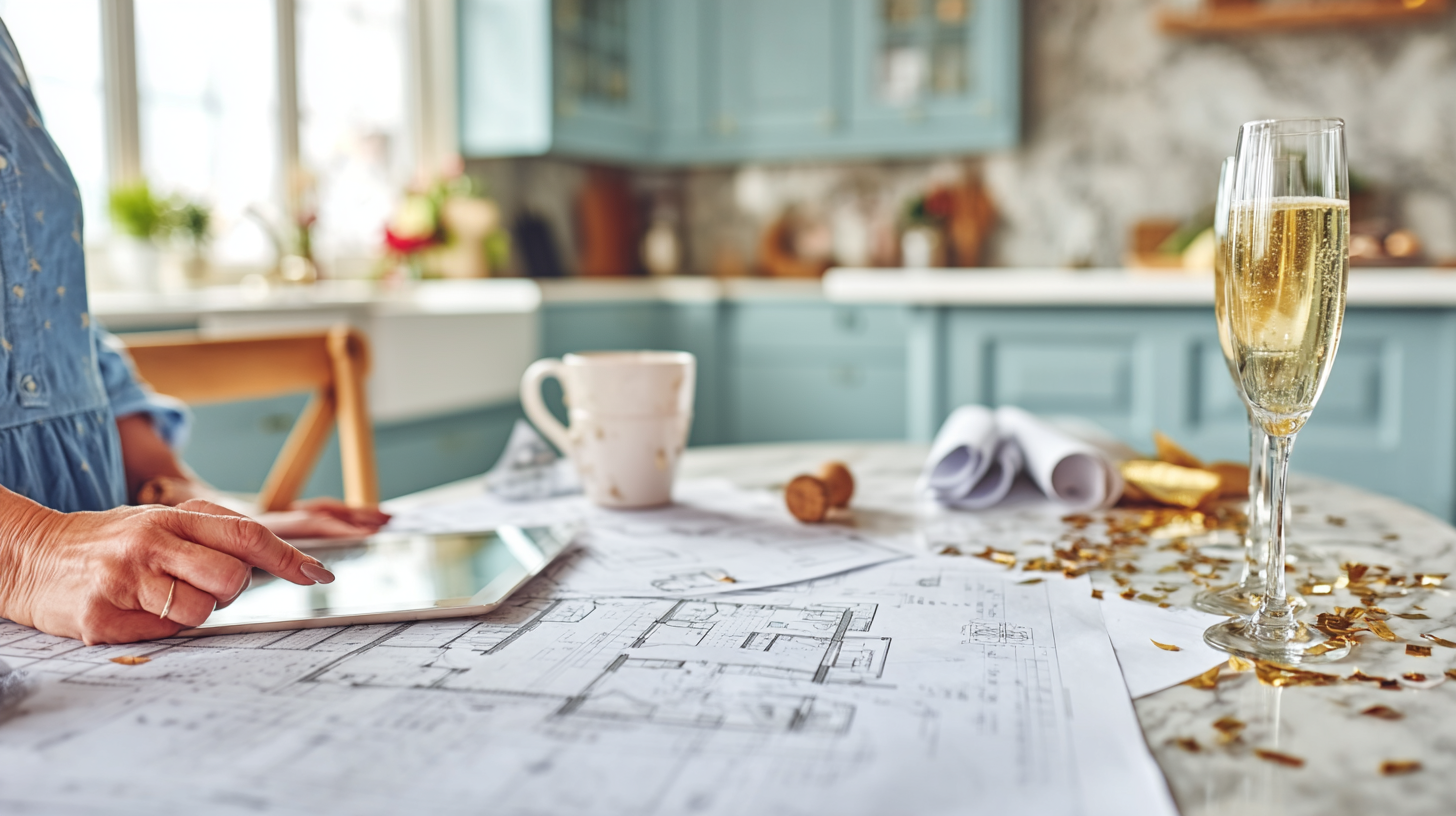
Get Ready to Plan Your Project
With a clearer picture of the costs, you can move into the most critical phase of your renovation: planning. A solid plan is your best defense against budget overruns and project delays. This is where you translate your dreams for the space into a concrete, actionable strategy. It involves more than just picking out paint colors; it’s about defining your goals, creating a realistic budget, and figuring out who will do the work. Taking the time to get these details right before a single wall comes down will save you headaches and money later. Think of it as creating the blueprint for a smooth and successful project. A dedicated project advisor can be a huge asset here, helping you think through every detail and anticipate challenges before they arise.
Set Clear and Realistic Goals
Before you start looking at flooring samples, ask yourself one simple question: What do I want to achieve with this space?
Your answer will guide every decision you make.
Are you creating a cozy family room for movie nights, a private home office, or an in-law suite? Your primary goal determines the layout, features, and overall budget.
Remember, finishing a basement is most "worth it" if you plan to live in the house for a while and will actually use and enjoy the extra space. Be honest about your family’s needs and lifestyle. This clarity will help you prioritize features and make smart trade-offs when you’re finalizing your renovation plan.
Create Your Detailed Budget
A vague budget is a recipe for disaster. Many homeowners underestimate the true cost to finish a basement, which can lead to stalled projects and financial stress. Your budget needs to account for everything, including often-overlooked expenses like electrical upgrades, HVAC adjustments, and potential structural work.
While the average cost is around $32,000, projects can range from a few thousand to over $100,000. Start by getting a detailed, data-backed estimate that breaks down costs for materials, labor, and permits. This will give you a realistic financial target and help you secure any necessary financing with confidence.
Track Every Expense
Once your budget is set, you need a system to keep it on track. Even the most carefully planned projects can face unexpected issues. Common problems that cause budgets to spiral include structural surprises found after demolition, last-minute design changes, and underestimating the cost of labor or permits.
Use a simple spreadsheet or a budgeting app to log every single purchase and payment. This helps you see where your money is going in real-time and allows you to make adjustments as needed. Diligent tracking ensures your contingency fund is used for true emergencies, not for covering poor planning.
Ensure Quality Work
Your basement renovation is a major investment, and the quality of the work should reflect that. It’s crucial to hire licensed professionals for specialized jobs like electrical, plumbing, and HVAC. These systems are complex and directly impact your home's safety and functionality.
When it comes to finding a general contractor, don’t just go with the first one you talk to. Make sure to get written estimates from at least three different vetted professionals before making a decision. Carefully compare their bids, check their references, and ensure they are licensed and insured. Taking the time to find the right team will pay off in the long run.
Frequently Asked Questions
How can I get a realistic cost estimate for my specific basement? A true estimate goes beyond square footage. The best way to get an accurate number is to have a professional assess your space. They will look at the current condition, like whether there are moisture issues to fix, and discuss your goals, such as adding a bathroom or a wet bar. This allows them to factor in local labor rates and material costs to build a detailed budget that’s tailored to your actual project, not just a national average.
Can I really save money by doing some of the work myself? You absolutely can, but it’s important to be strategic. Taking on tasks like painting, installing trim, or laying click-lock flooring can cut down on labor costs if you have the time and skill. However, you should always leave complex jobs like electrical, plumbing, and any structural changes to licensed professionals. A mistake in those areas can be dangerous and end up costing you far more to fix than you would have paid to have it done right the first time.
Is an egress window really necessary if I add a bedroom? Yes, it’s a non-negotiable safety requirement. Any room that will be used as a legal bedroom must have an egress window that is large enough for a person to escape through in an emergency. This is a standard part of building codes across the country. While it adds to the cost, it’s a critical feature that ensures the safety of your family and makes the space compliant for resale.
What’s the most important first step before I start framing walls? Before you even think about the layout, you have to make sure your basement is completely dry. Because they are below ground, basements are naturally prone to moisture. Addressing any existing water issues by sealing cracks or installing a proper drainage system is the foundational step that protects your entire investment. Building out a damp basement will only lead to mold, mildew, and ruined materials down the road.
Why is a contingency fund so important if I already have a detailed budget? Think of a contingency fund as your project’s built-in insurance policy. No matter how perfectly you plan, renovations have a way of revealing surprises. You might open a wall and discover old wiring that needs to be replaced or find a hidden foundation issue. Having 10% to 20% of your budget set aside for these unknowns means you can handle them without having to halt the project or sacrifice the finishes you really want.


.png)


.png)