The Complete Guide to Building a Backyard Office Shed
Get practical tips for building a backyard office shed, from planning and budgeting to design ideas and maintenance for a productive home workspace.
|
January 16, 2026
In this article:
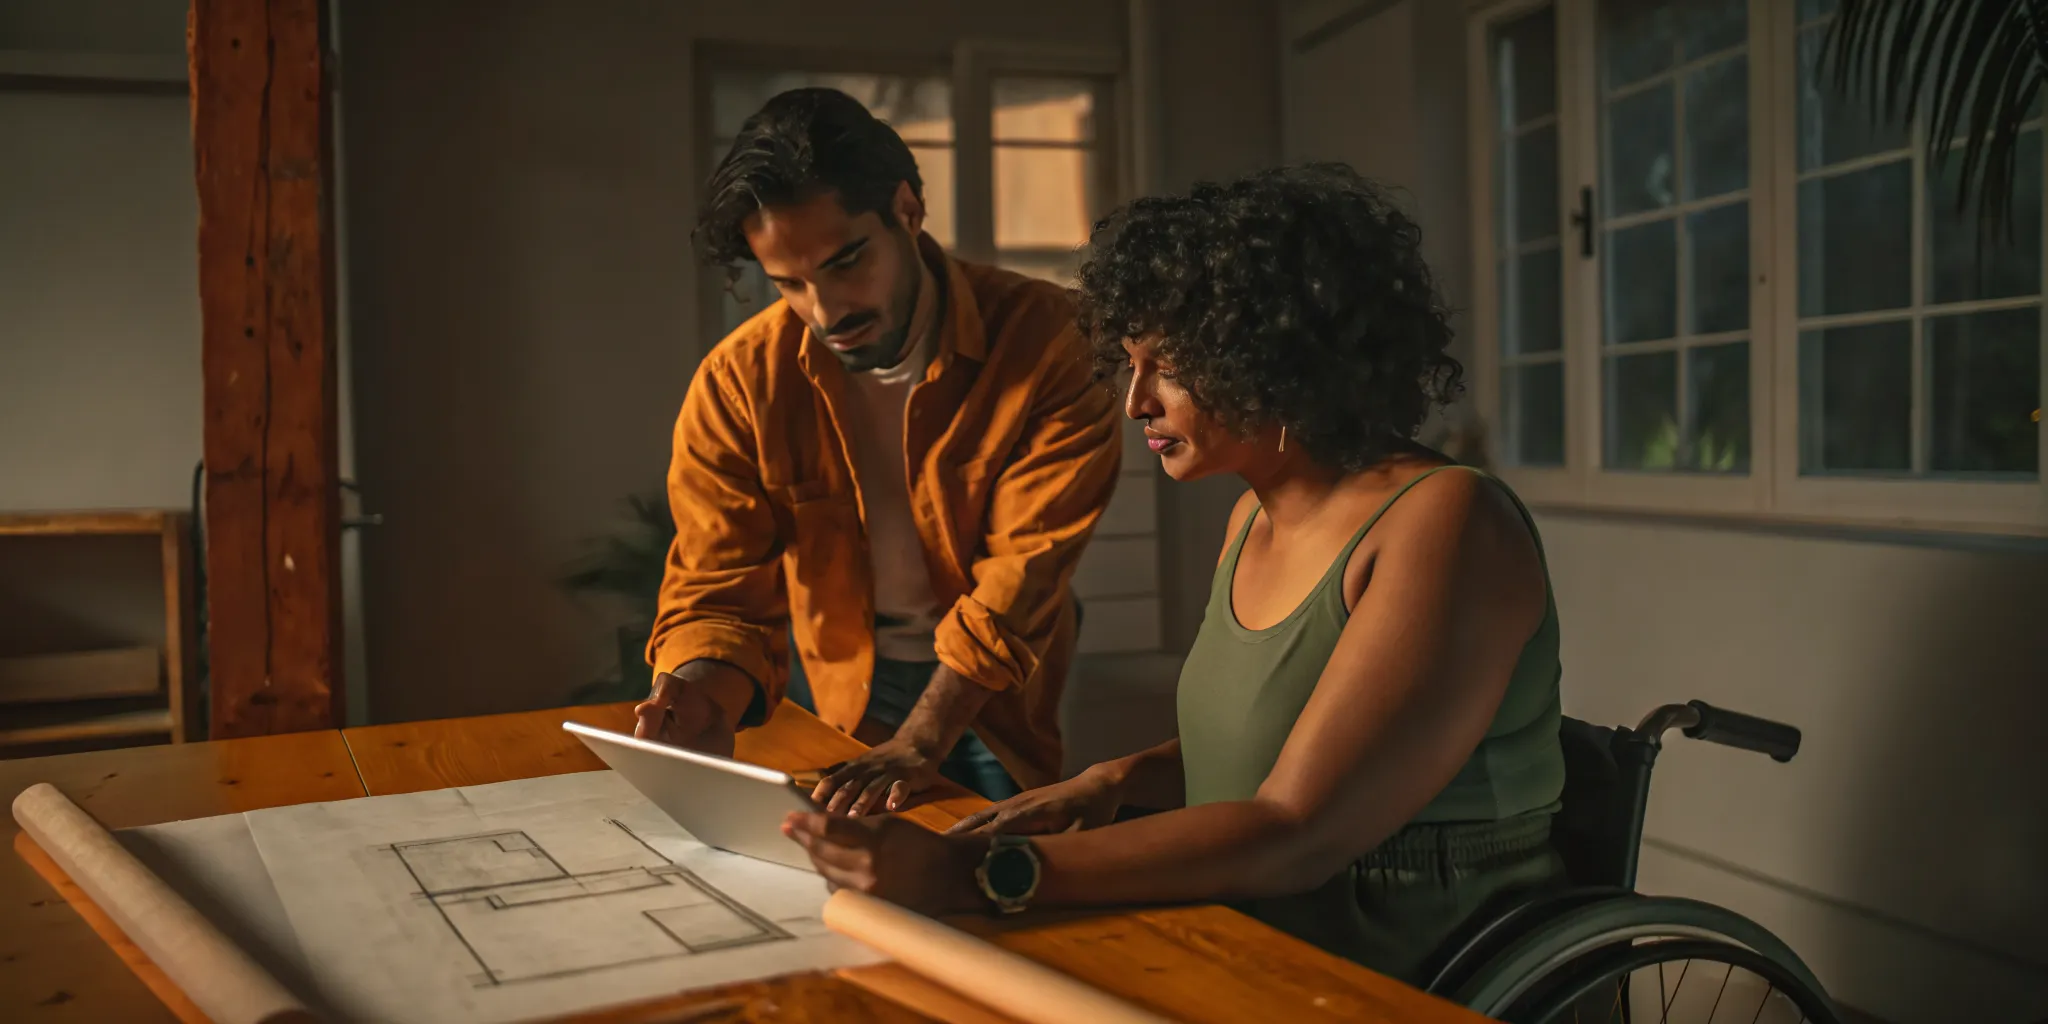
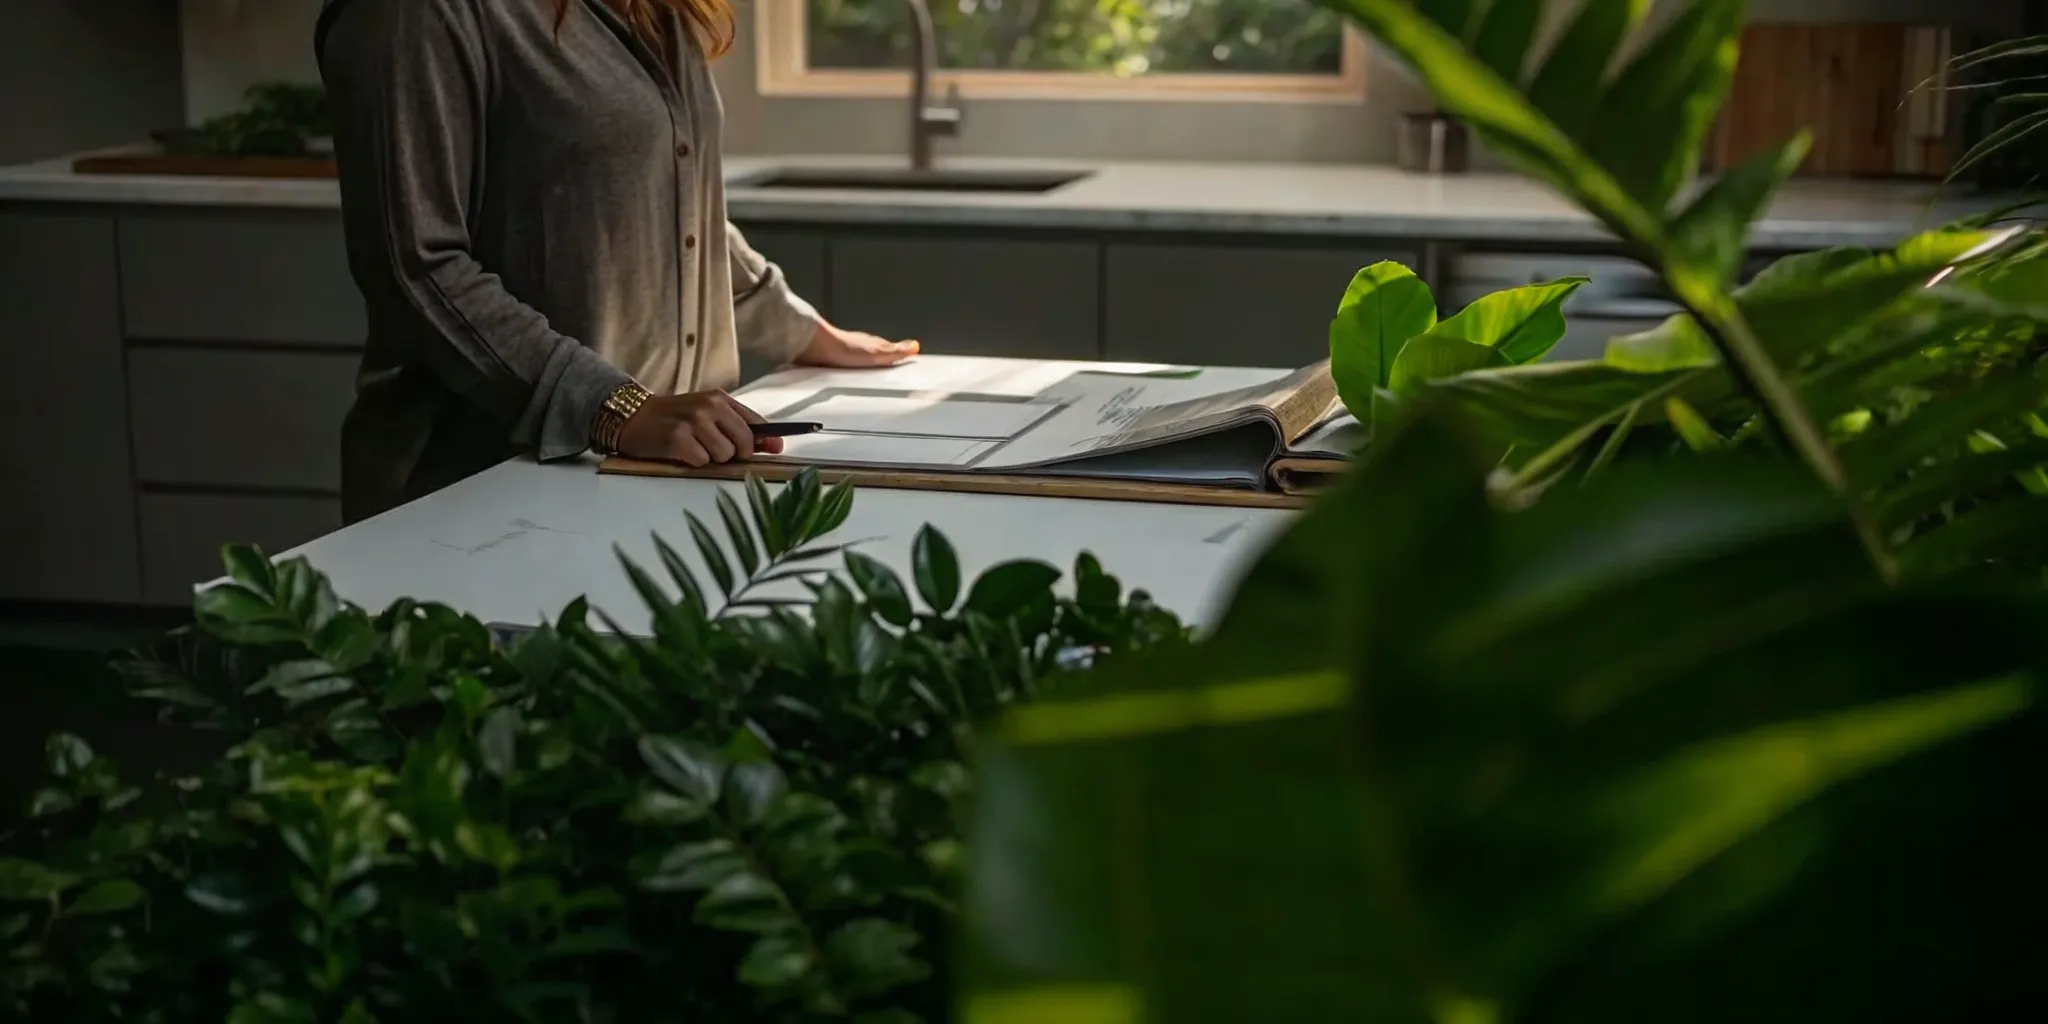
Your work-from-home setup should support your productivity, not hinder it. If you’re tired of making compromises in a shared space, taking control of your environment is the answer. Building a backyard office shed gives you the ultimate freedom to design a workspace that is perfectly tailored to your needs. You decide the layout, the lighting, and the level of quiet you need to do your best work. This project is an empowering way to create a clear boundary between your professional and personal life, giving you a dedicated space to be productive and a real sense of closure at the end of the day.
Key Takeaways
- Start with a Strategic Plan: Before breaking ground, define your budget, check local permit requirements, and map out the best size and location for your office. This initial planning prevents costly surprises later on.
- Know When to DIY vs. Hire a Pro: You can save significantly by handling parts of the construction yourself, but always hire licensed professionals for specialized work like the foundation and electrical wiring. This hybrid approach balances your budget with safety and quality.
- Focus on Interior Comfort for a Usable Space: A shed becomes a true office with the right interior finishes. Prioritize insulation, a reliable climate control system, and a functional layout with good lighting to create a productive workspace you can use all year.
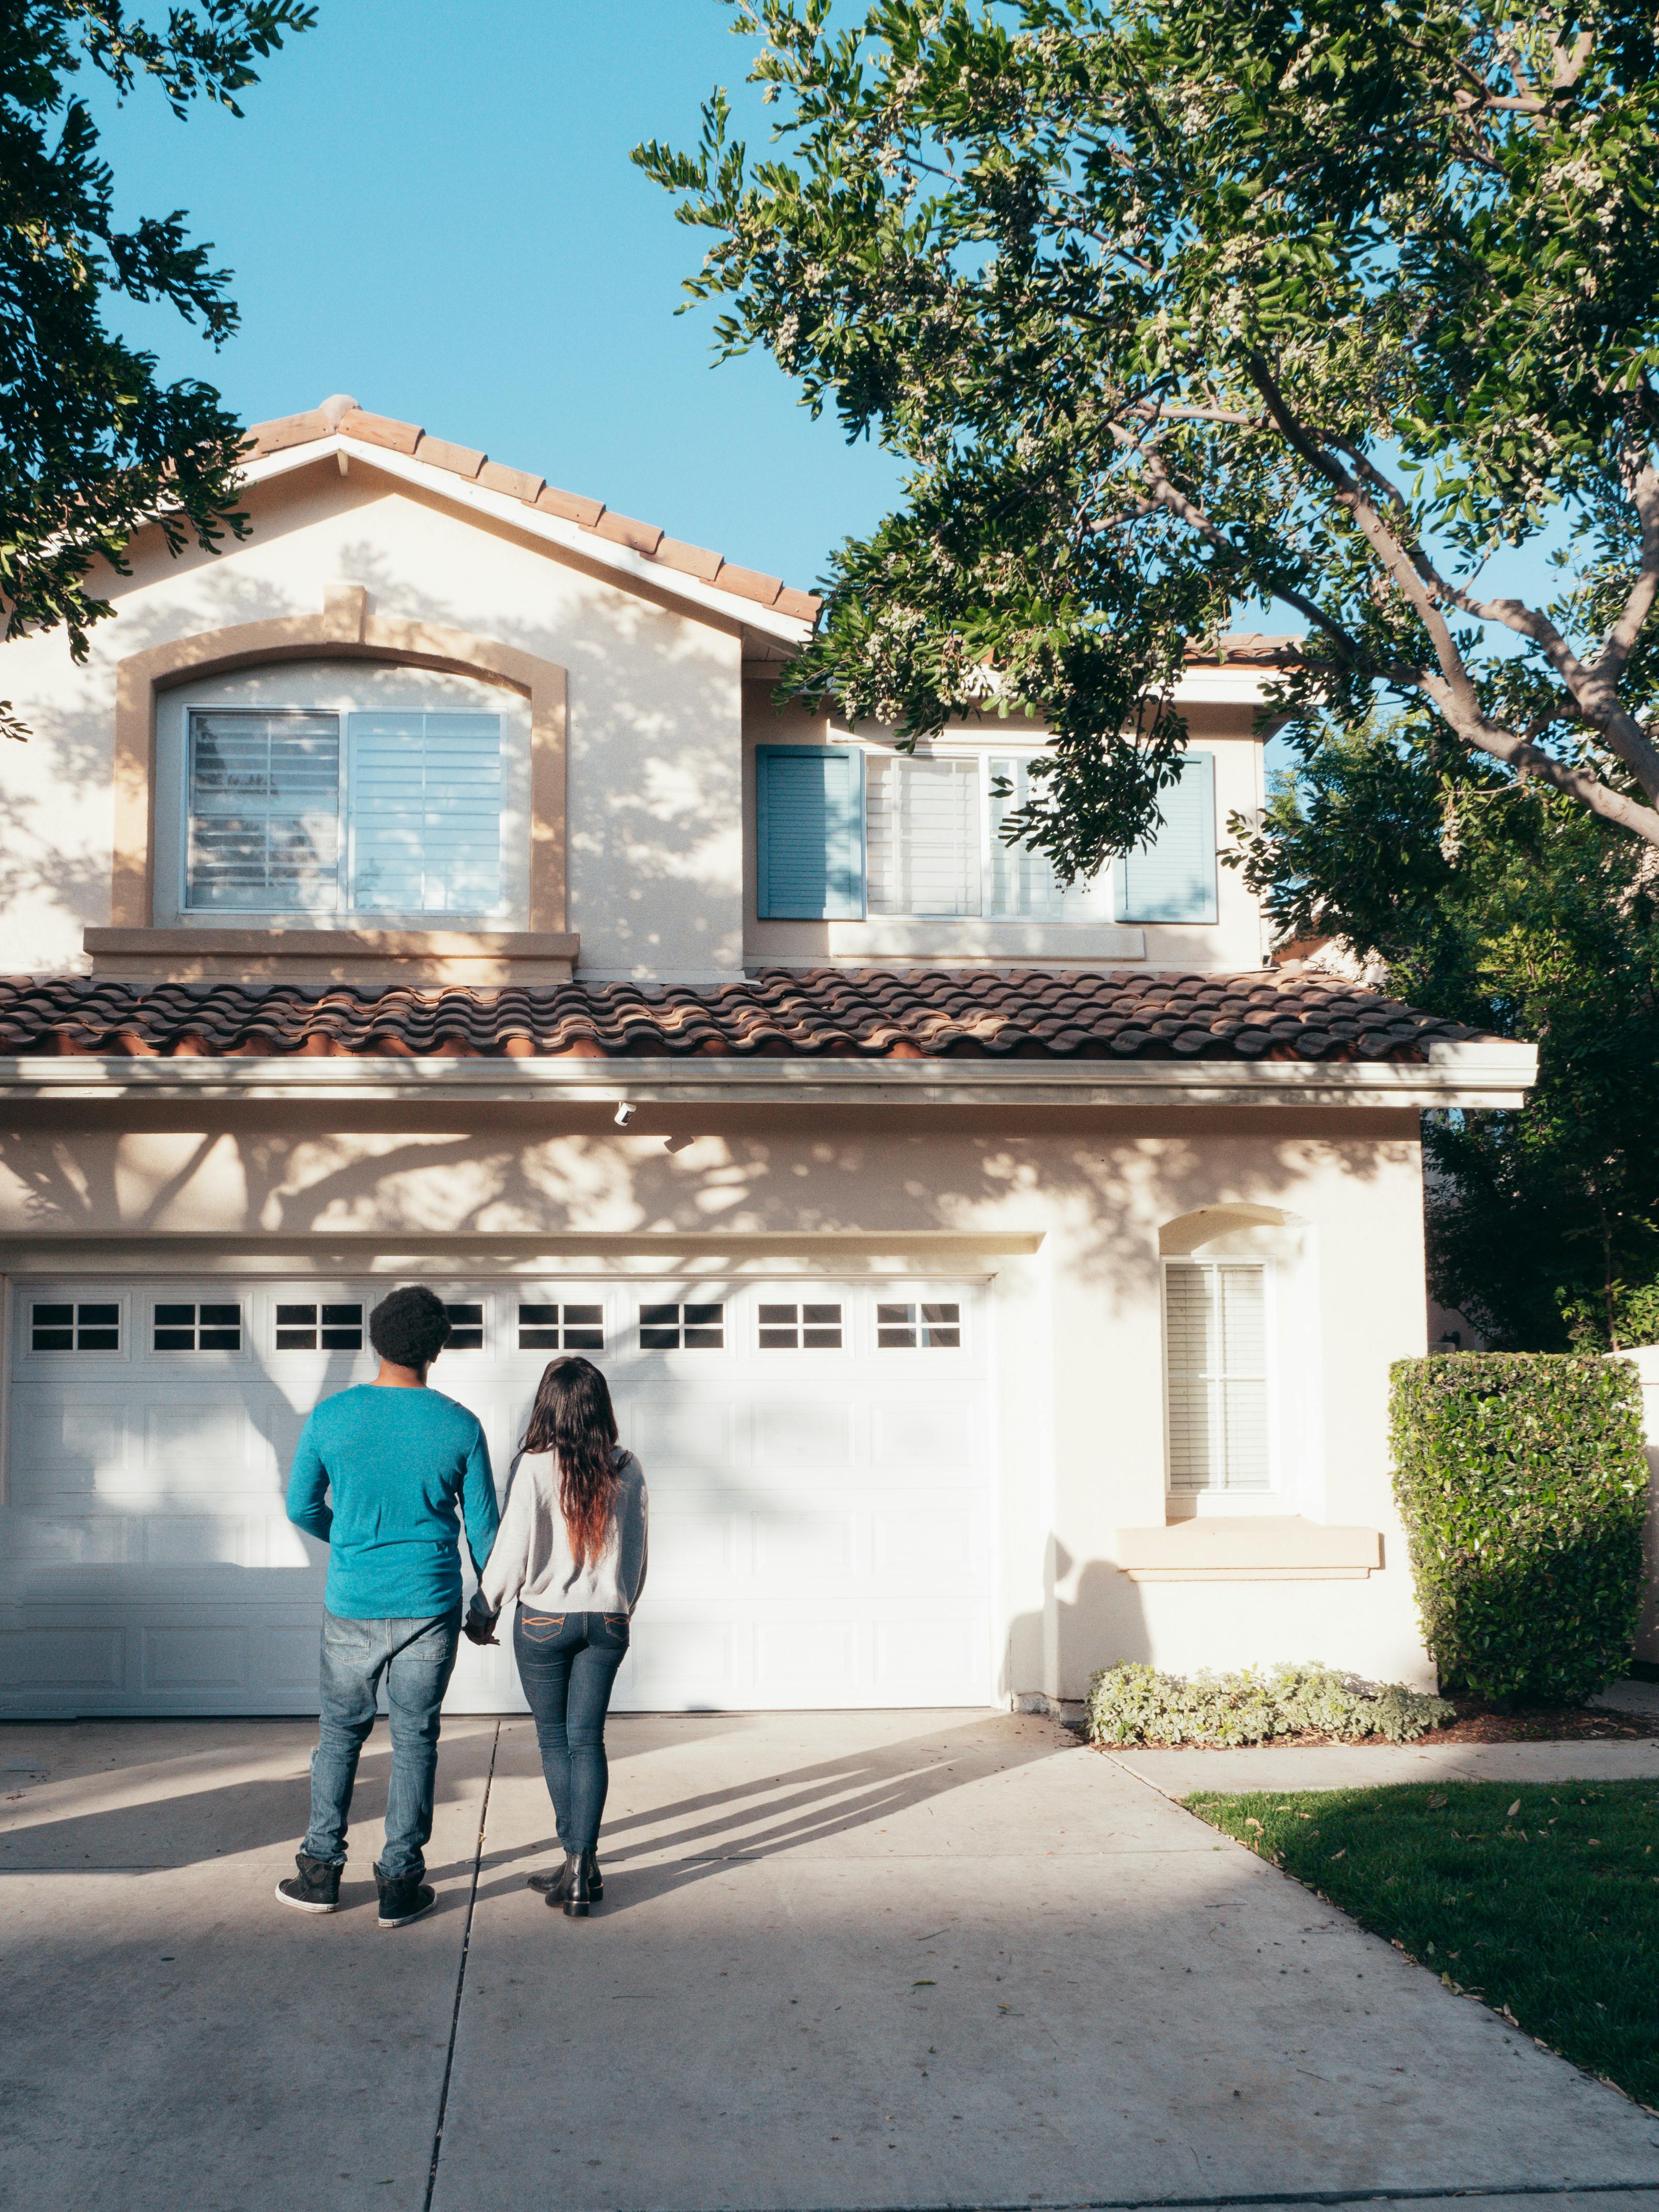
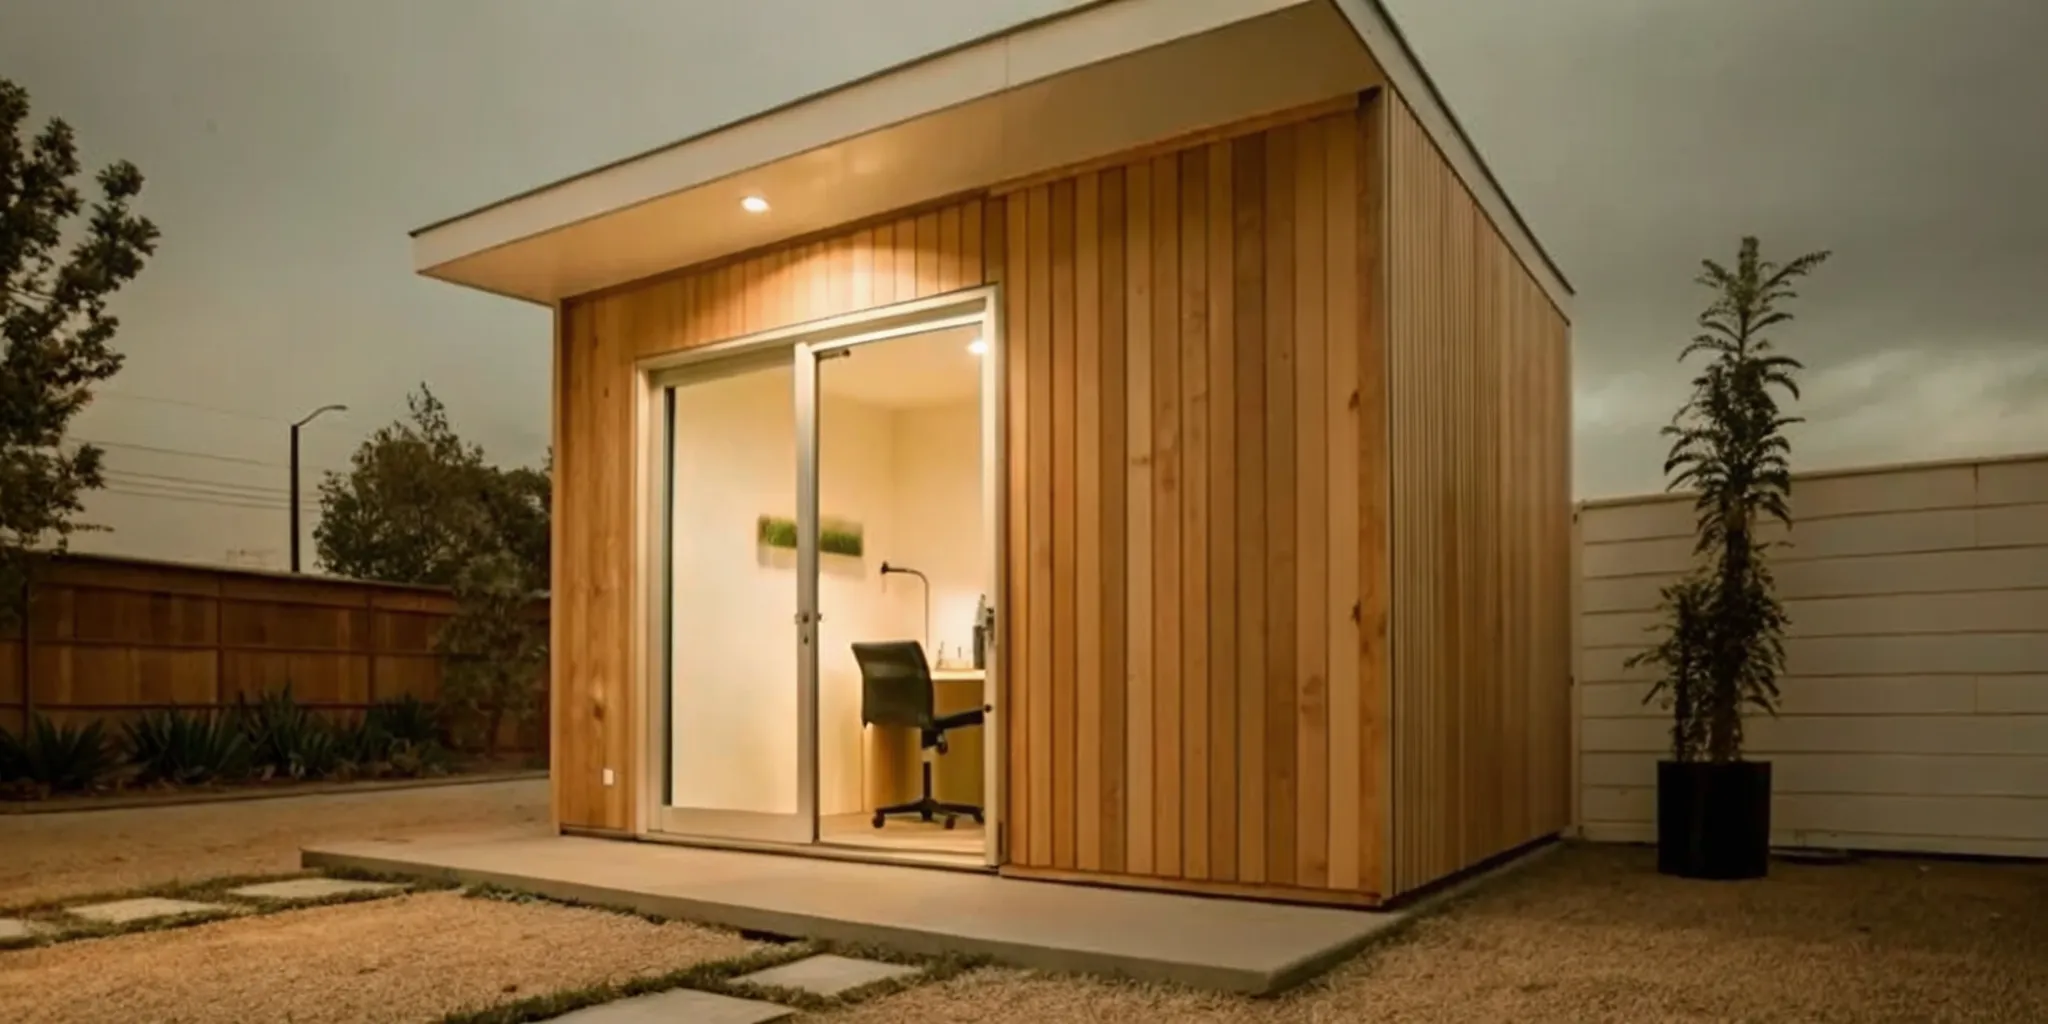
Is a Backyard Office Shed Right for You?
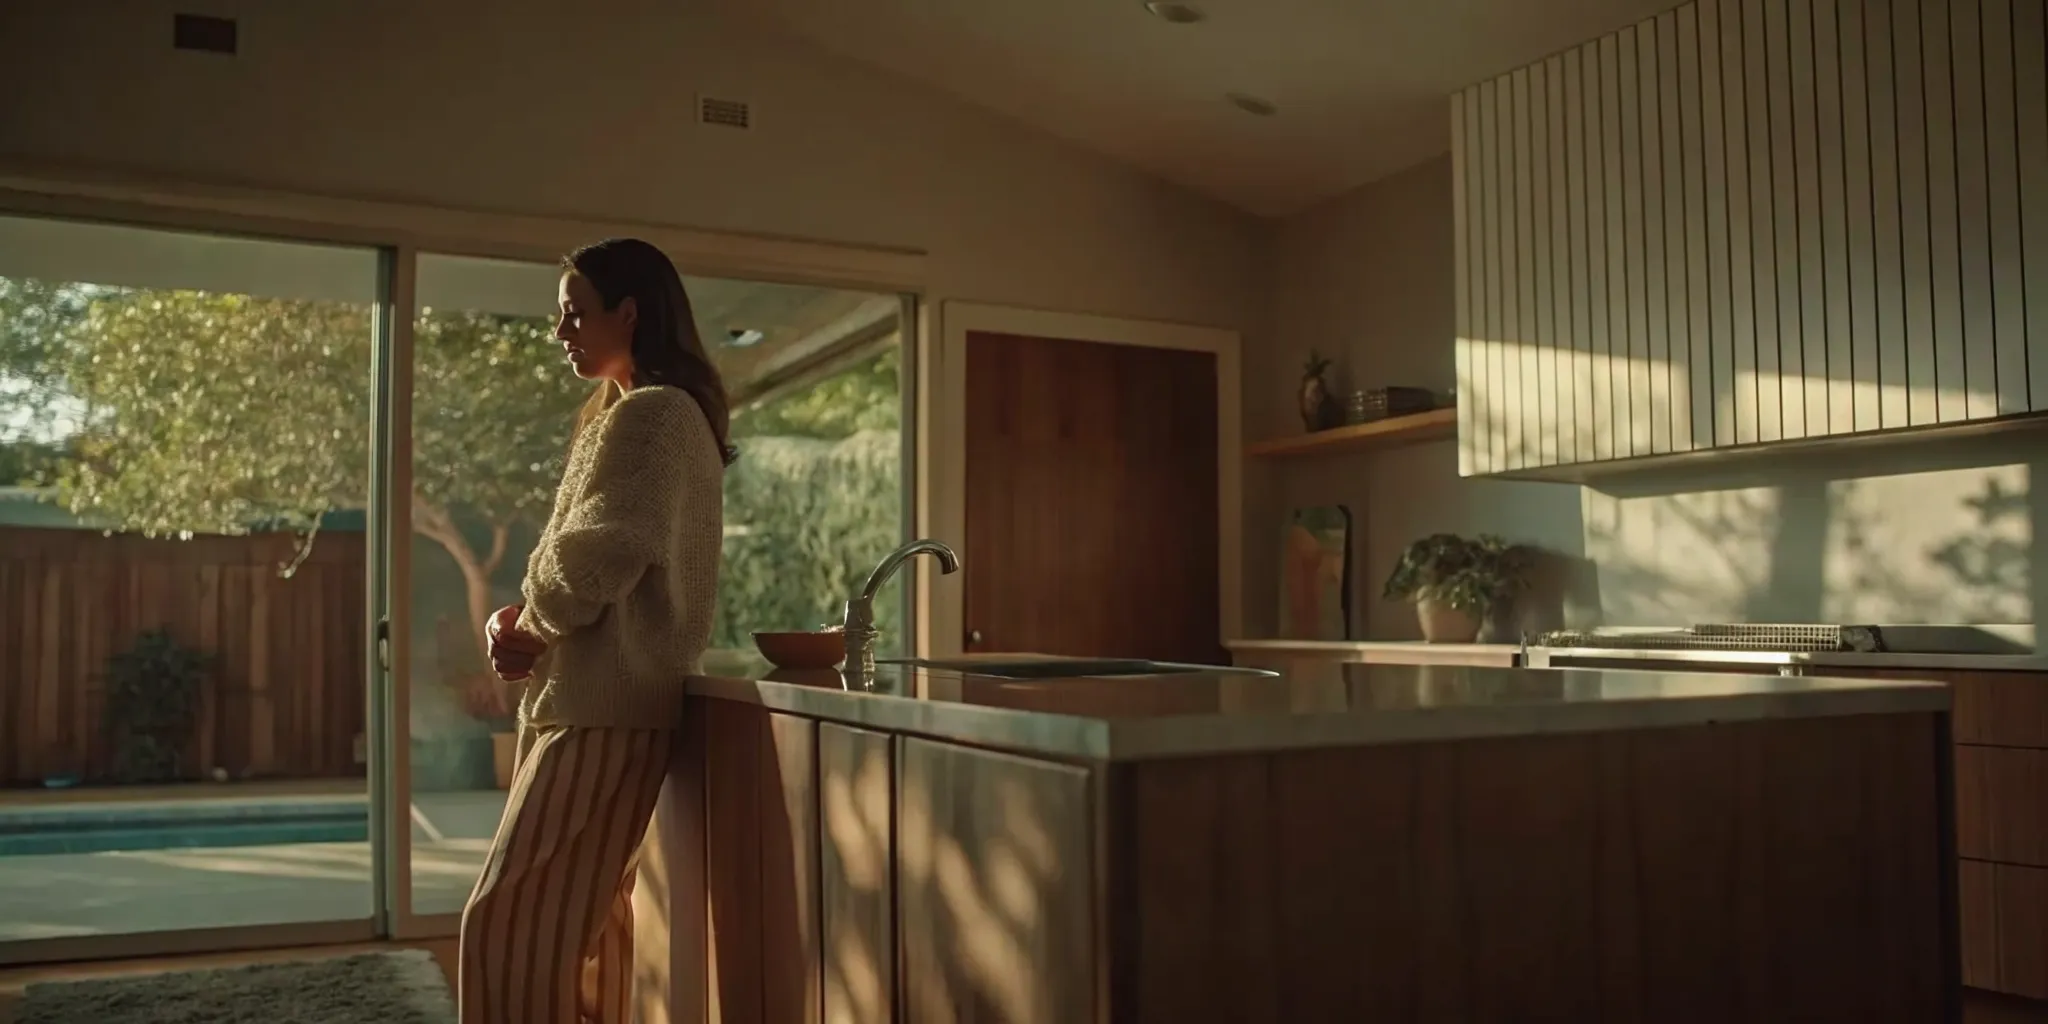
If you’re working from home, you know the struggle is real. The kitchen table doubles as a desk, important calls get interrupted by the doorbell, and the line between your work life and your home life has all but disappeared. For many, the dream of a flexible remote job has turned into a reality of being always-on, with no physical separation to signal the end of the workday. This constant overlap can drain your energy and make it tough to focus on your work or fully relax during personal time. If you’re craving a dedicated space to be productive without sacrificing the benefits of being at home, a backyard office shed might be the perfect solution.
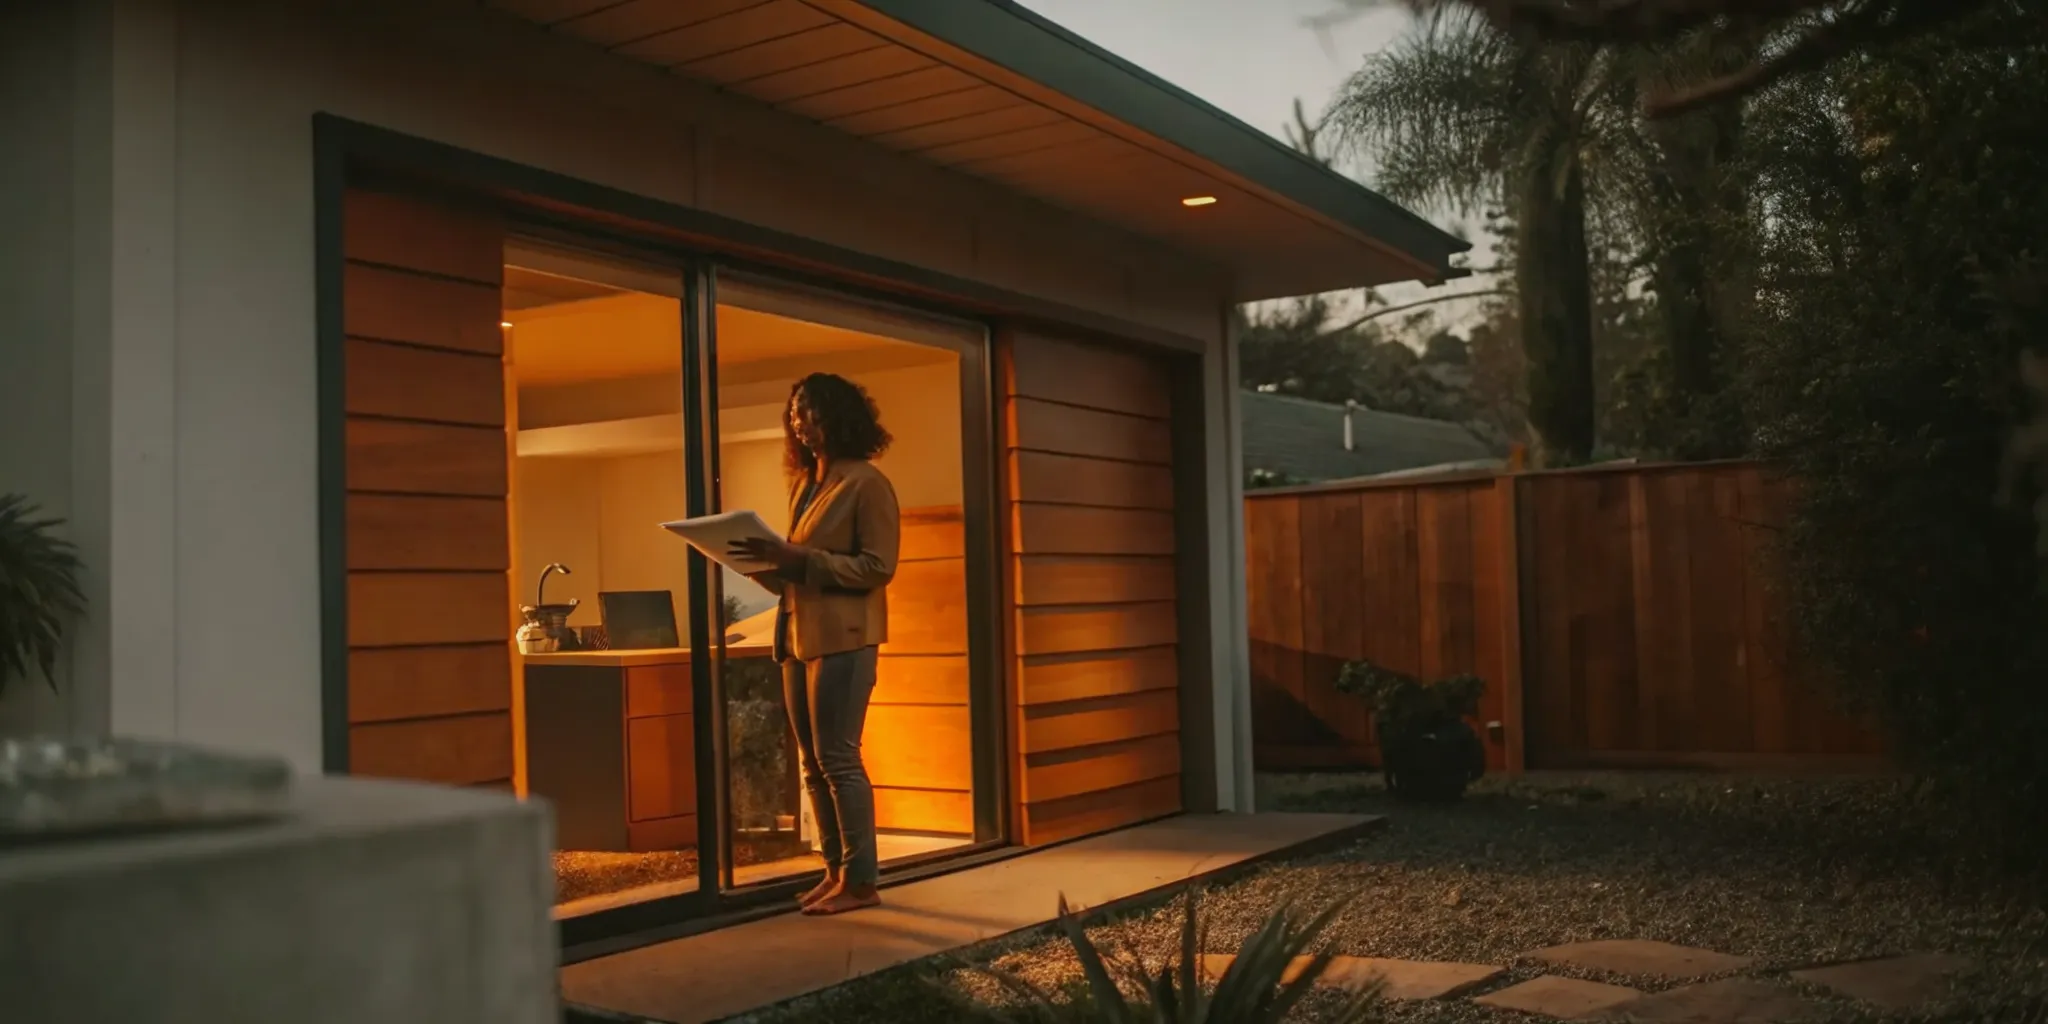
This isn’t about a rickety garden shed filled with tools. We’re talking about a fully finished, comfortable, and stylish space designed for focus and creativity. Think of it as a mini-commute to a professional environment that’s just steps from your back door. It’s a project that offers a powerful return: a quiet place to work, a healthier work-life balance, and a valuable addition to your property. But it's also a significant undertaking that requires careful thought and planning, from understanding local building codes to setting a realistic budget. Before you start clearing a space in your yard, let’s walk through the key benefits to see if this is the right move for you. Understanding the potential gains can help you decide if you're ready to start a project that could completely transform your workday. With the right guidance, you can create a customized plan that fits your needs and budget.
Gain Productivity and Focus
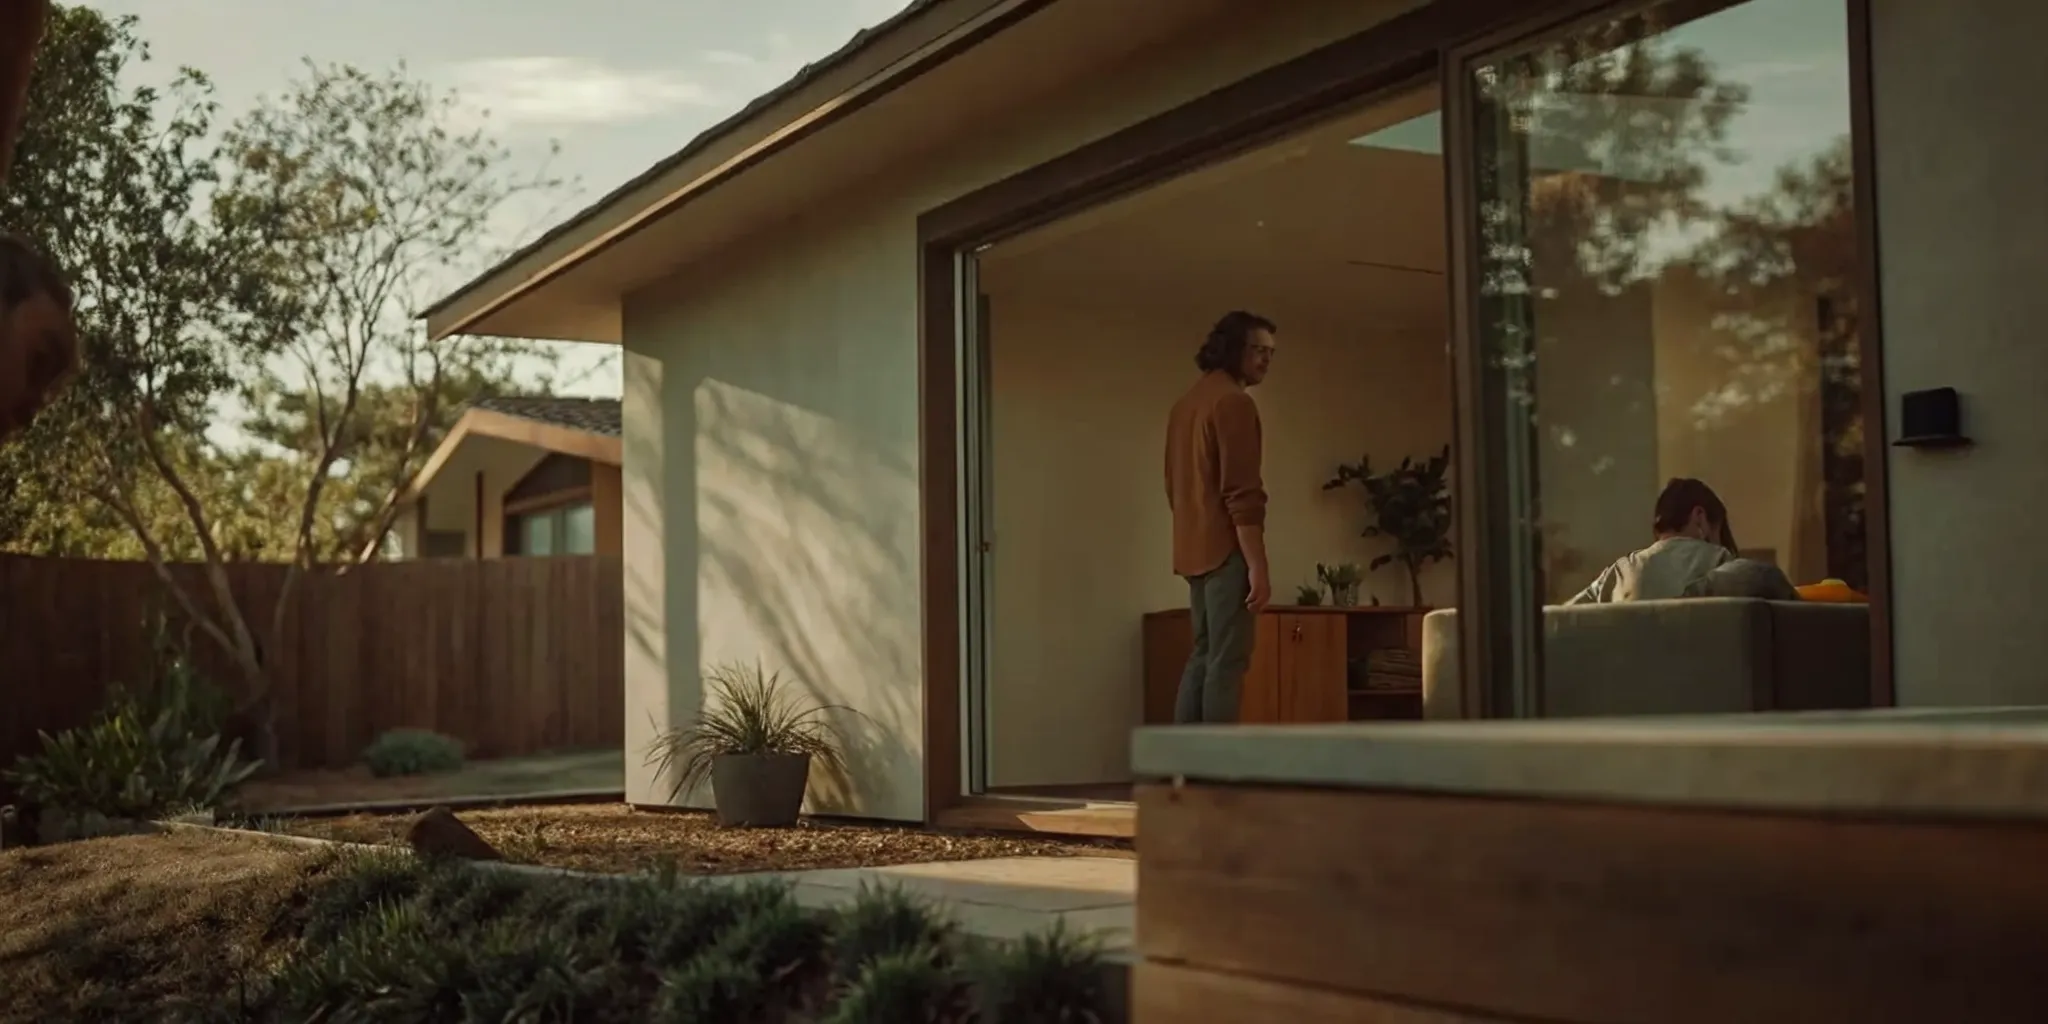
The biggest draw of a backyard office is the ability to separate yourself from household distractions. When your workspace is just a few steps away from the main house, you can physically leave the noise and interruptions behind. A well-designed shed office creates a dedicated environment for deep work, helping you minimize interruptions and establish a healthier routine. Imagine having a quiet space where you can close the door and truly concentrate on the task at hand. This separation allows you to control your environment, leading to more productive hours and less work-related stress bleeding into your personal time.
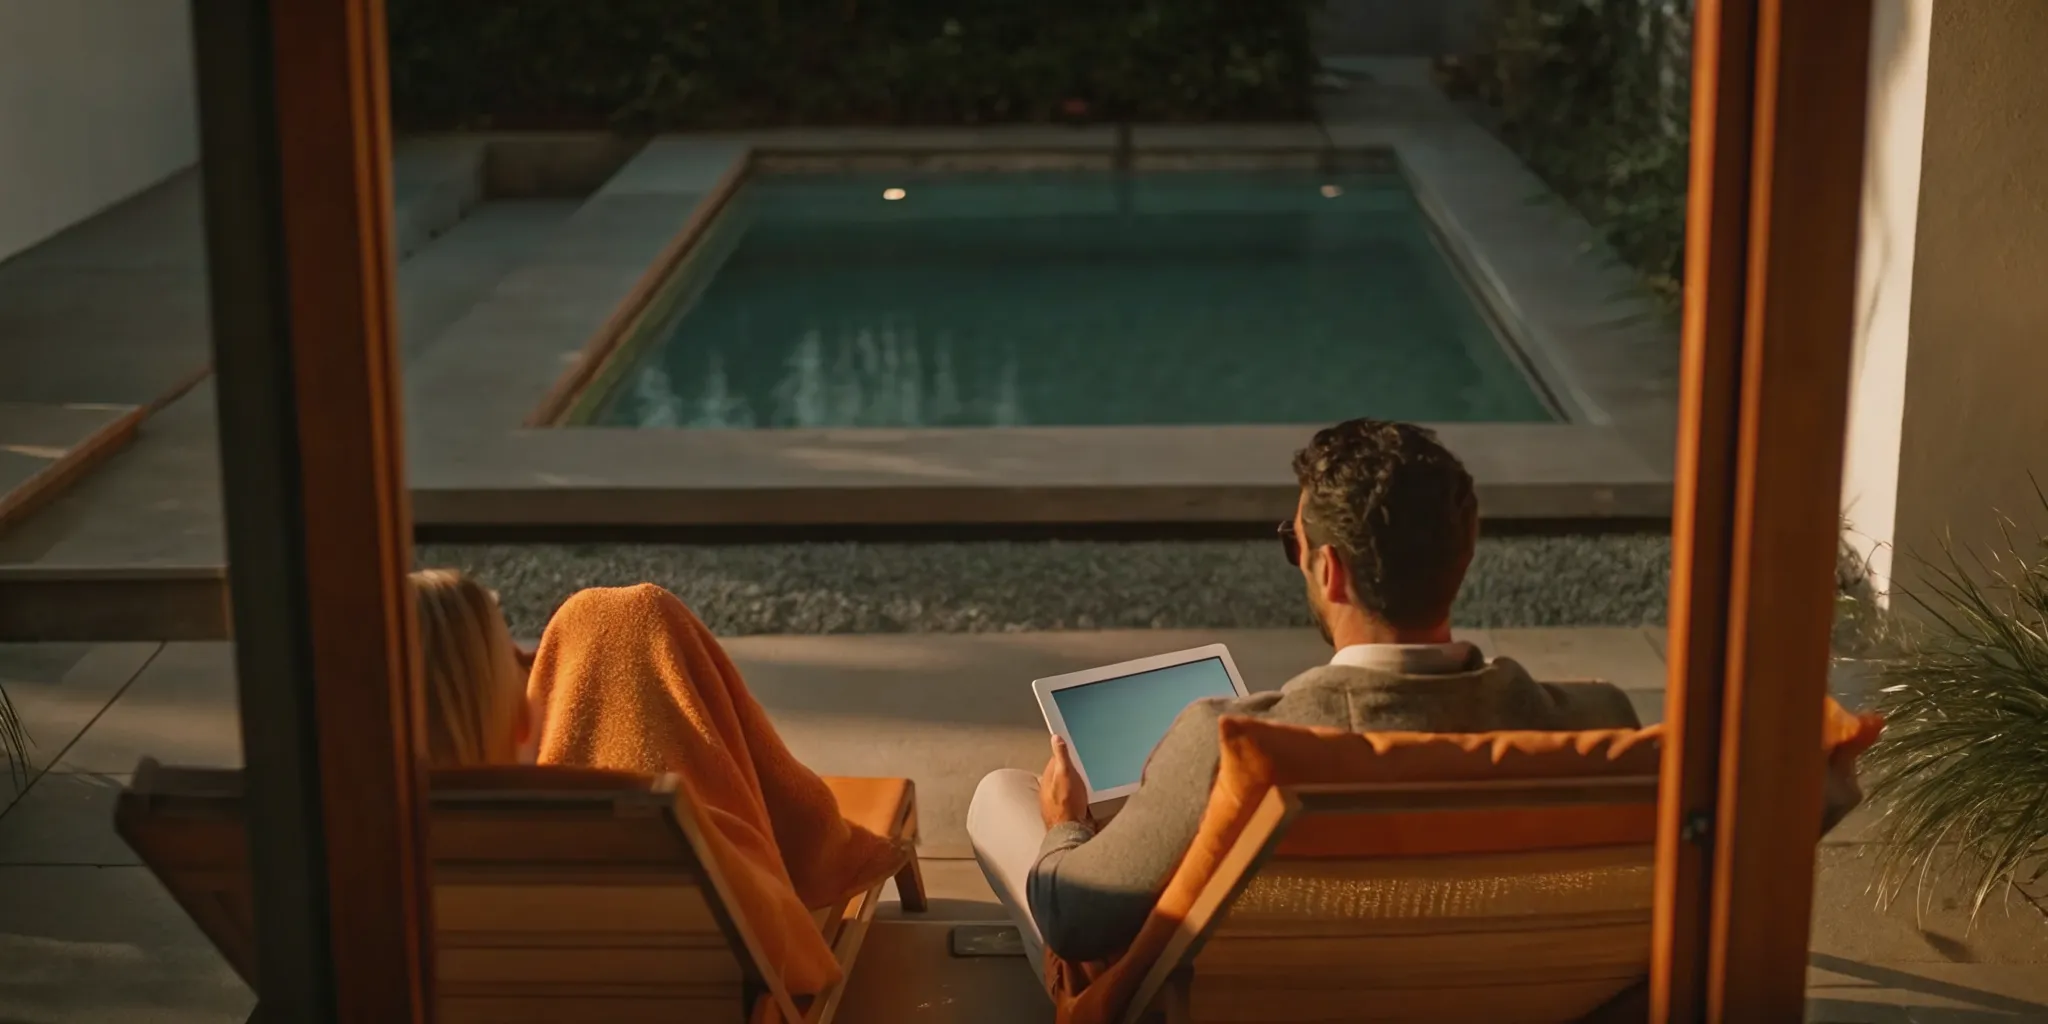
Create a Better Work-Life Balance
A short commute across your lawn can make a world of difference for your mental health. Having a separate office structure helps create a clear boundary between your professional and personal life. At the end of the day, you can physically leave your work behind, allowing you to be more present with your family. This dedicated space gives you the chance to design a workspace tailored for focus, with everything you need and nothing you don’t. This intentional separation helps you switch off more easily, preventing burnout and fostering a much healthier relationship with your job.
Save on Office Rent
If you’ve ever considered renting a coworking space or a small office, you know how quickly those monthly fees add up. A backyard office is a one-time investment that can save you a significant amount of money in the long run. While there's an upfront cost, you're building an asset rather than paying rent. As one DIY builder found, constructing a backyard office can be much cheaper than other options, especially if you manage the project carefully. By investing in your own property, you eliminate a recurring business expense and put that money toward something you own.
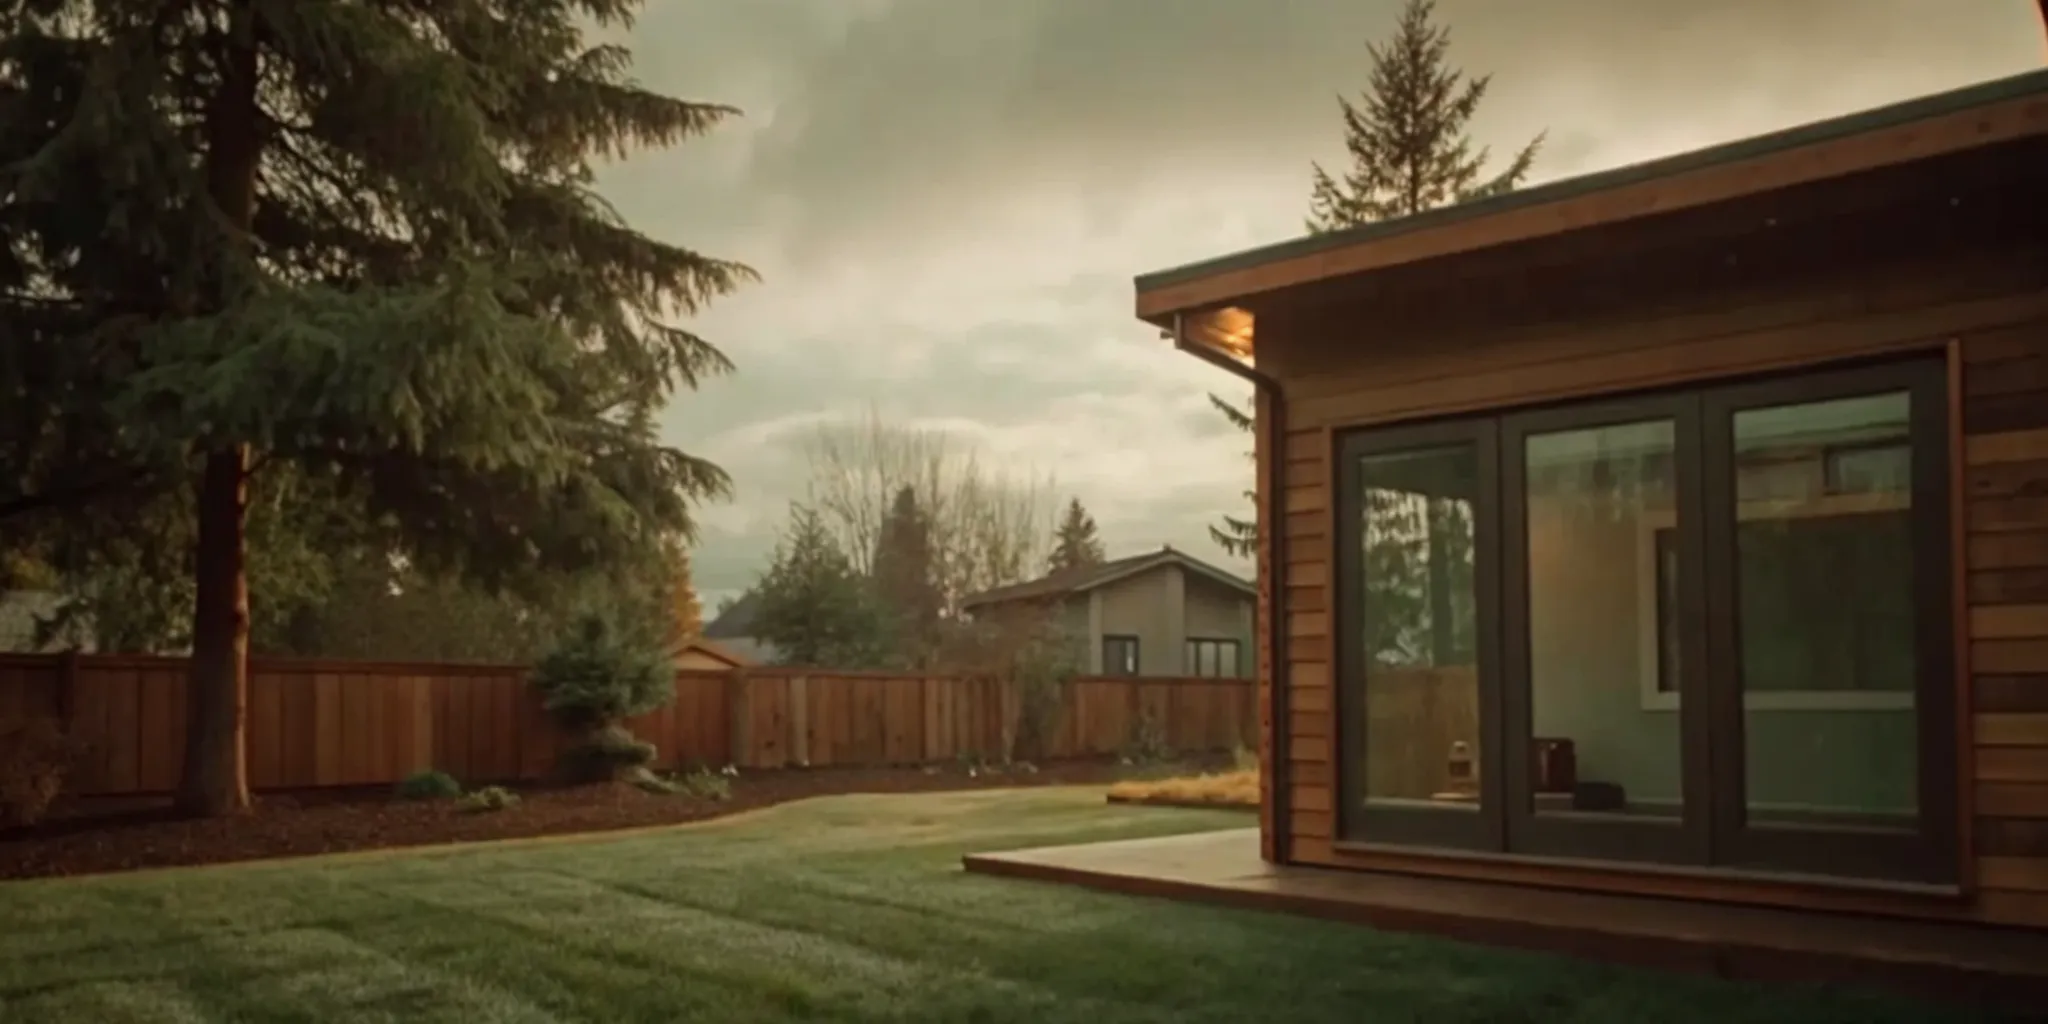
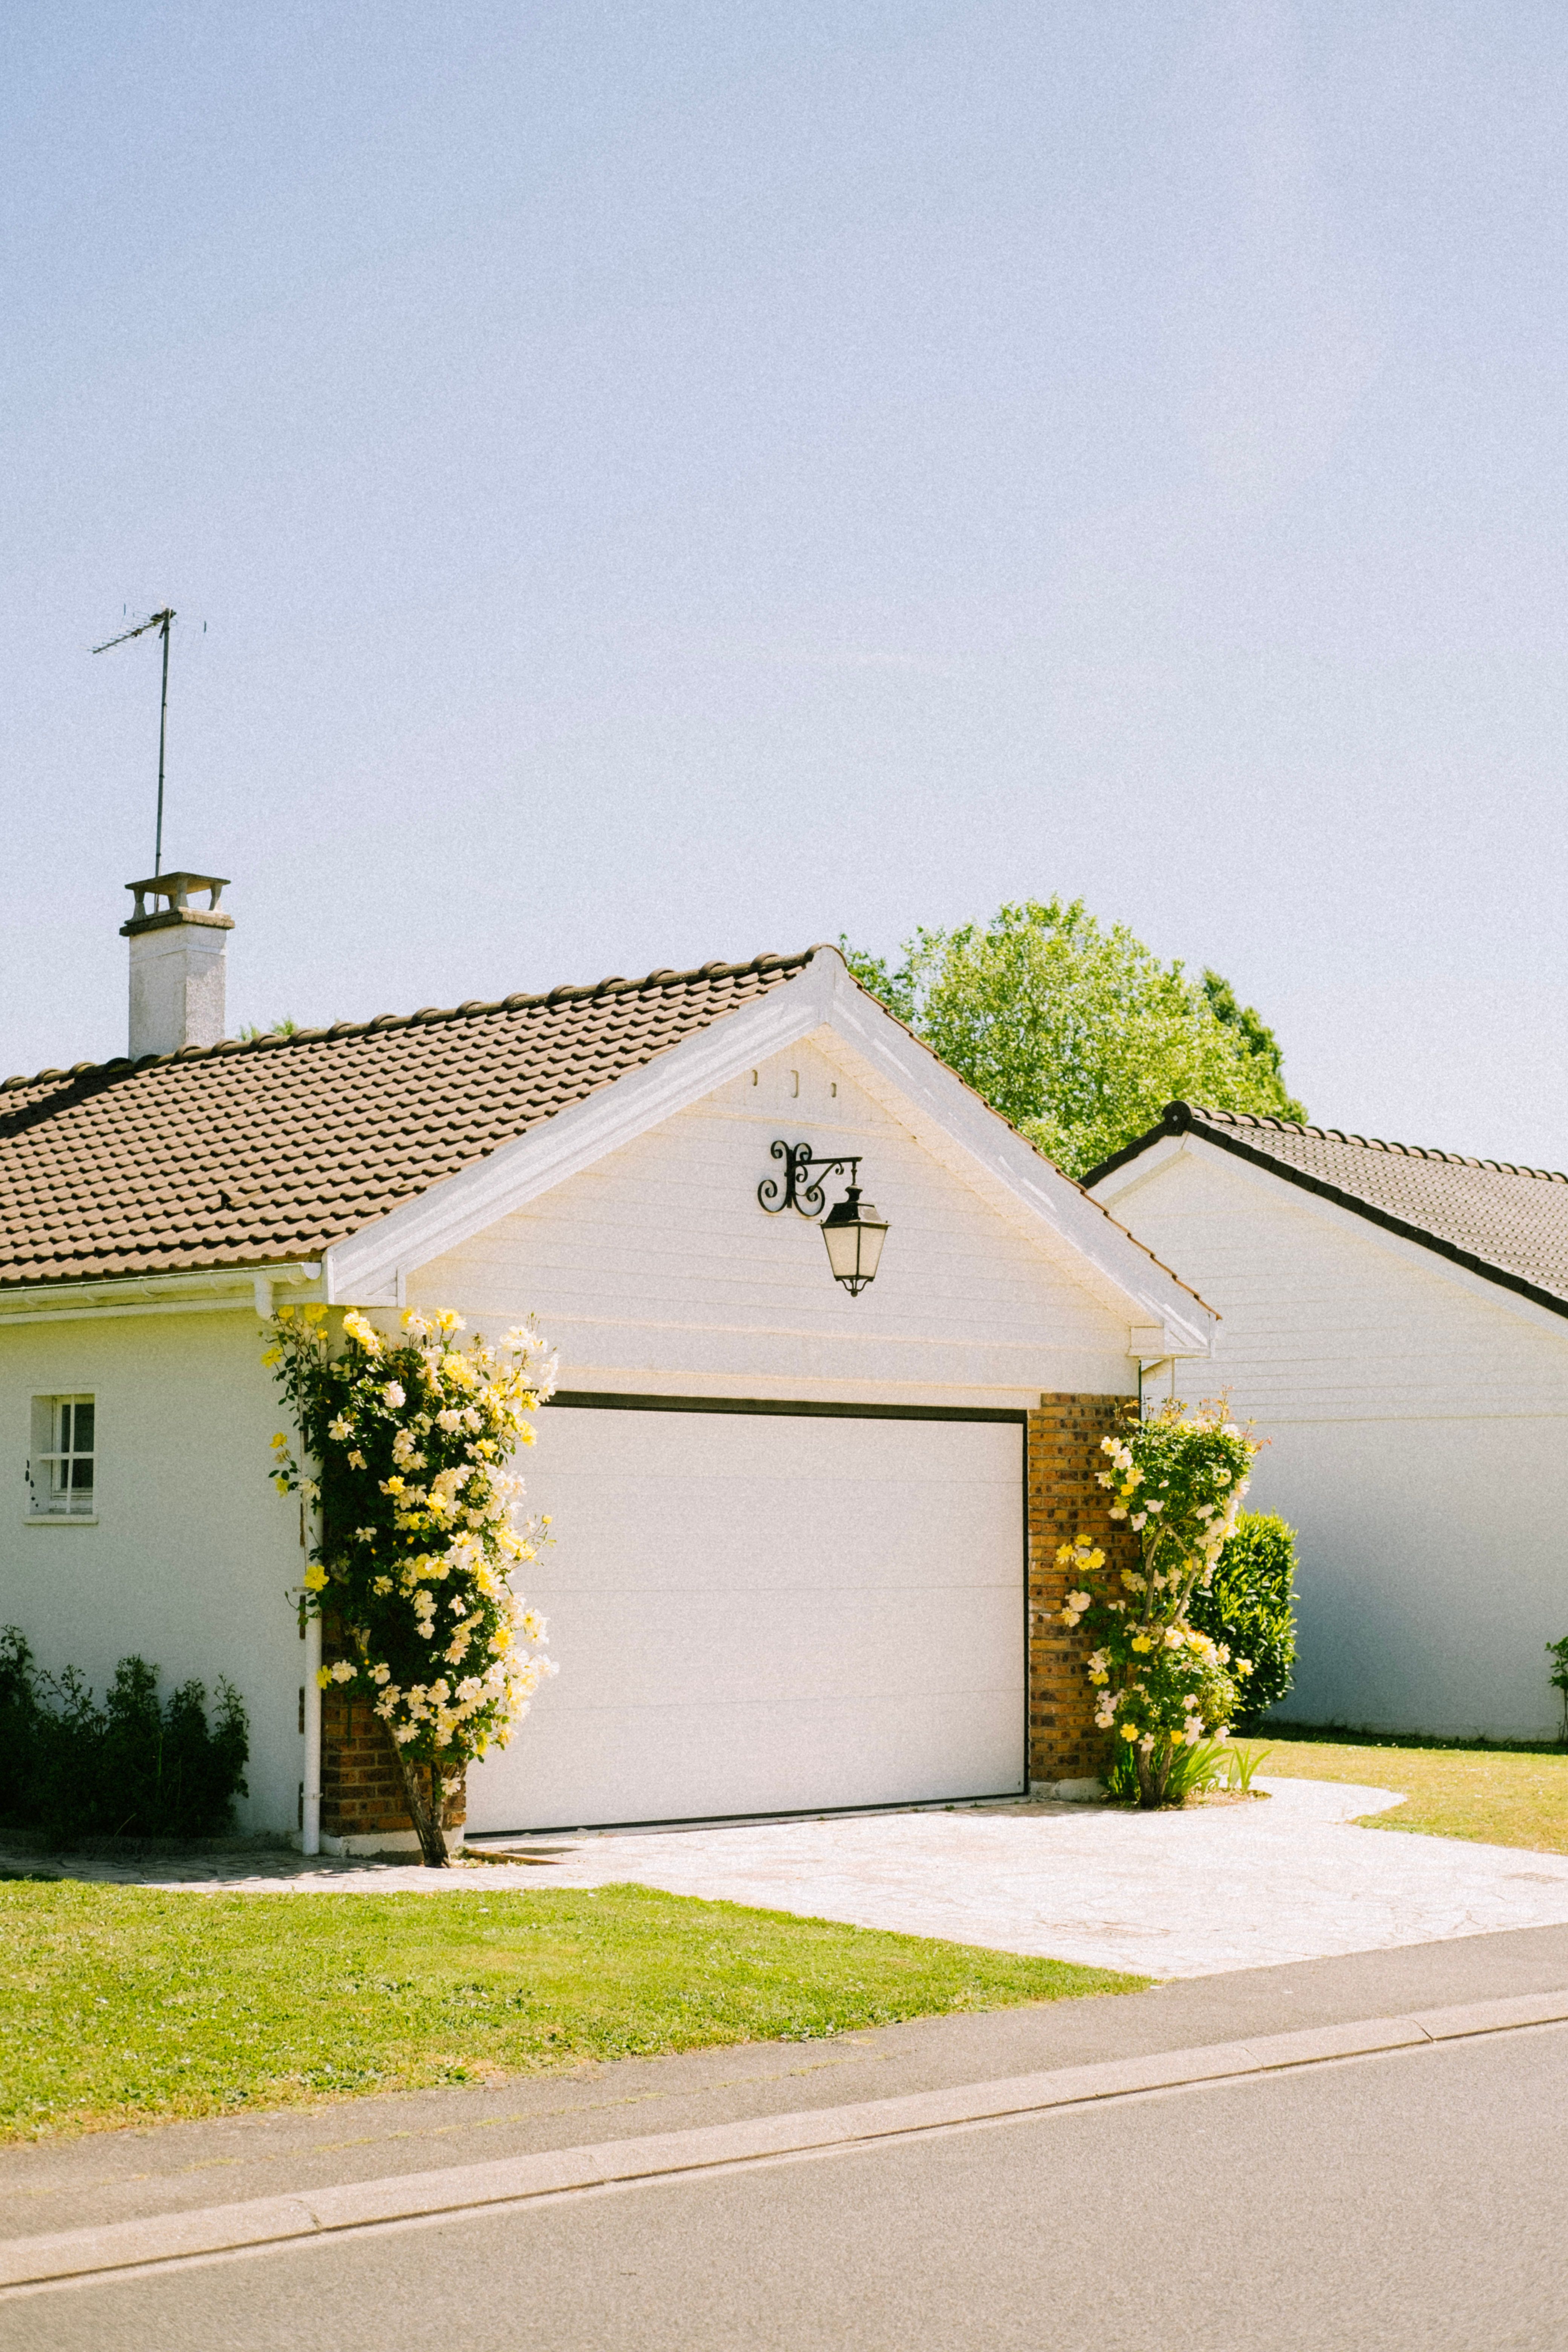
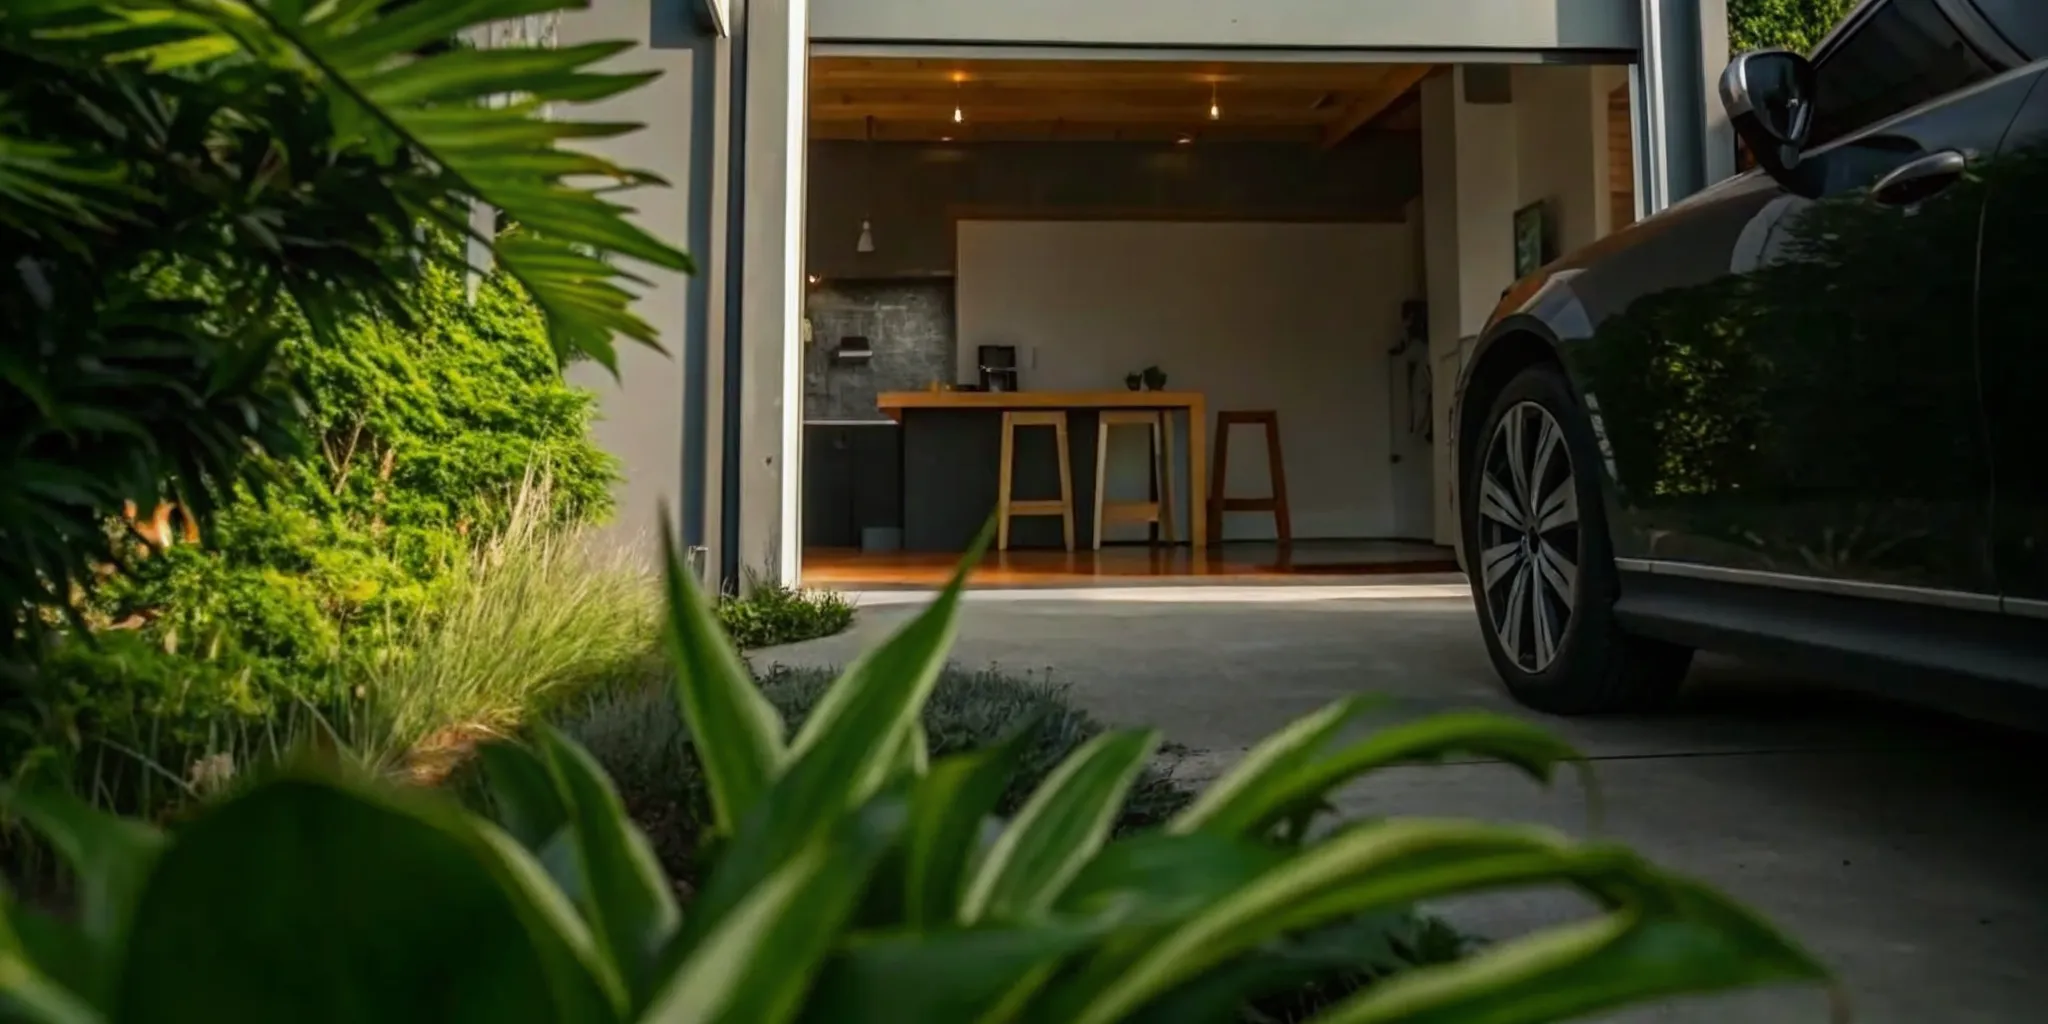
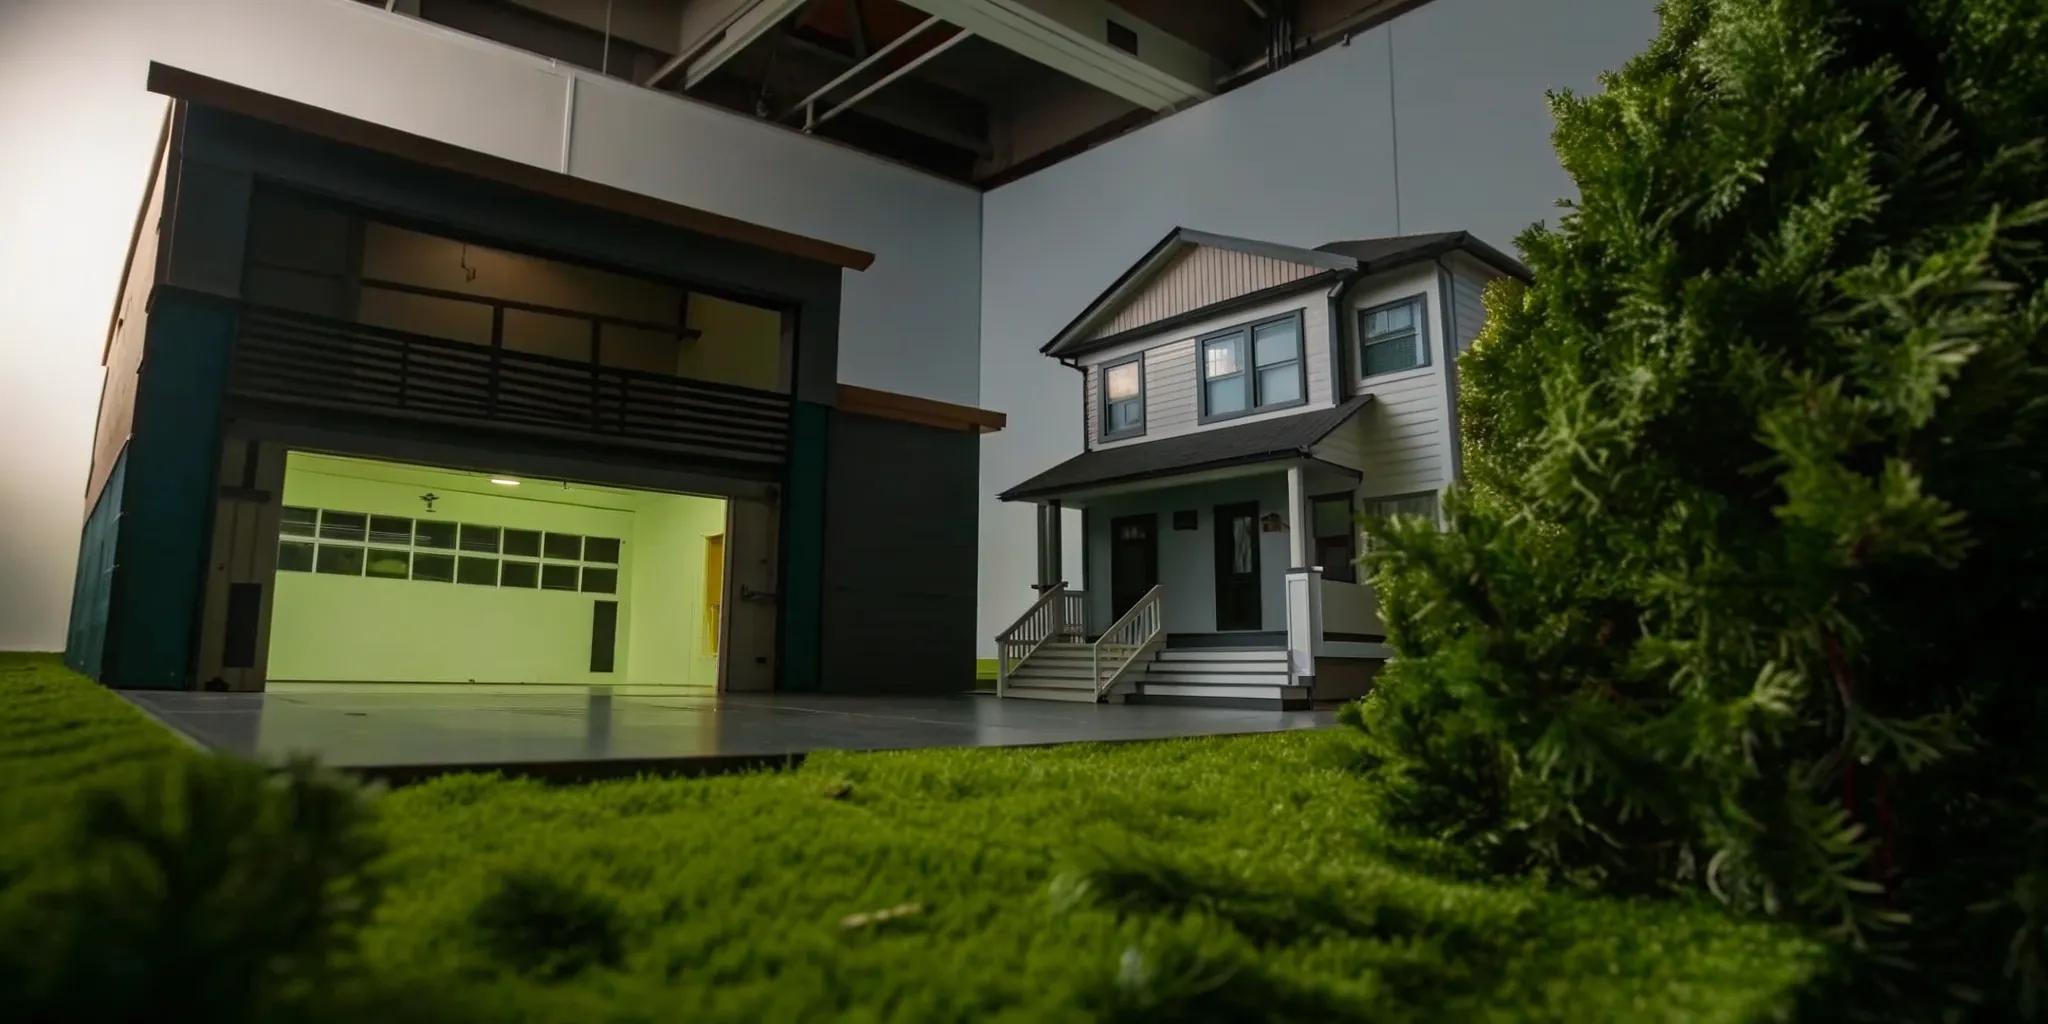
Add Value to Your Property
A backyard office isn't just a personal benefit; it's a smart home improvement project that can increase your property's value. With remote work becoming a permanent option for many, a dedicated, turnkey office space is a highly attractive feature for potential buyers. A well-designed shed is more than just a functional room; it can be an architectural feature that enhances your backyard. According to Modern Shed, these structures can "complement your home's style while adding an air of sophistication." Think of it as adding valuable square footage that serves a clear, in-demand purpose, making your home more appealing on the market.
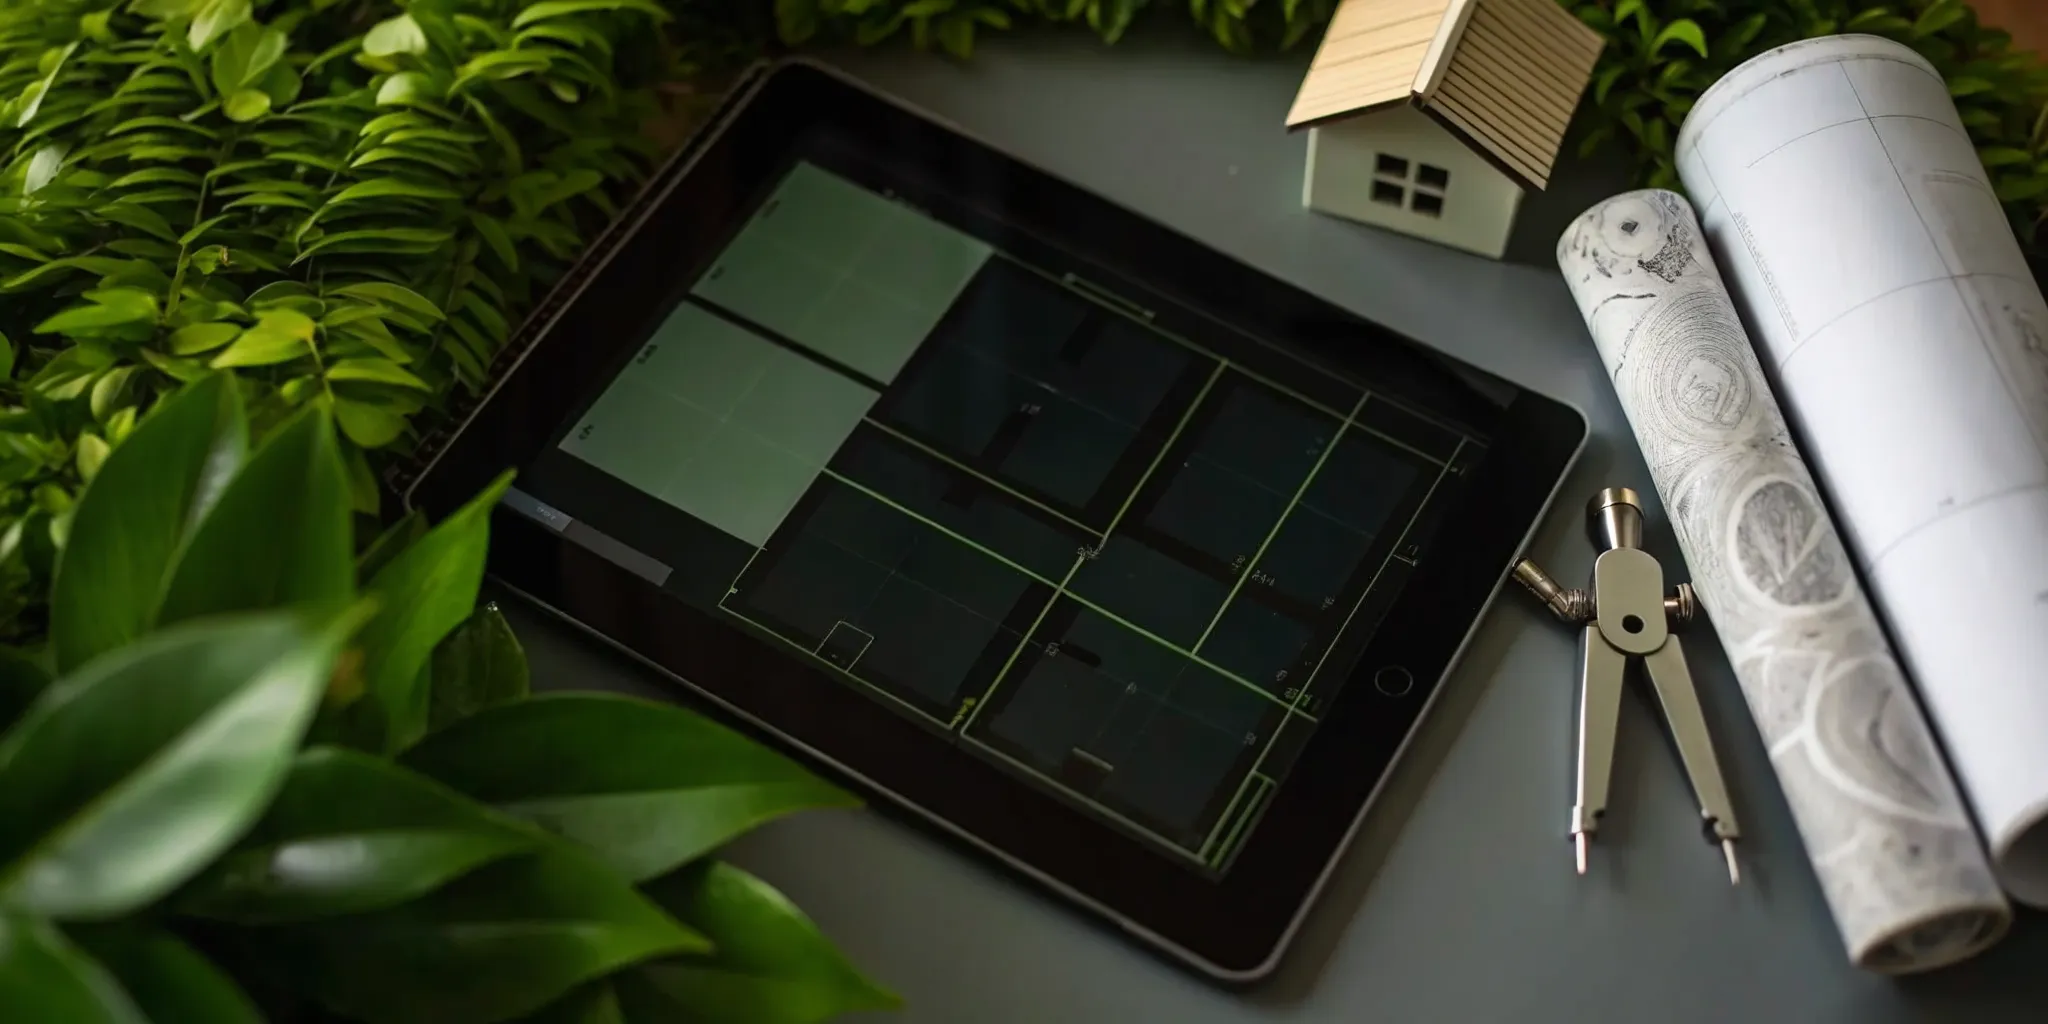
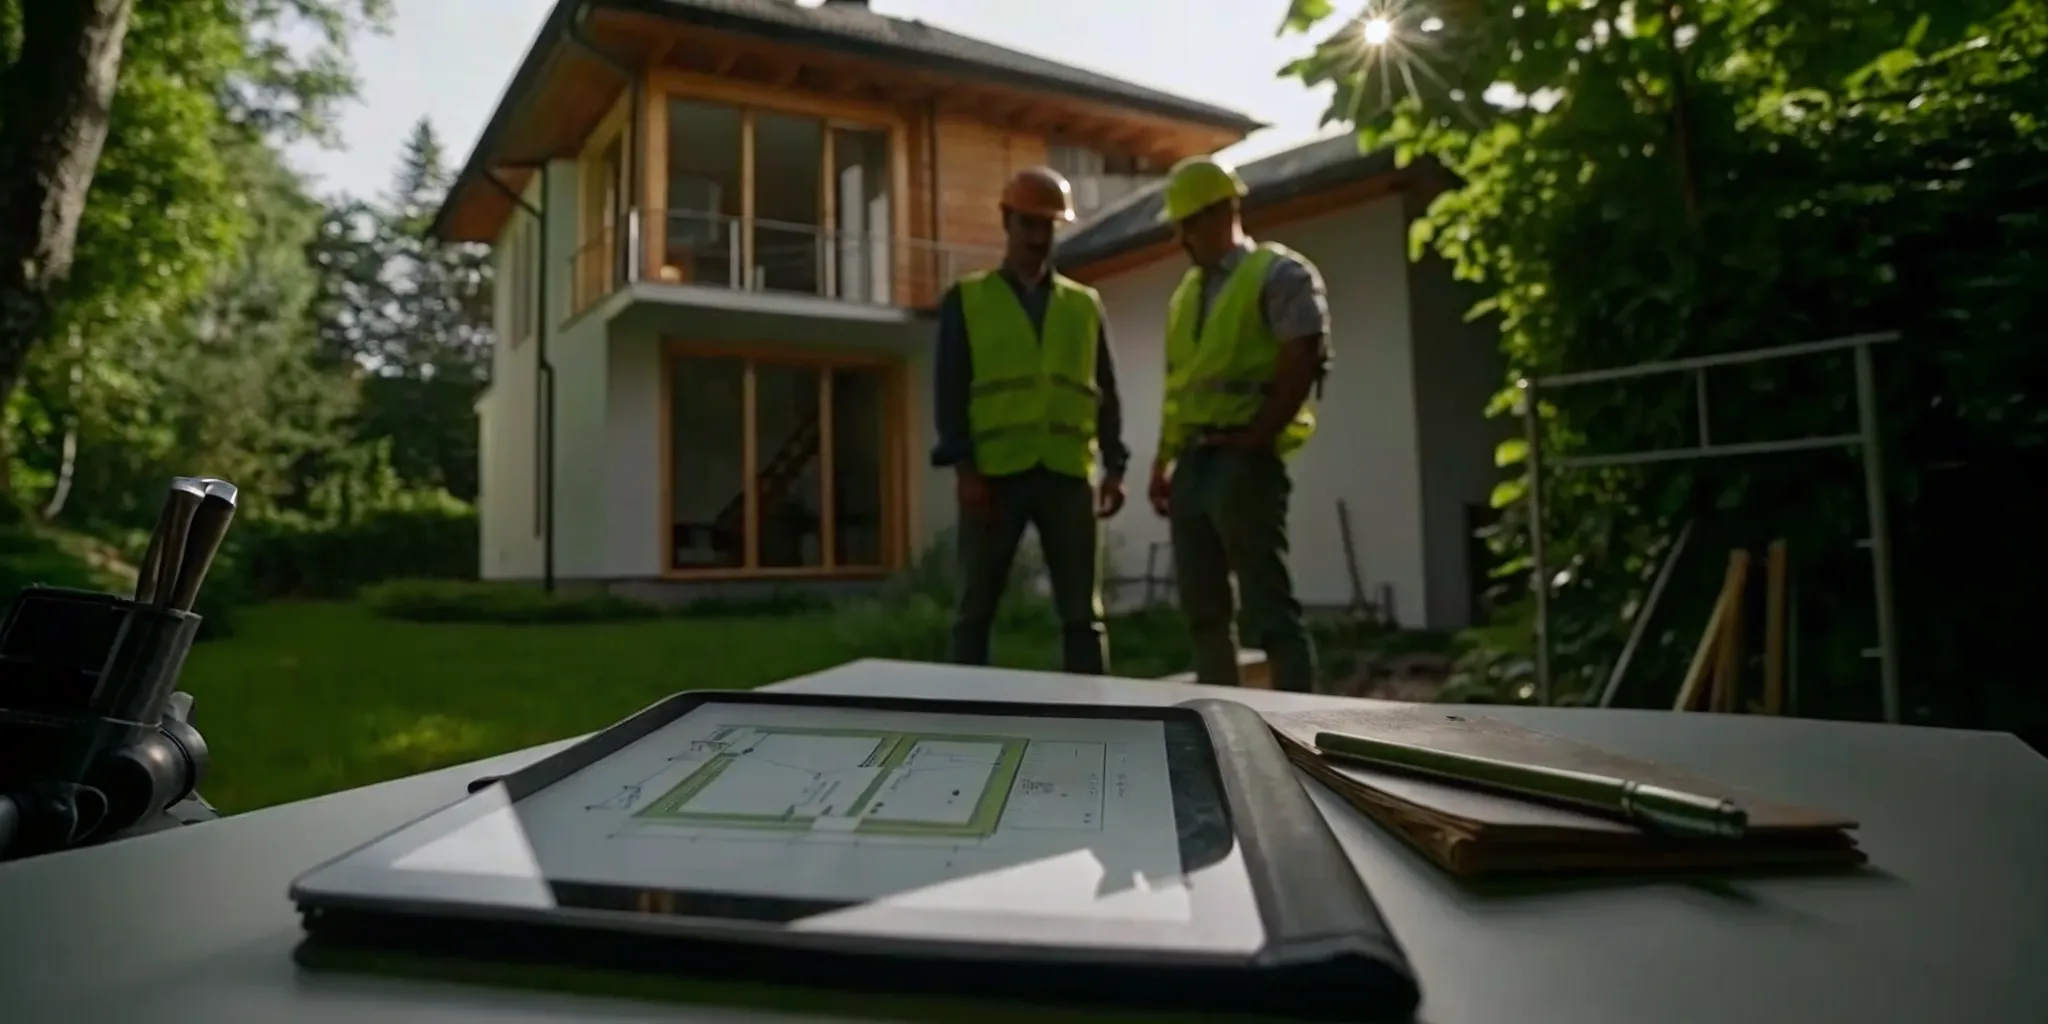
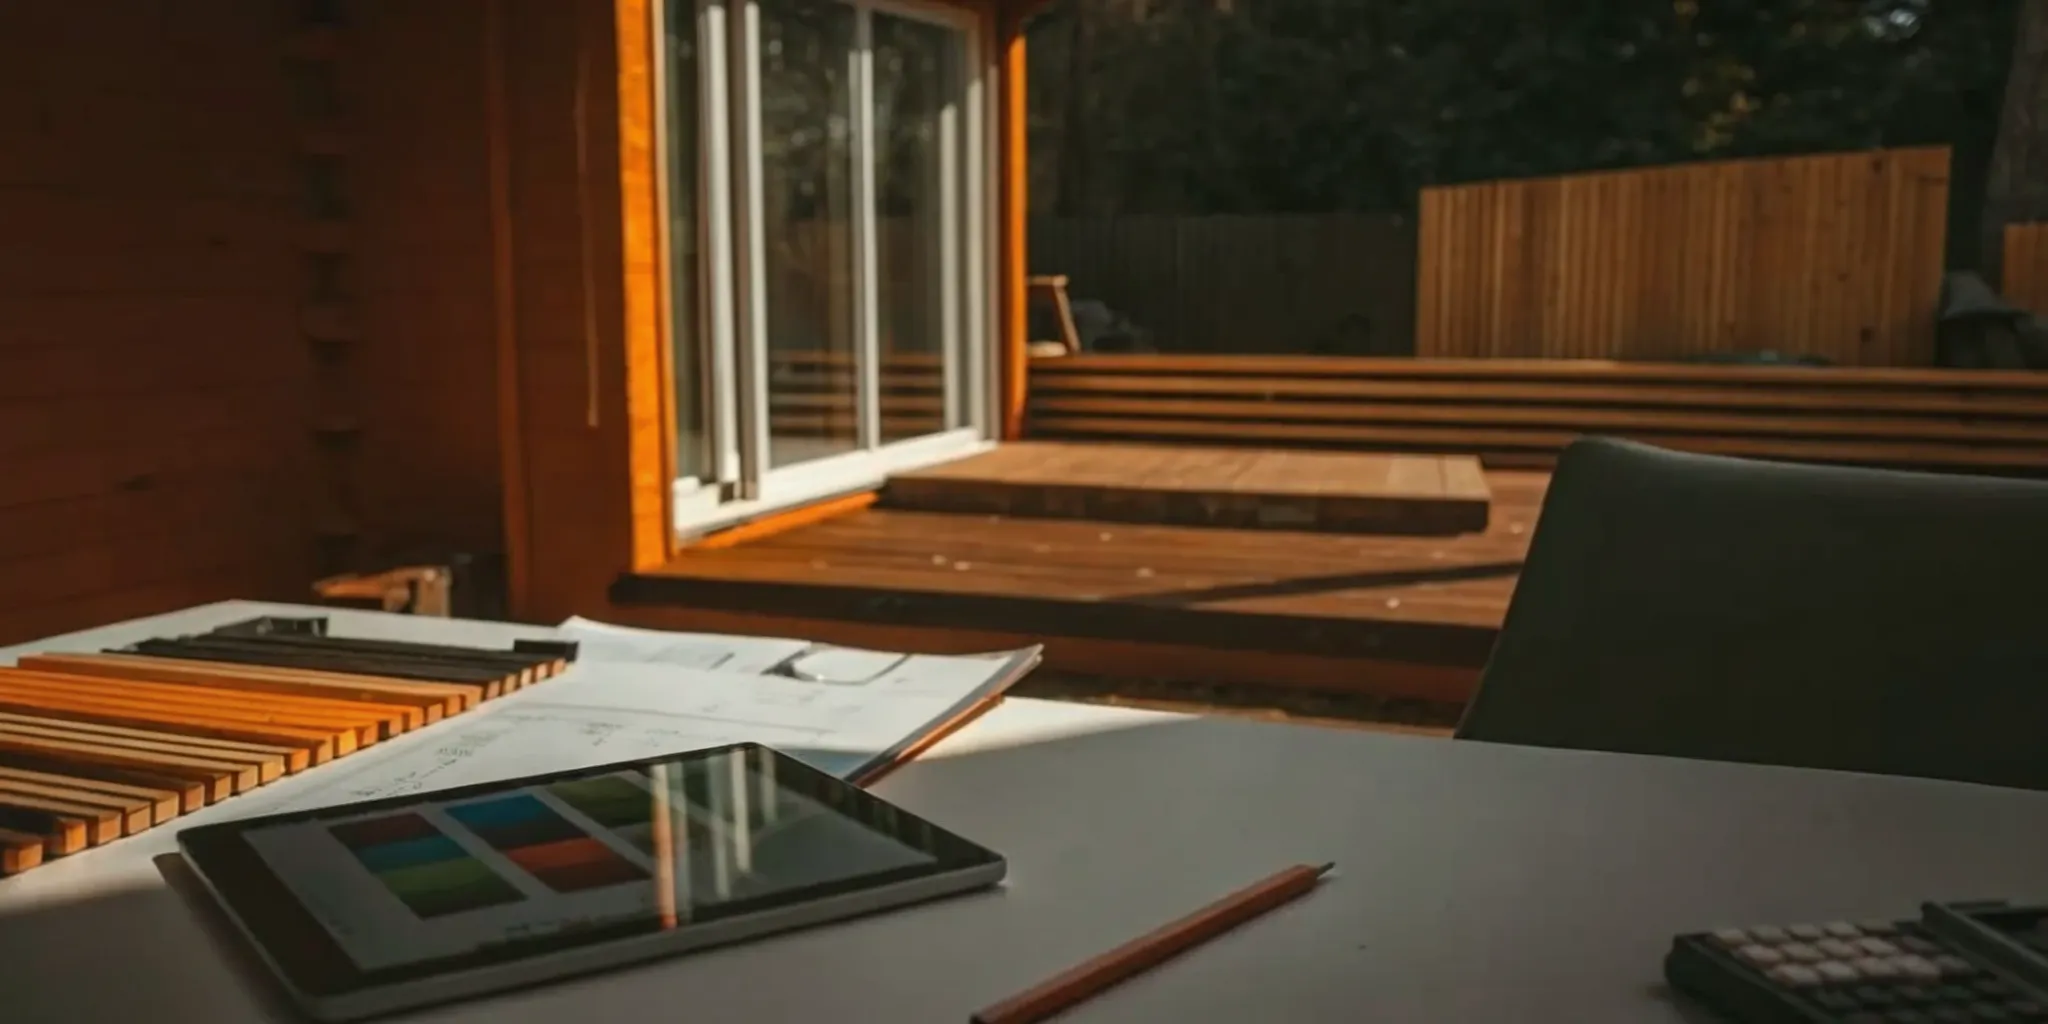
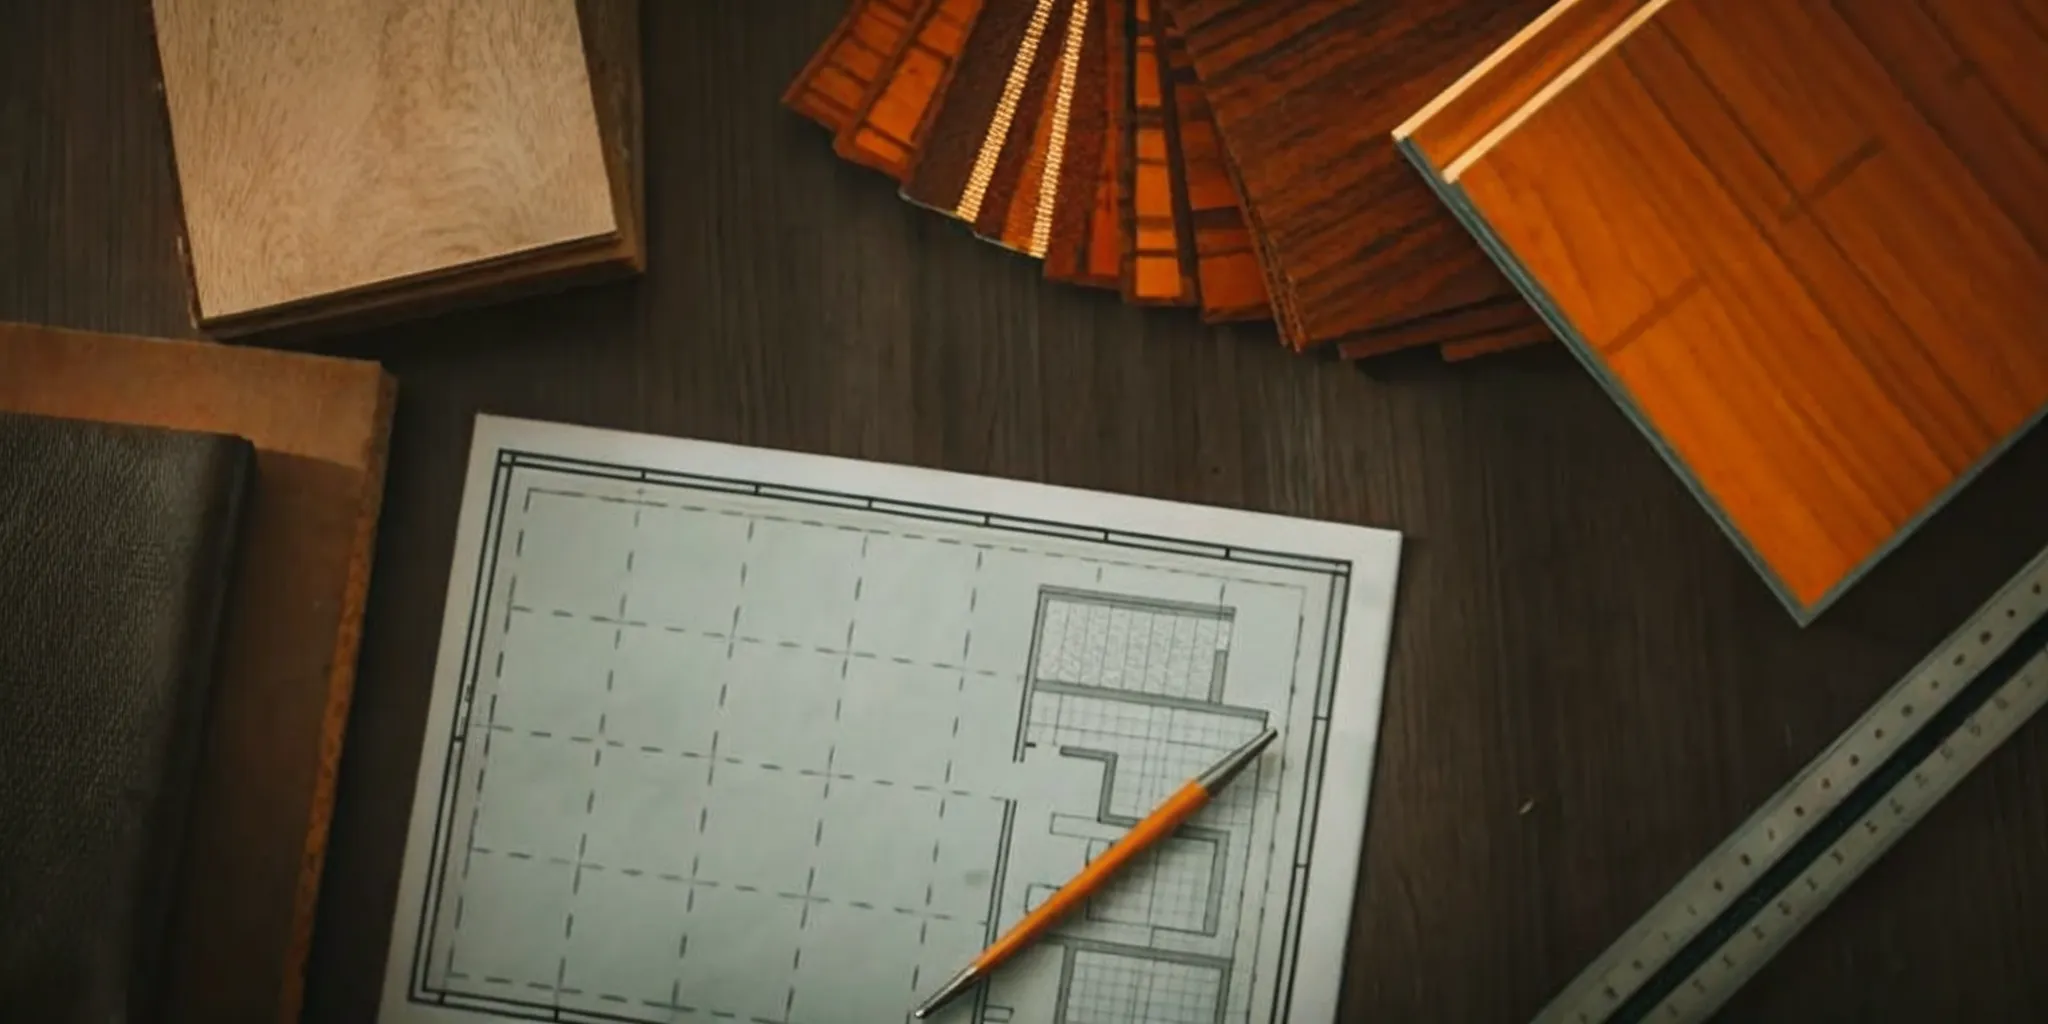
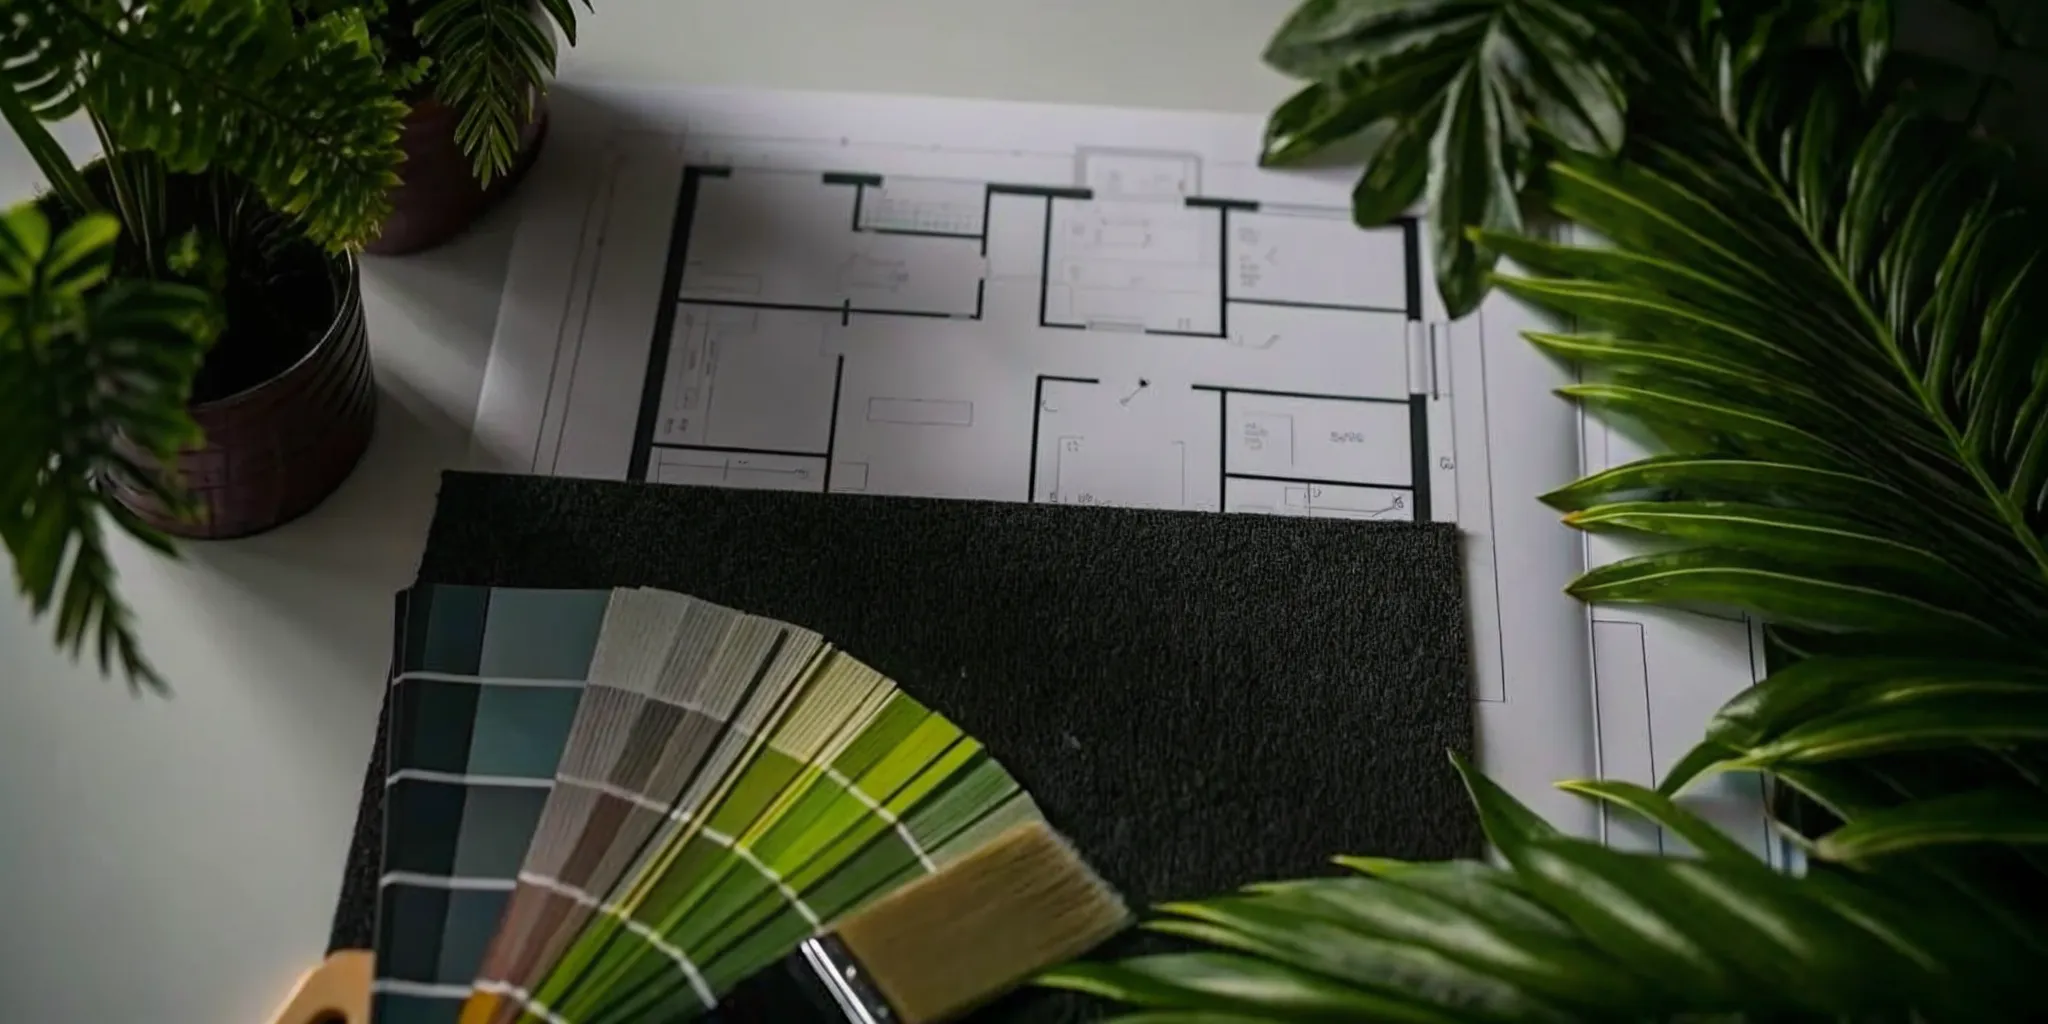
How to Plan Your Backyard Office Project
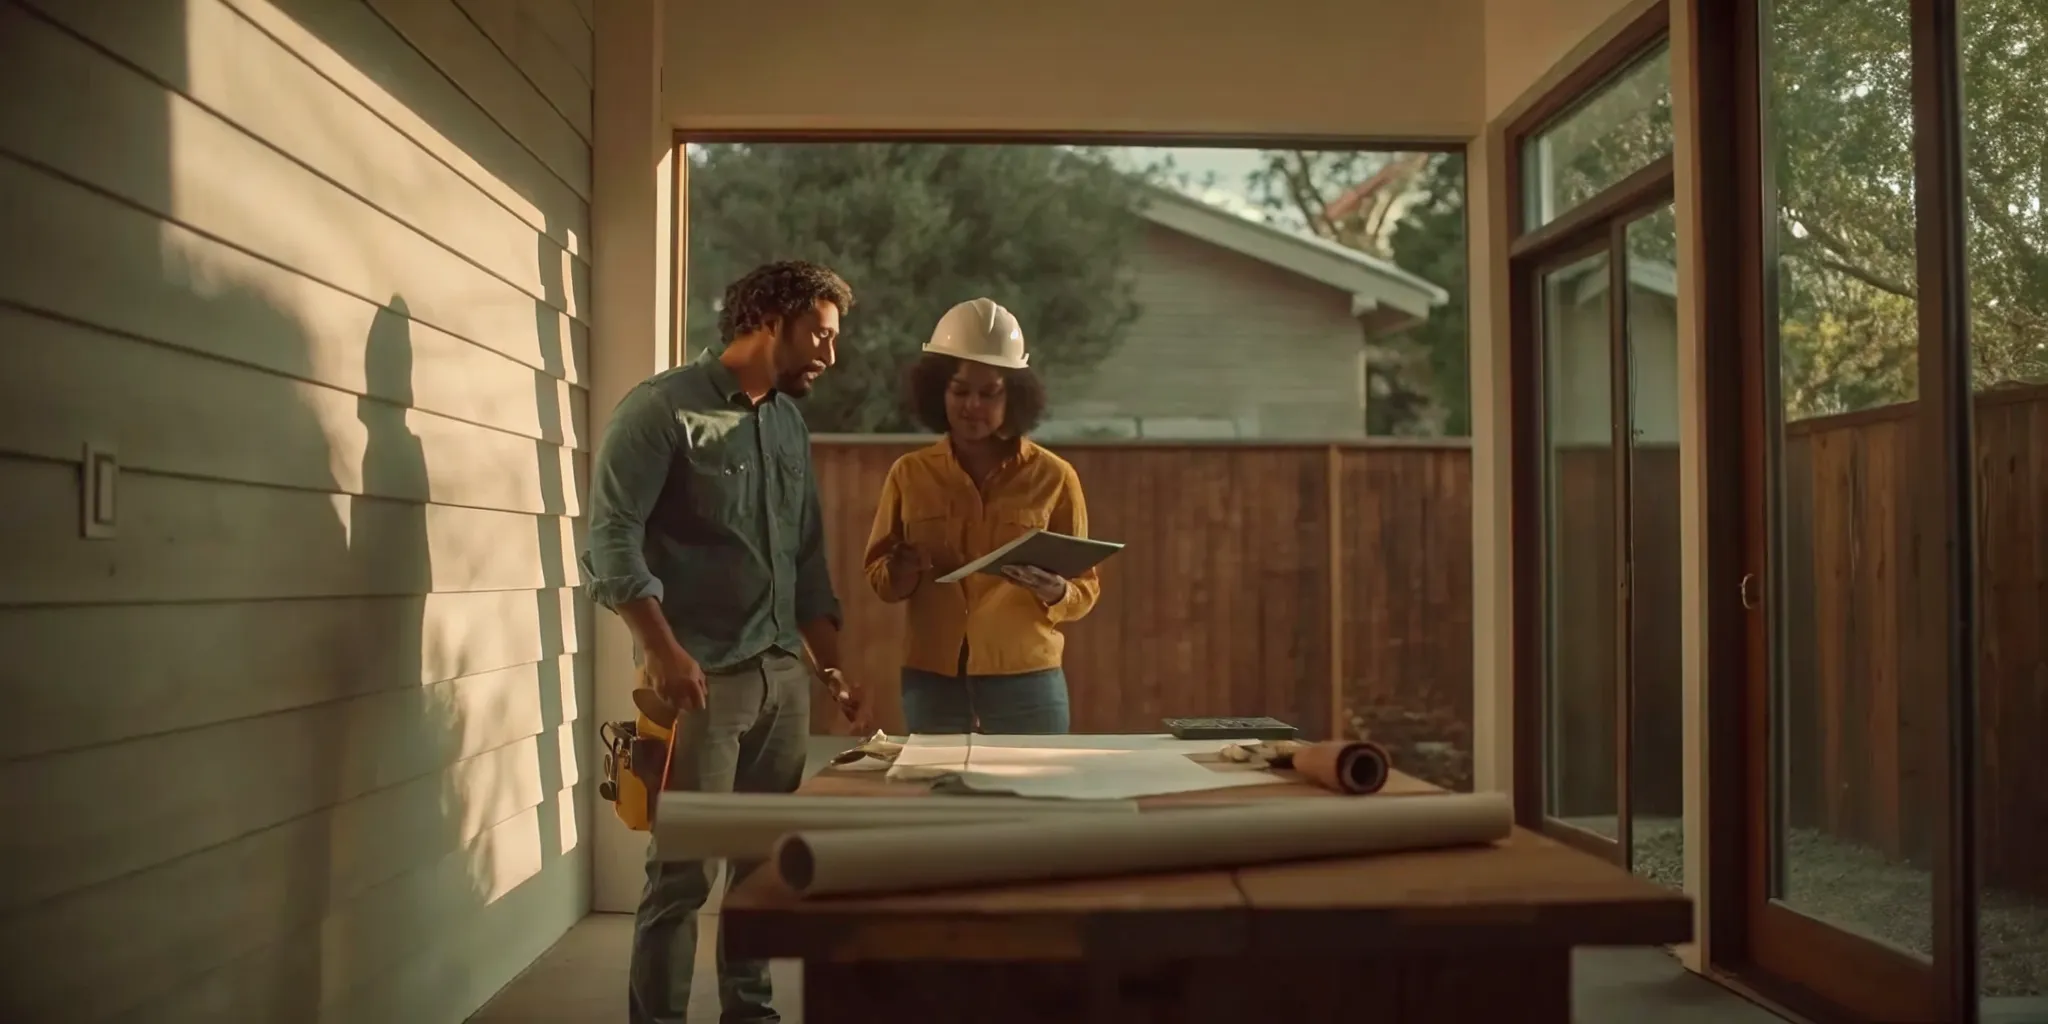
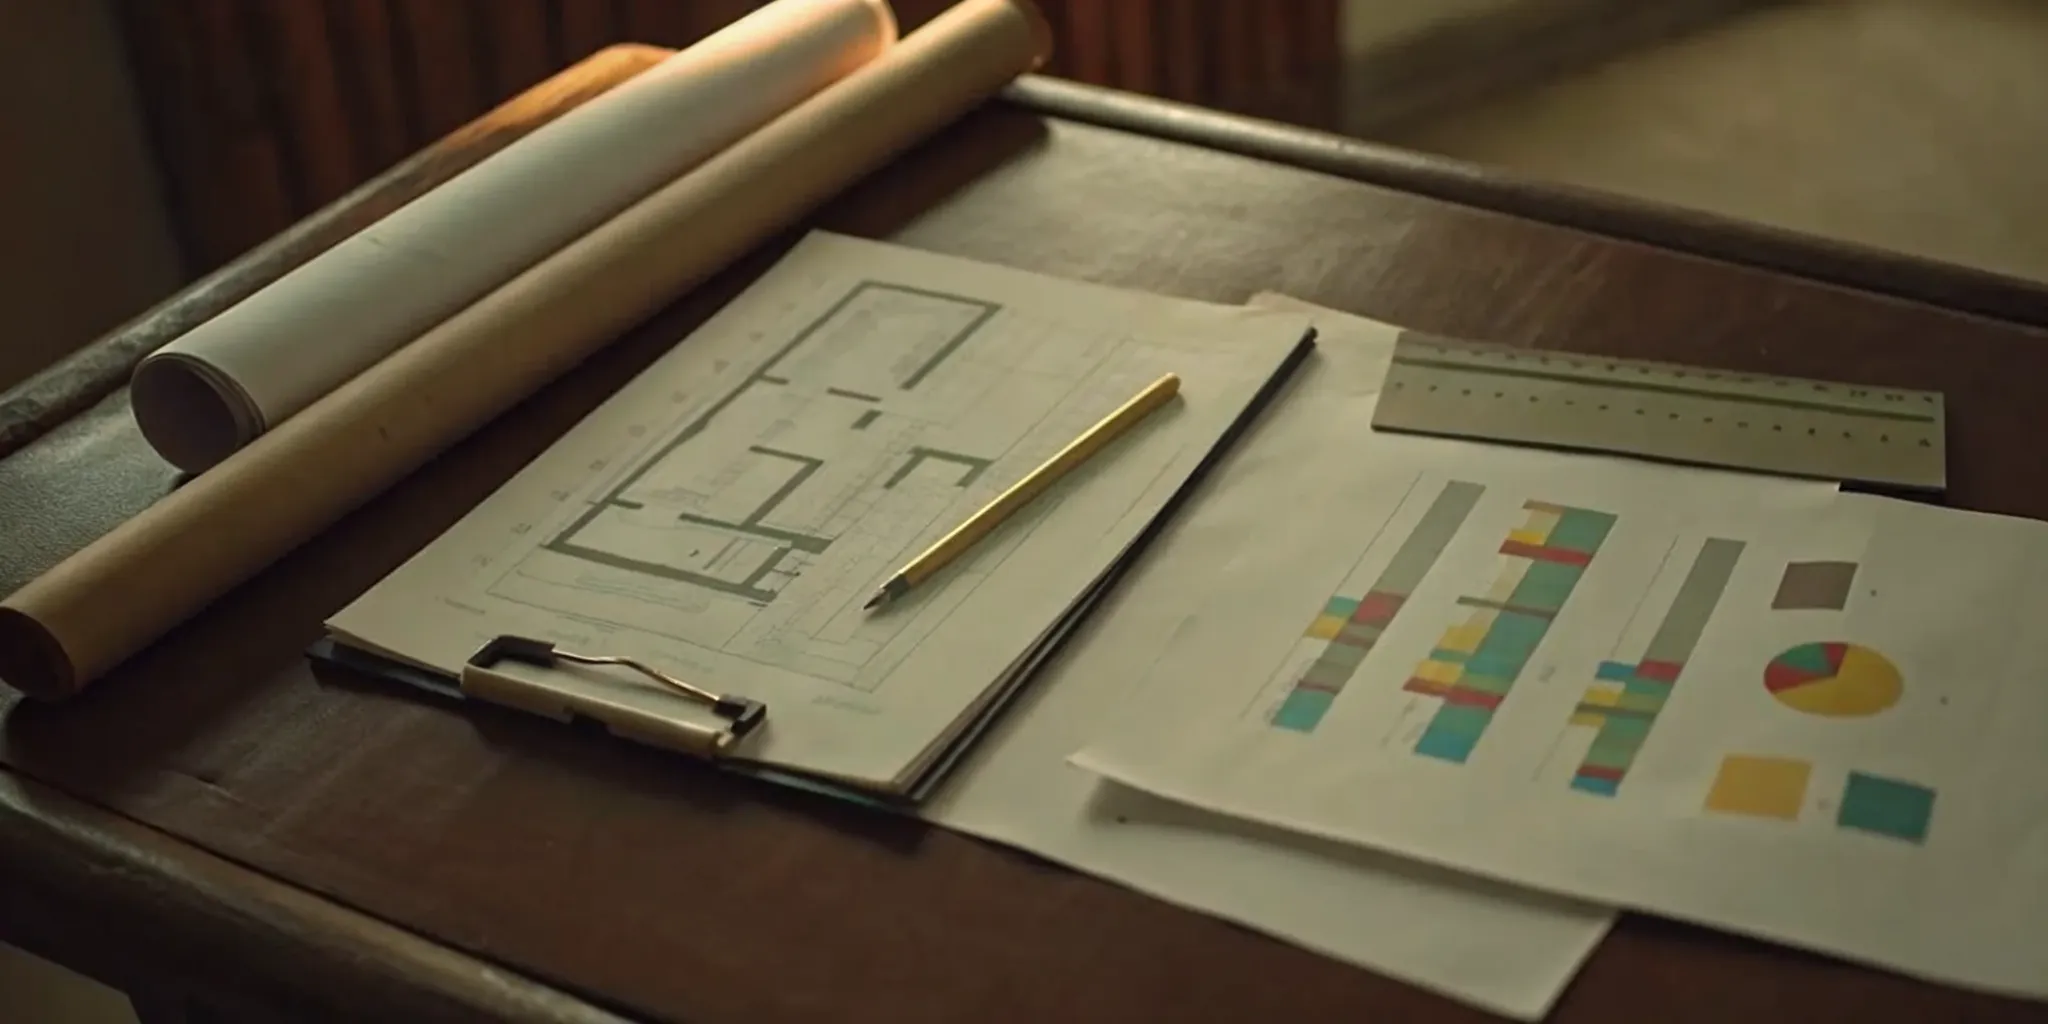
A great backyard office starts long before you pick up a hammer. Thoughtful planning is the single best thing you can do to ensure your project runs smoothly, stays on budget, and gives you the functional, quiet workspace you’re dreaming of. Taking the time to map out the details now will save you from headaches and unexpected costs down the road. Let’s walk through the four key planning stages: finding the right spot, deciding on the size, setting a budget, and understanding the local rules.
Choose the Perfect Location
Picking the right spot for your shed is about more than just finding a patch of level ground. Think about your daily routine and how the environment will affect your work. Where will the office sit, which way will it face, and how will the sun hit it throughout the day? You’ll want to maximize natural light without getting blasted by the afternoon sun. Consider the view from your desk and the distance to your main house for Wi-Fi signal and running utilities like electricity. Also, think about privacy from neighbors and your own home to create a true sense of separation. A customized project plan can help you weigh these factors to find the perfect location.
Determine Your Ideal Size and Layout
The ideal size for your office depends entirely on your needs. Will it just be you and a laptop, or do you need space for client meetings, extra storage, or bulky equipment? Before you settle on a size, check your local regulations. In many areas, structures under 120 square feet don’t require a building permit, which can save you a lot of time and paperwork. For example, a 7-by-10-foot office is a compact 70 square feet but can be perfectly functional. To get a feel for the space, use painter's tape to mark out the potential footprint in your yard and place your essential furniture inside the lines.
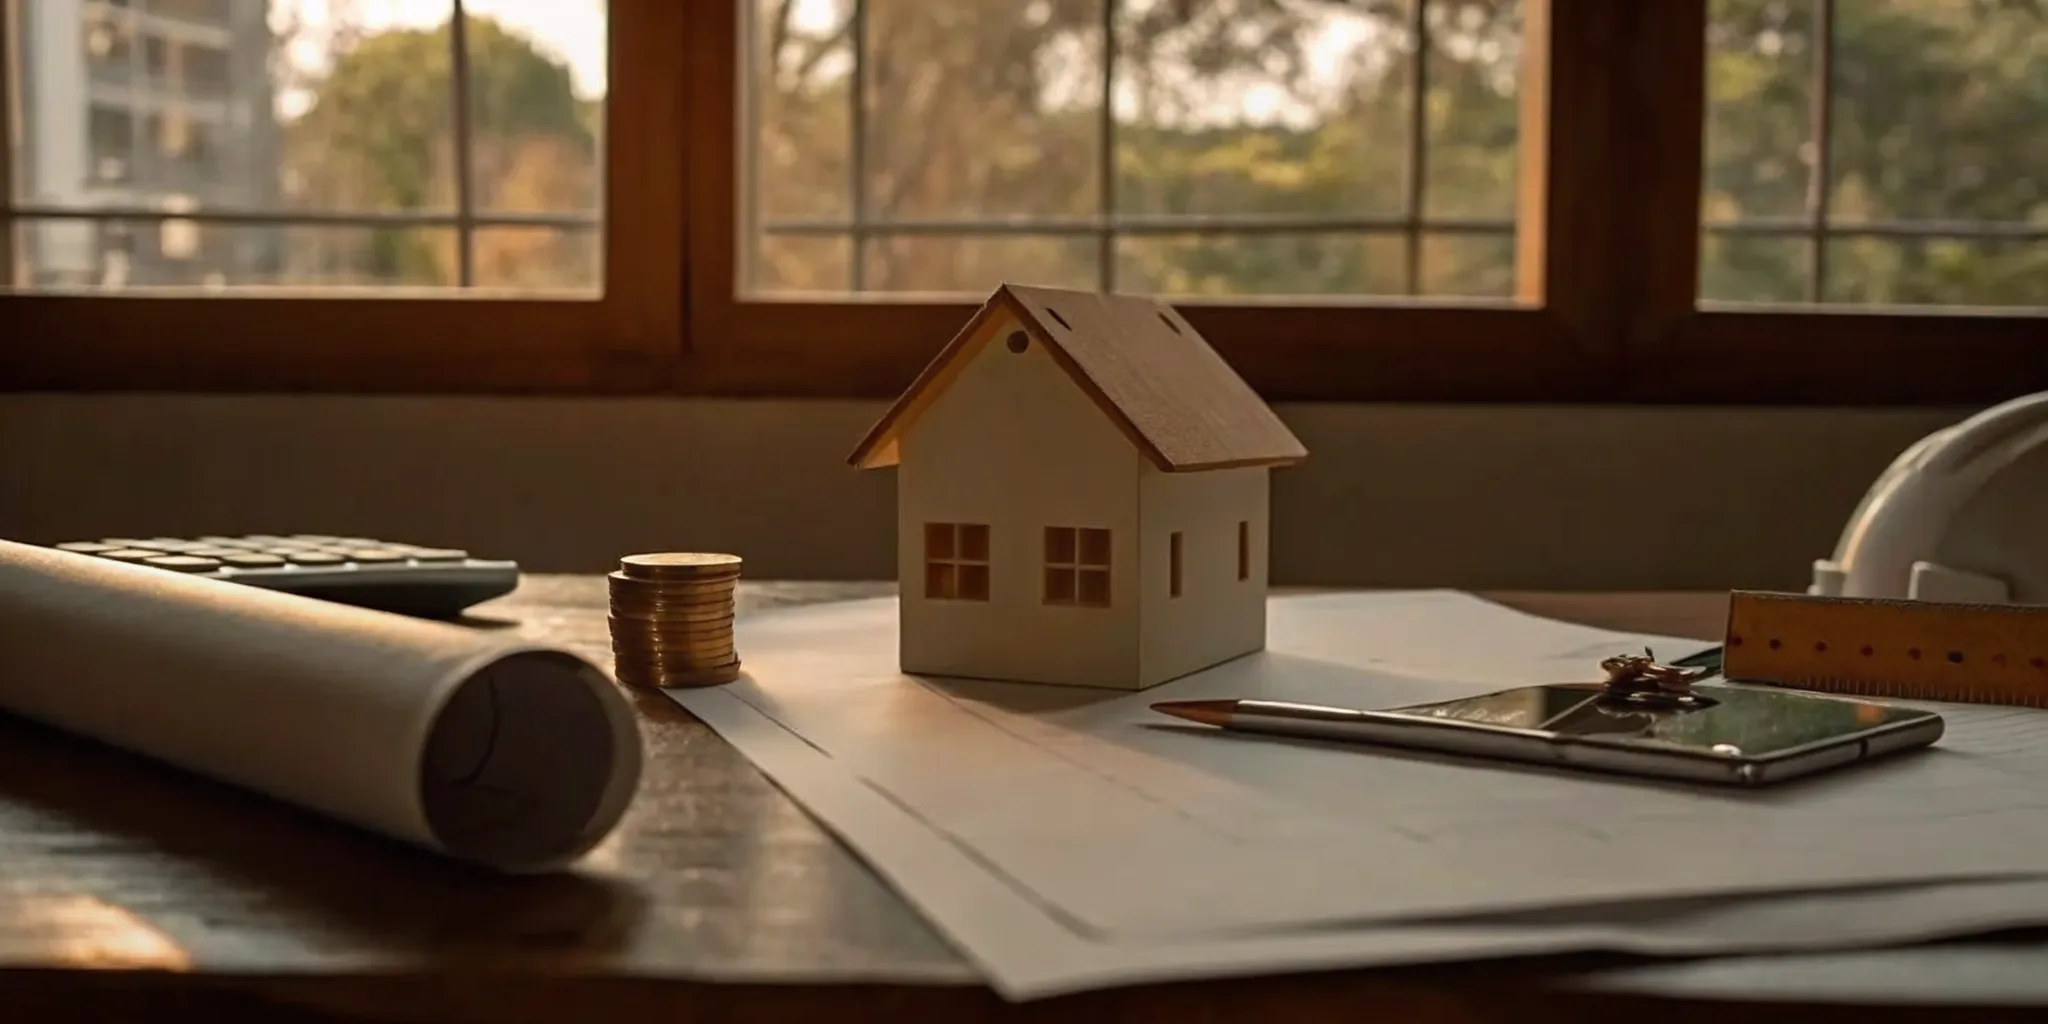
Set a Realistic Budget
Building a backyard office is an investment, and costs can range from a few thousand dollars for a simple DIY shed to over $20,000 for a more finished, custom structure. One homeowner, for instance, reported a total project cost of just under $20,000. Your budget should account for materials, foundation, labor (if you’re not doing it all yourself), electrical and internet hookups, insulation, and interior finishes like drywall and flooring. Don’t forget to set aside an extra 10-15% as a contingency fund for any surprises that pop up. Getting expert guidance can help you create a detailed budget that aligns with your goals and avoids scope creep.
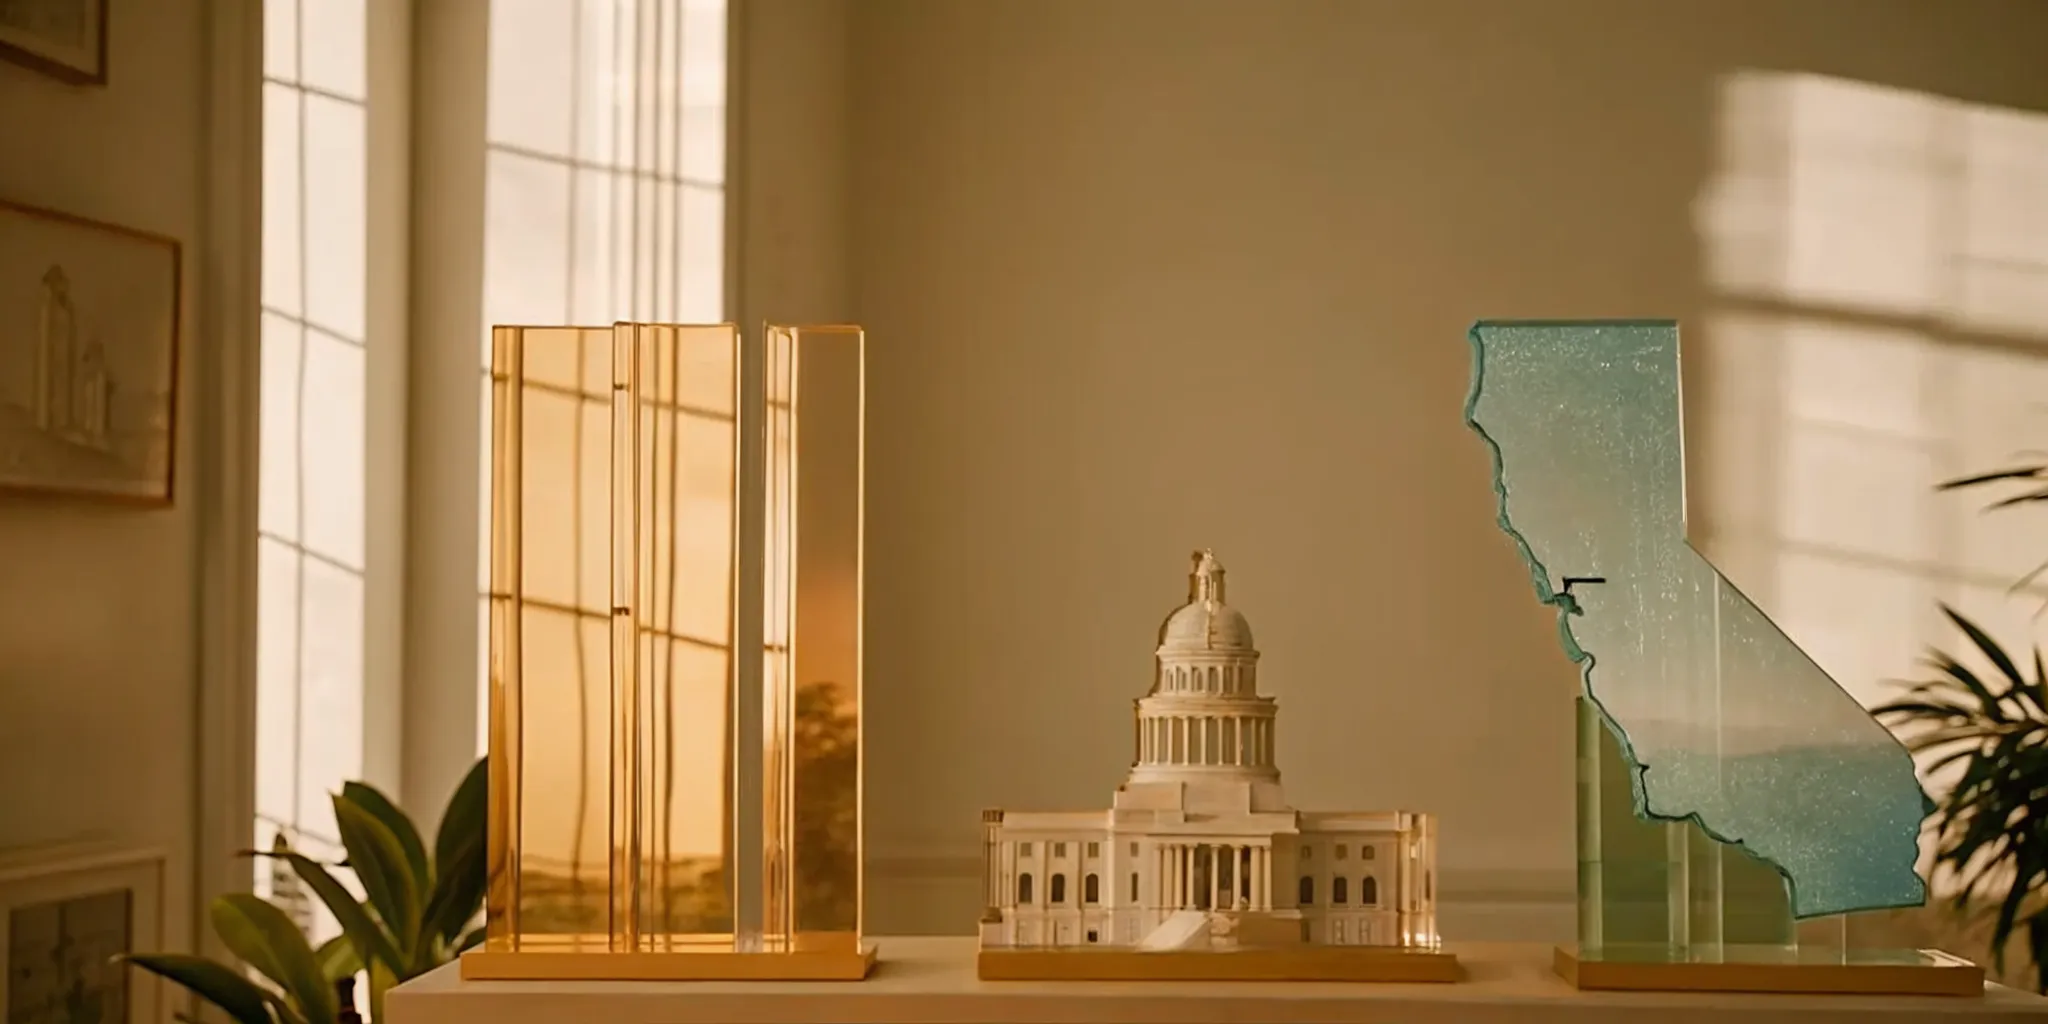
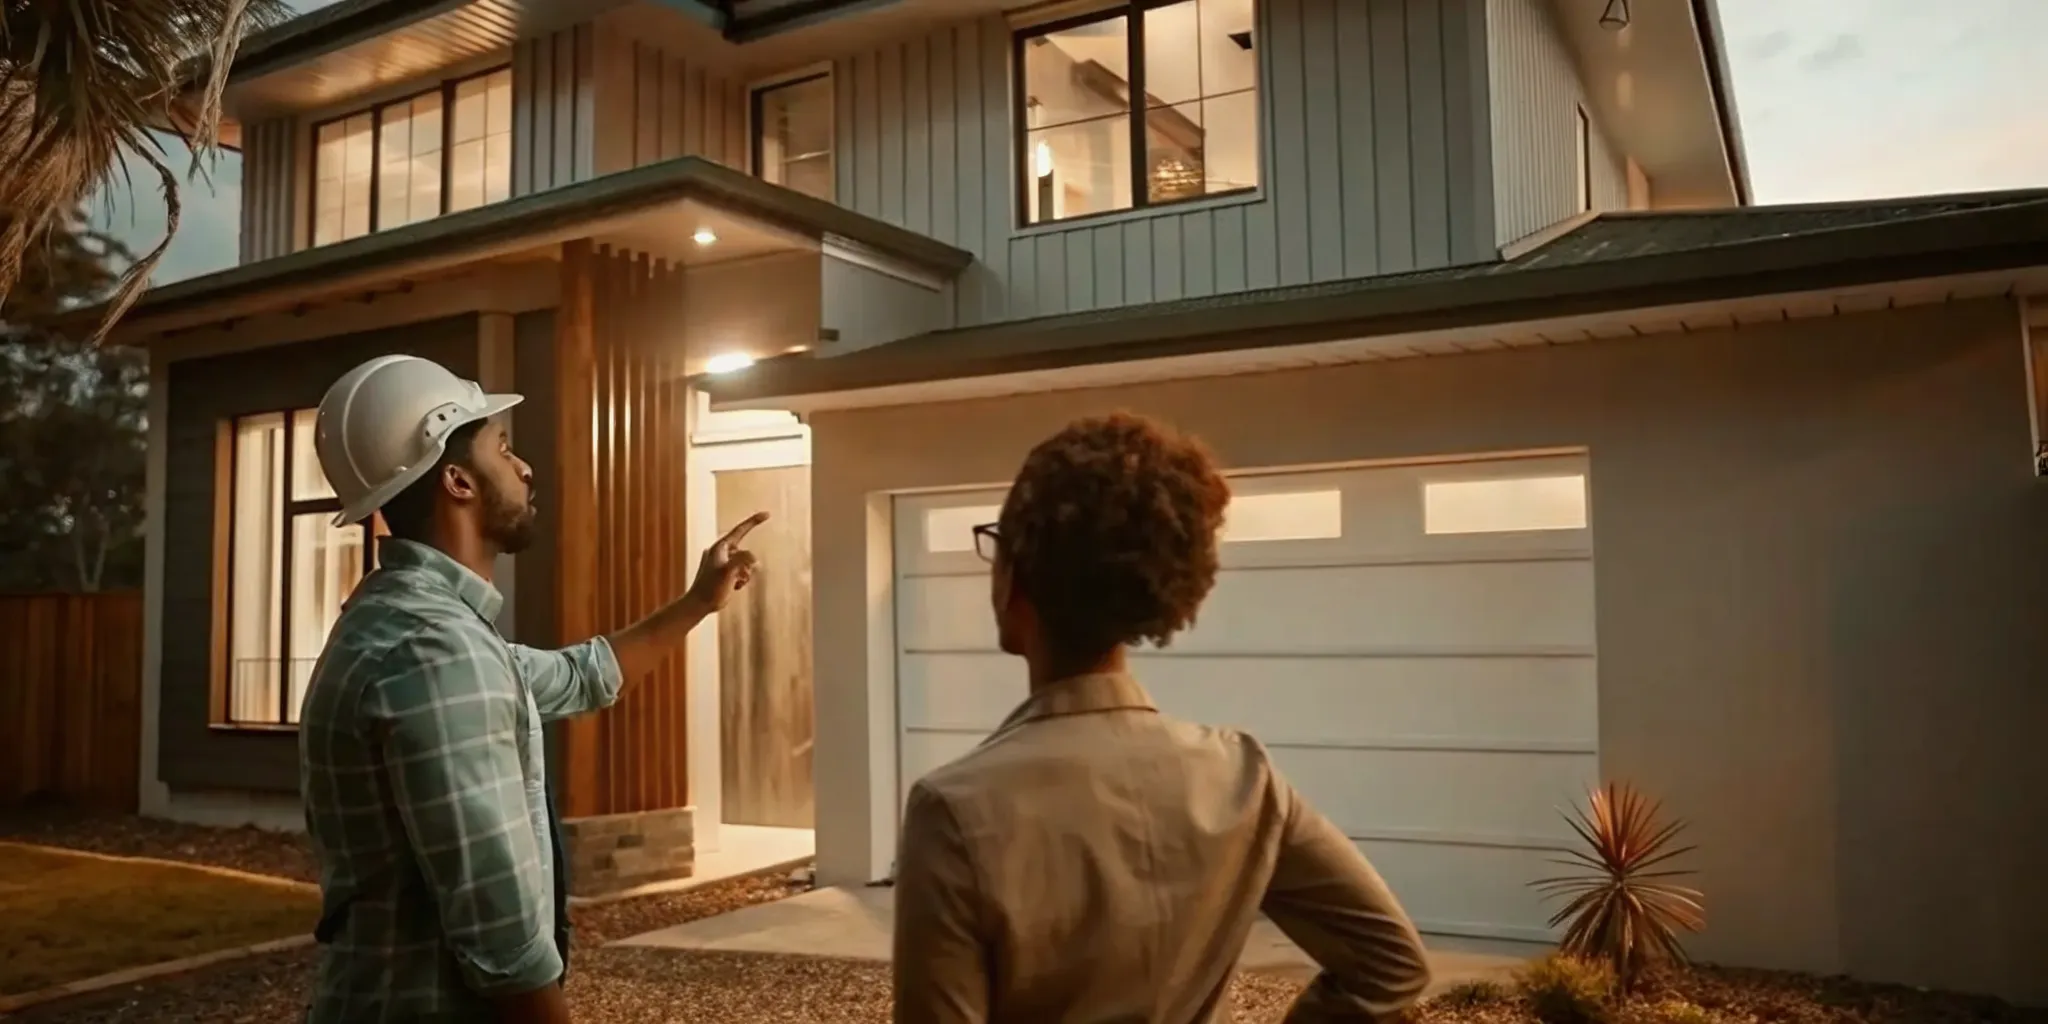
What to Know About Local Zoning and Permits
This is the one step you absolutely cannot skip. Before you build anything, you need to understand your local rules. Contact your city or county’s building department to learn about permits and zoning regulations. They’ll tell you if a permit is required for the size of your shed, especially if you plan to add electricity. You’ll also need to know the "setback" rules, which dictate how close the structure can be to your property lines, fences, and main house. Navigating these requirements can feel overwhelming, but it’s essential for keeping your project legal. Working with vetted professionals who know the local codes can make this process much simpler.
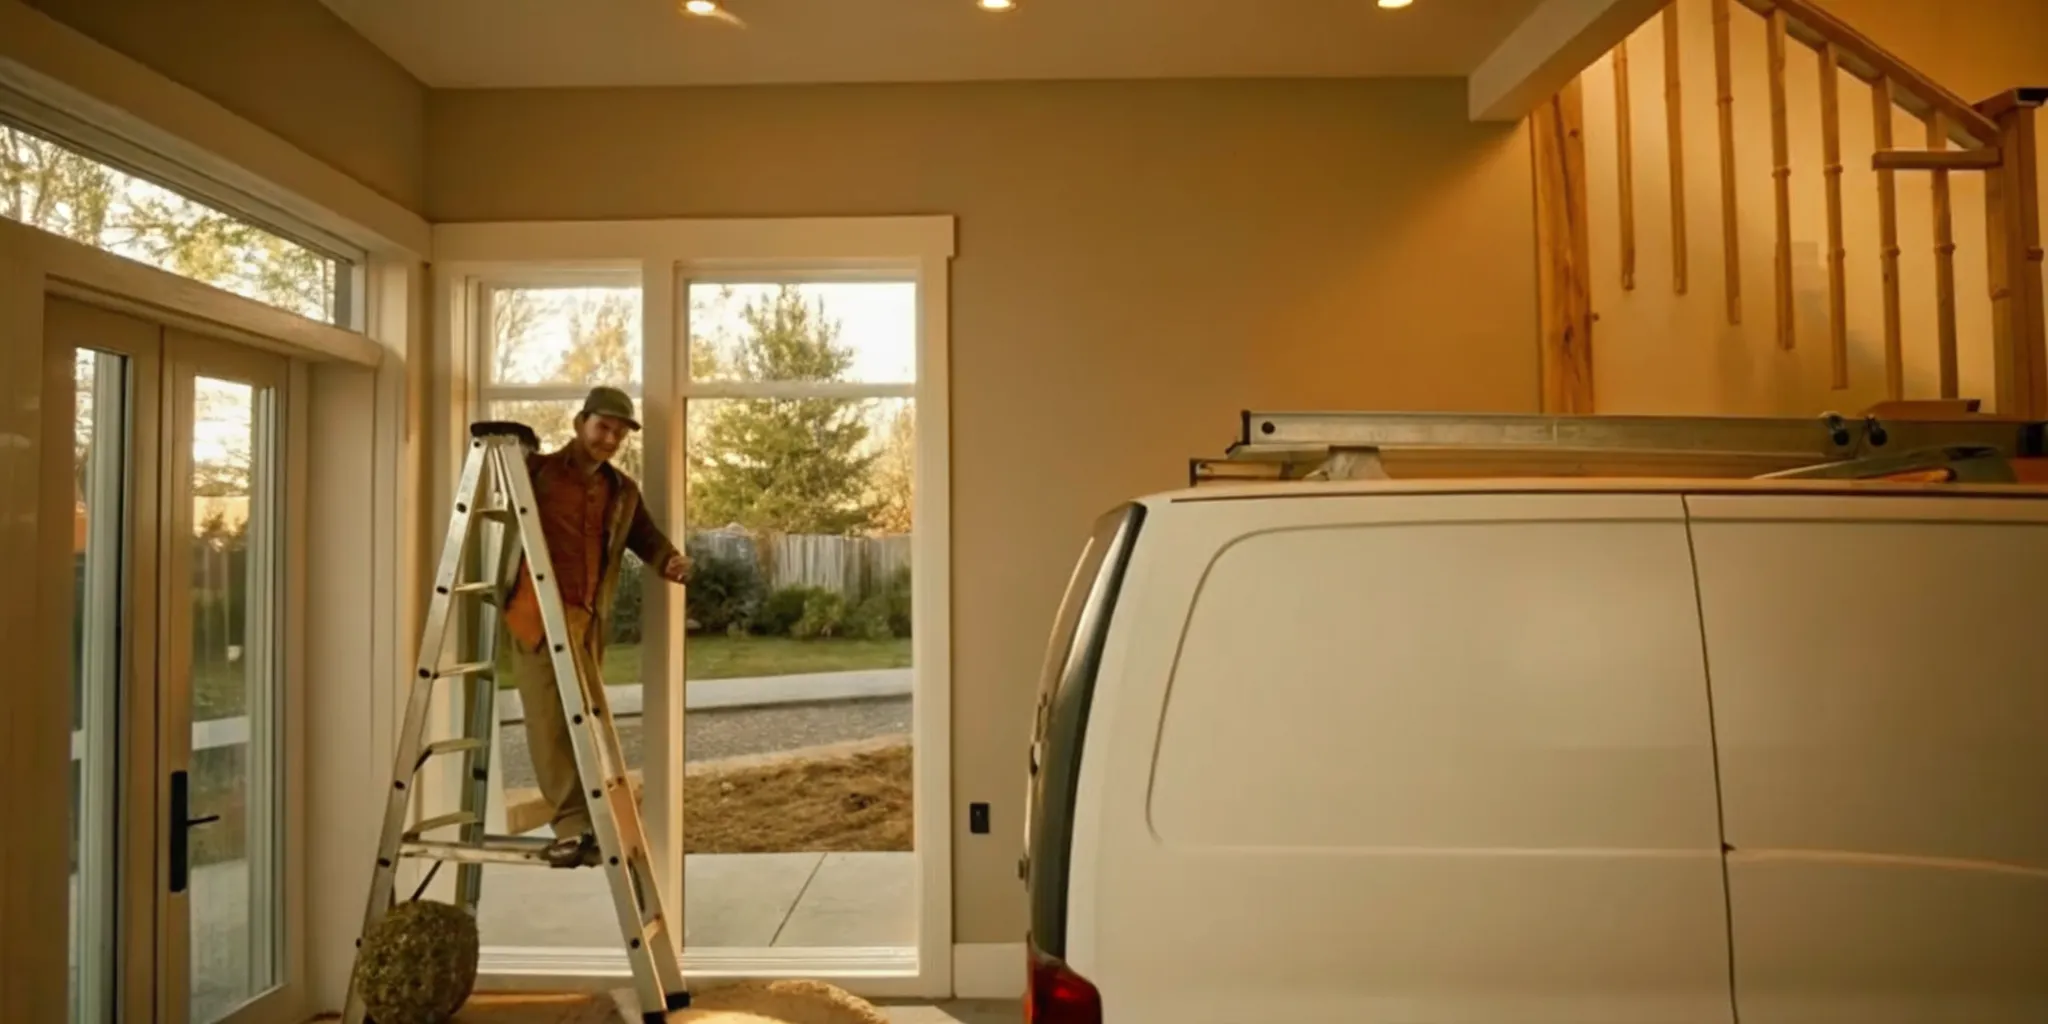
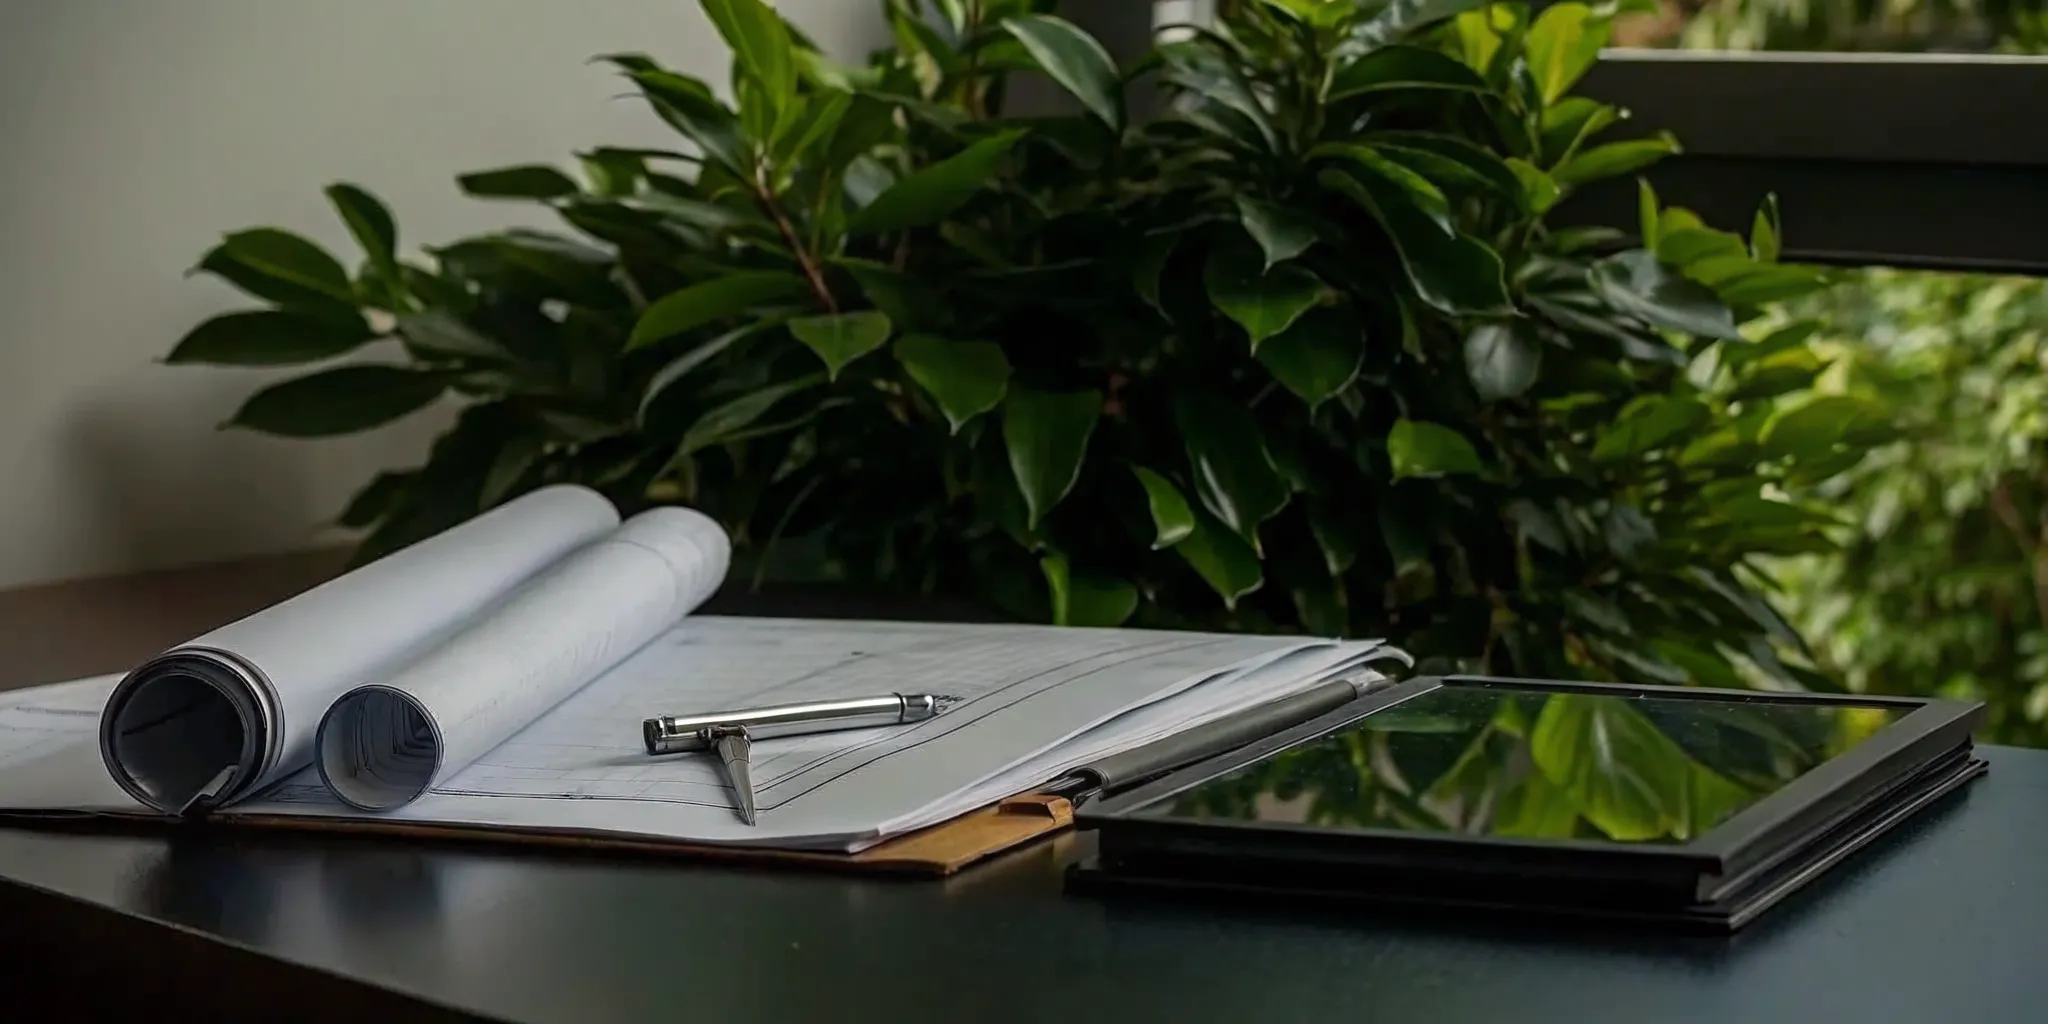
Gather Your Materials and Tools
With your plans in hand, it’s time for the exciting part: gathering what you need to bring your backyard office to life. Creating a detailed list of materials and tools before you start is one of the best ways to keep your project on track and within budget. It helps you avoid last-minute trips to the hardware store and ensures you have everything ready for each stage of the build. Let’s walk through the key components you’ll need to source.
Pick Your Foundation
The foundation is the literal base of your project, so it’s a decision worth careful consideration. Your two main options are a full concrete slab or a pier foundation with a wooden floor system. A concrete slab provides excellent stability and insulation, making it a solid, long-term investment for a comfortable year-round office. However, it’s generally more expensive and labor-intensive. A pier foundation, on the other hand, is often more budget-friendly and forgiving on sloped or uneven ground. It involves setting concrete blocks or posts to support the shed’s floor frame, which can be a more approachable DIY foundation project.
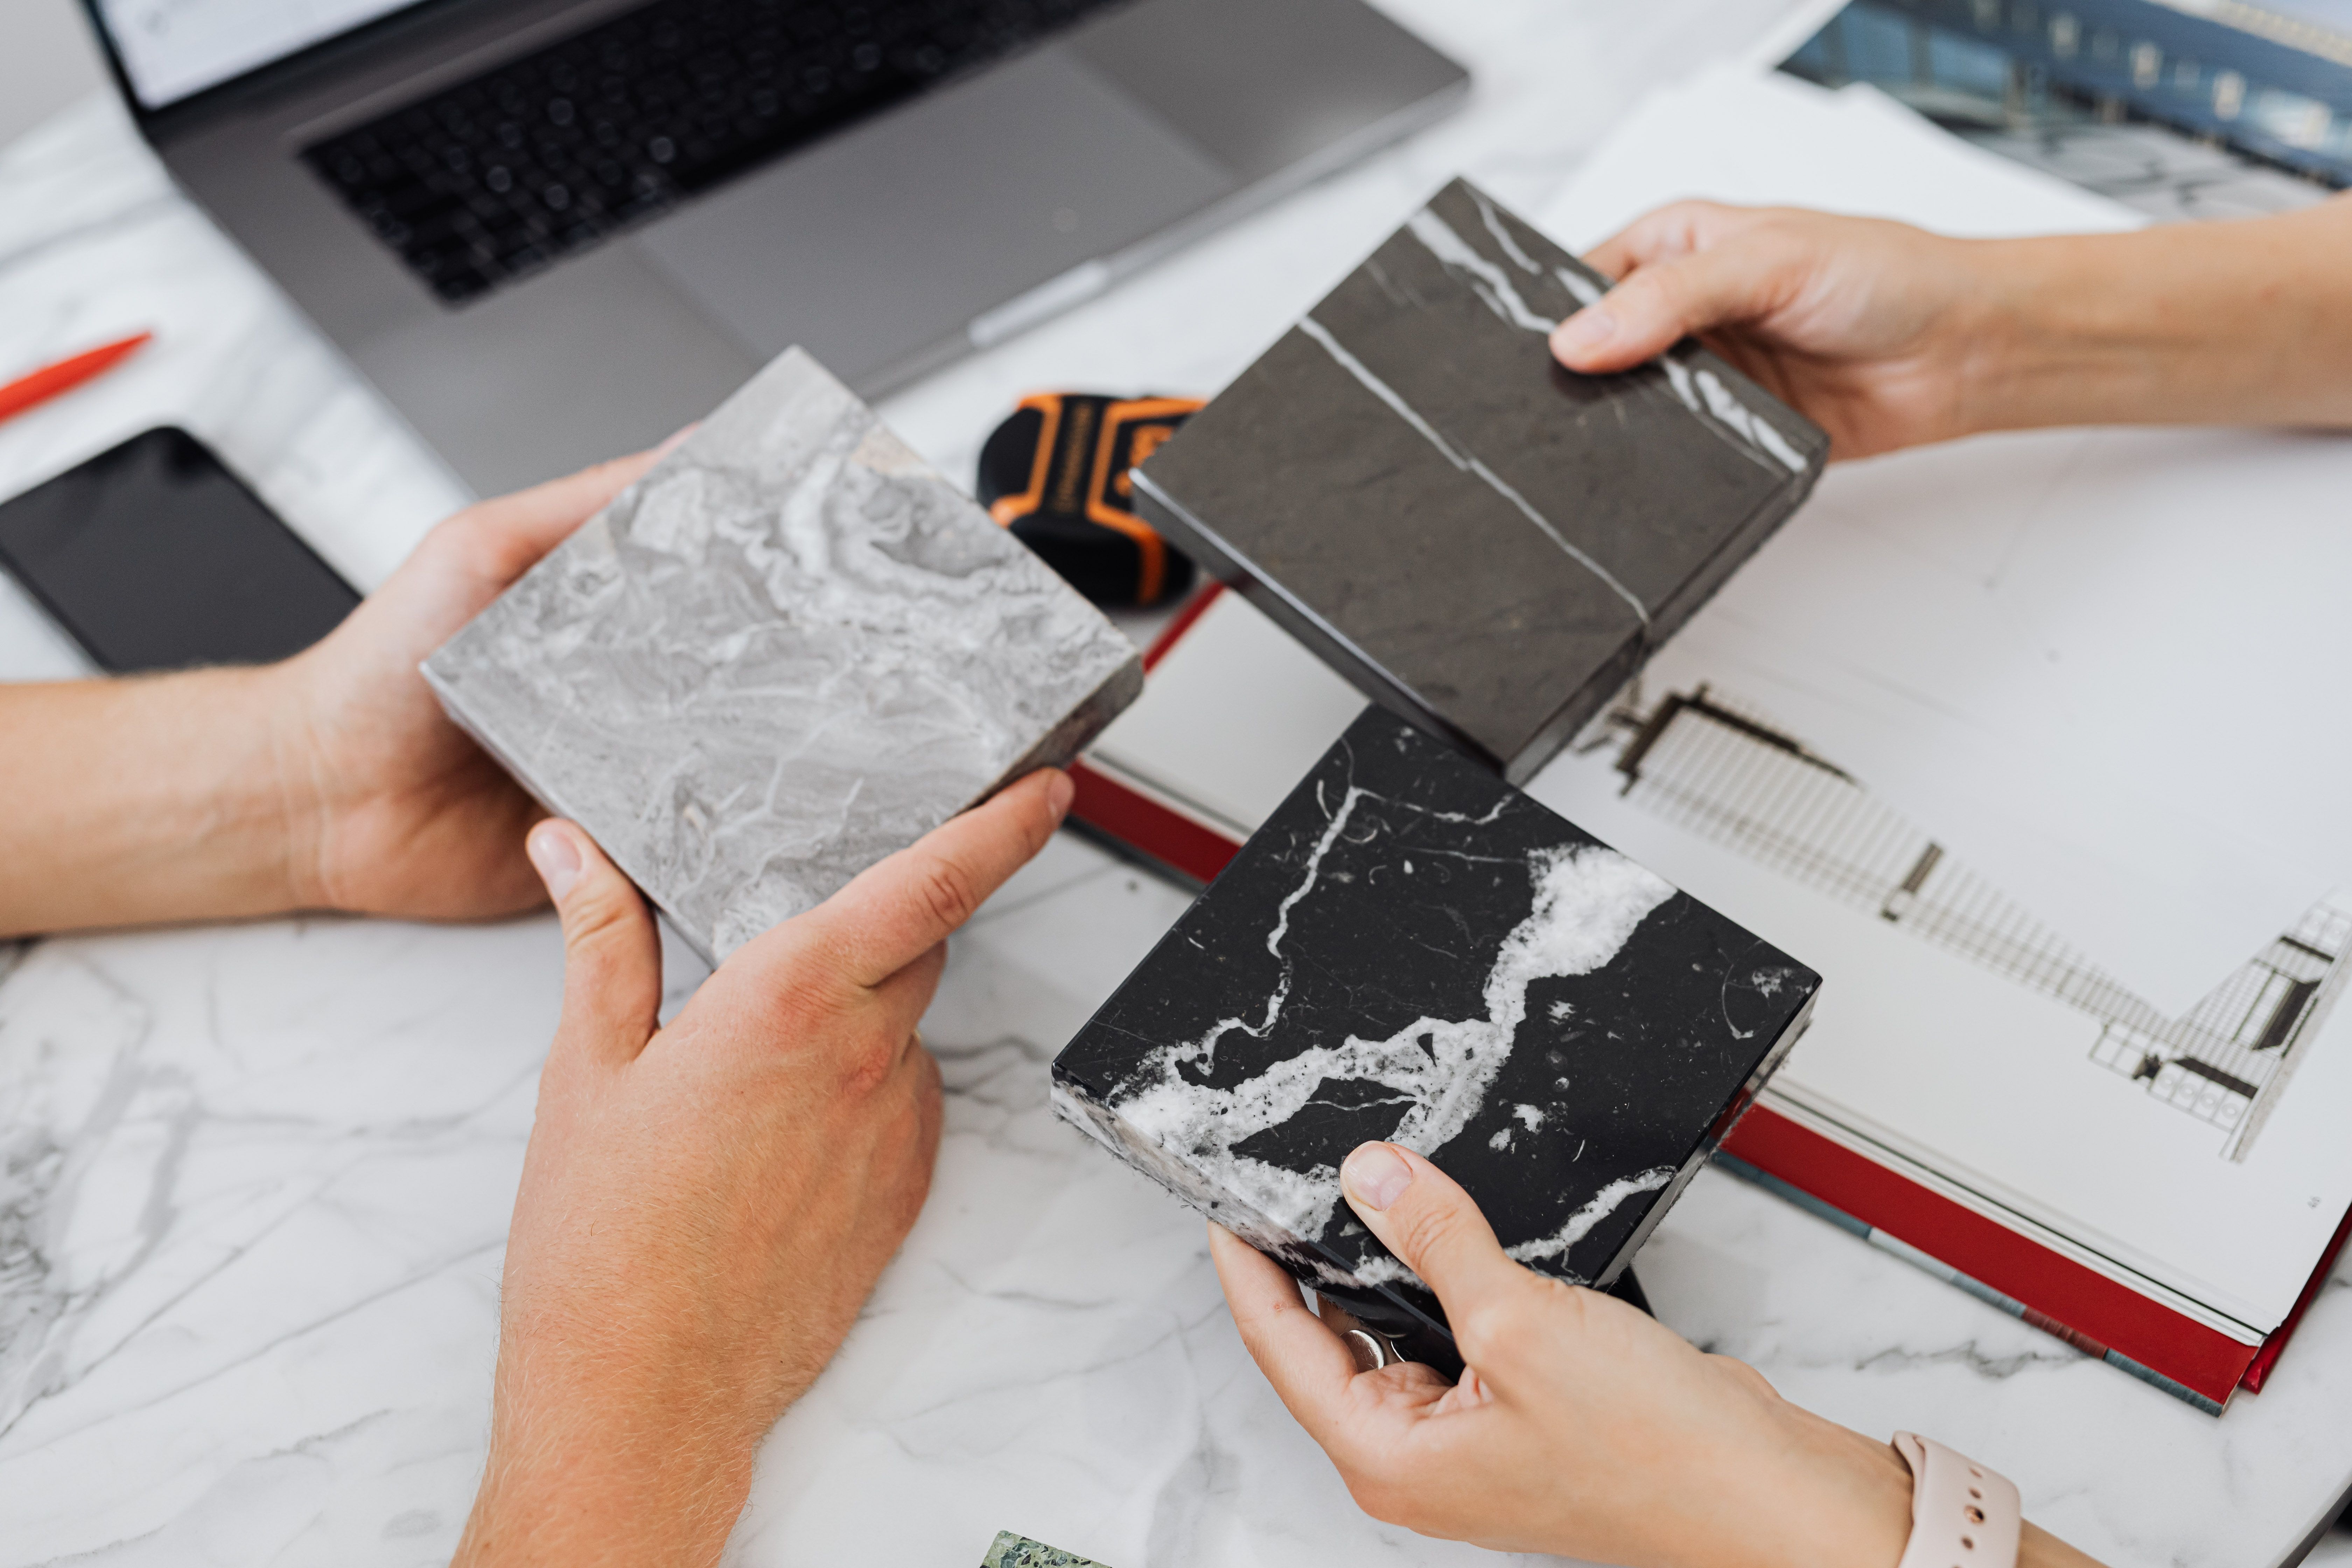
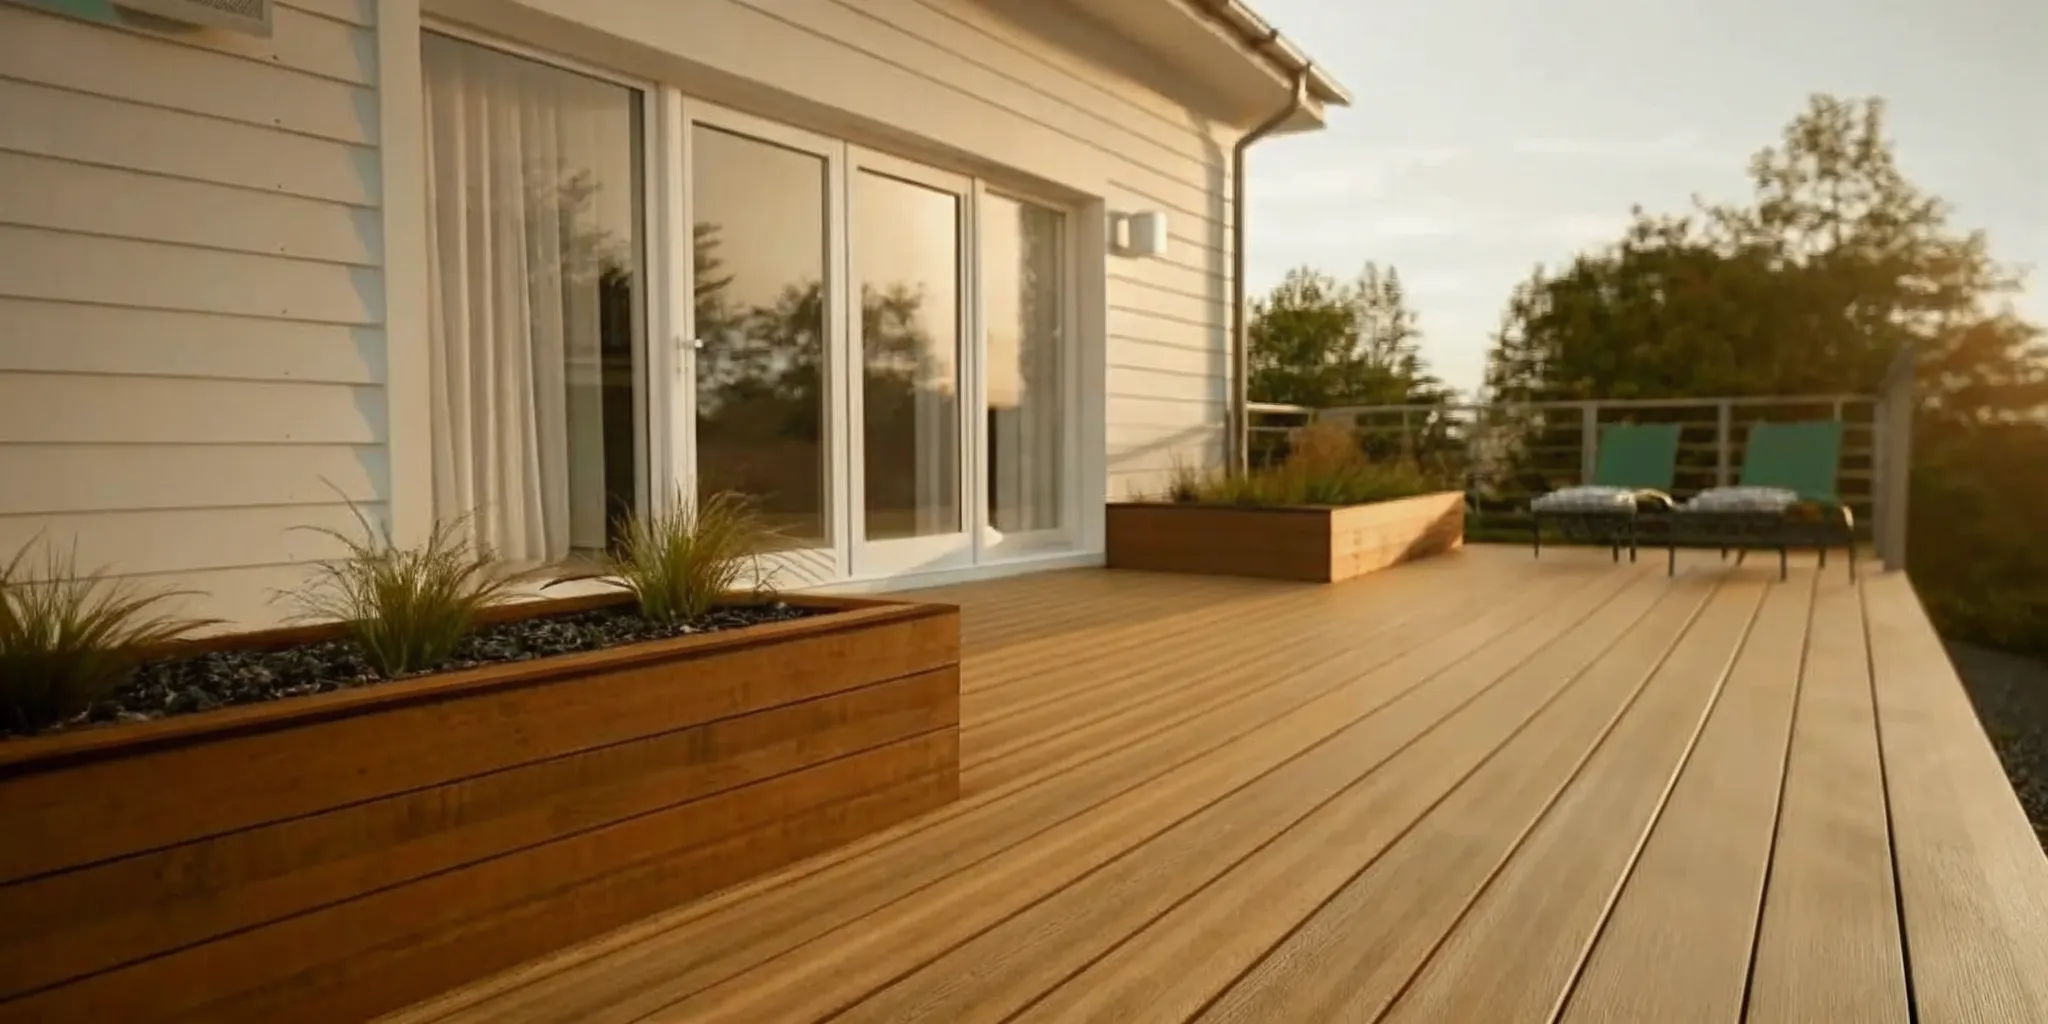
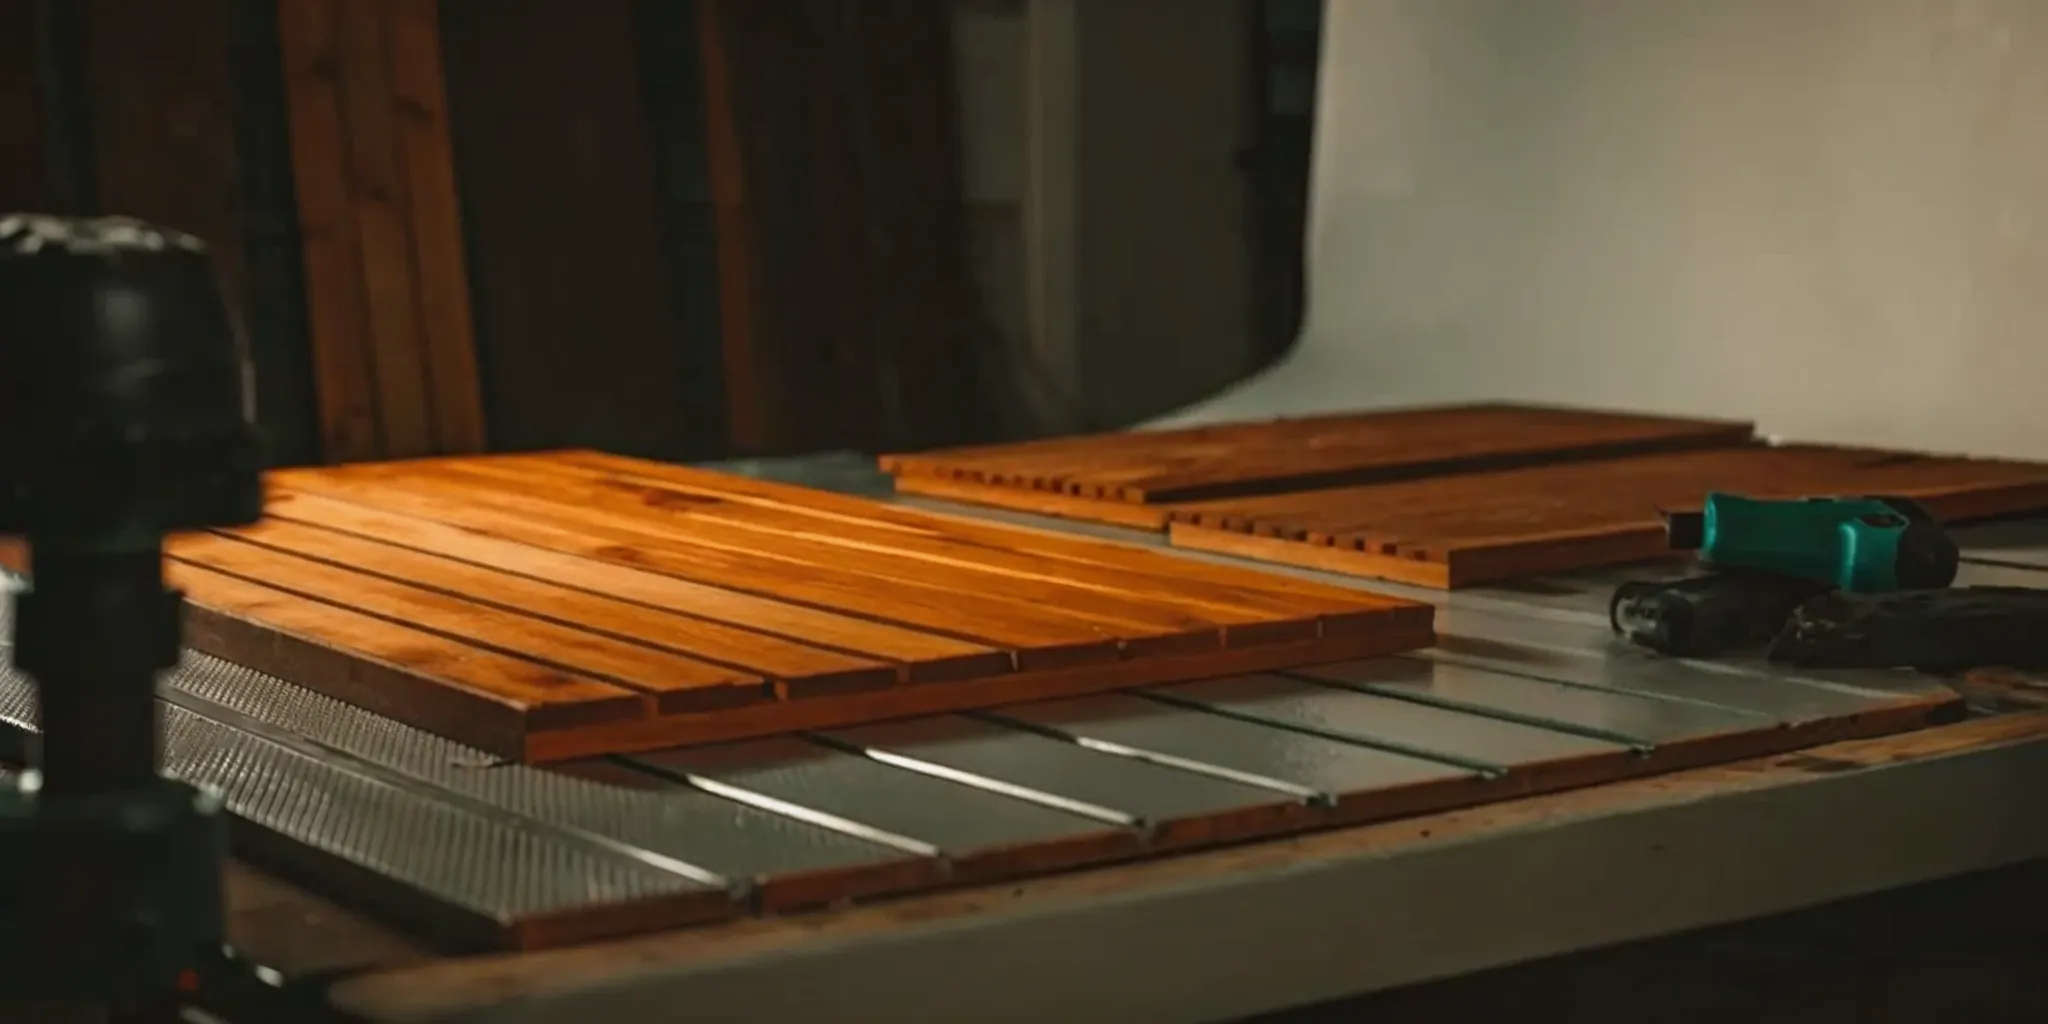
Select Framing, Roofing, and Siding
For the structure itself, you’ll be working with framing, roofing, and siding. Standard wood framing with 2x4s or 2x6s is the most common approach for the walls and roof structure. When it comes to roofing, metal panels are a fantastic choice because they’re durable and relatively easy to install. Asphalt shingles are another popular option that can be matched to your home’s roof. For the exterior walls, your siding choice will define your shed’s look. You can choose from materials like classic wood, low-maintenance vinyl, or durable fiber cement. Each has its own price point and aesthetic, so you can select a siding that fits your budget and style.
Find Cost-Effective Materials
Building a backyard office doesn’t have to break the bank. One of the best ways to save money is to use secondhand materials where it makes sense. You can often find perfectly good windows, doors, flooring, and even lumber at a fraction of the retail price. Check out local resources like a Habitat for Humanity ReStore, architectural salvage yards, or online marketplaces. These places are treasure troves for unique and affordable finds. Also, keep an eye out for sales at major hardware stores, and consider using reclaimed wood for interior finishes to add character without the high cost.
Essential Hand and Power Tools
You can’t build your shed without the right tools. A solid set of hand tools is non-negotiable, so make sure you have a quality hammer, measuring tape, level, and hand saw. To make the work go much faster and more smoothly, you’ll also want a few key power tools. A drill, a circular saw, and a power nailer will be your best friends during this project. If you don’t own these already, you don’t necessarily have to buy them. You can often rent power tools from a local hardware store, which is a great way to access professional-grade equipment for a fraction of the purchase price.
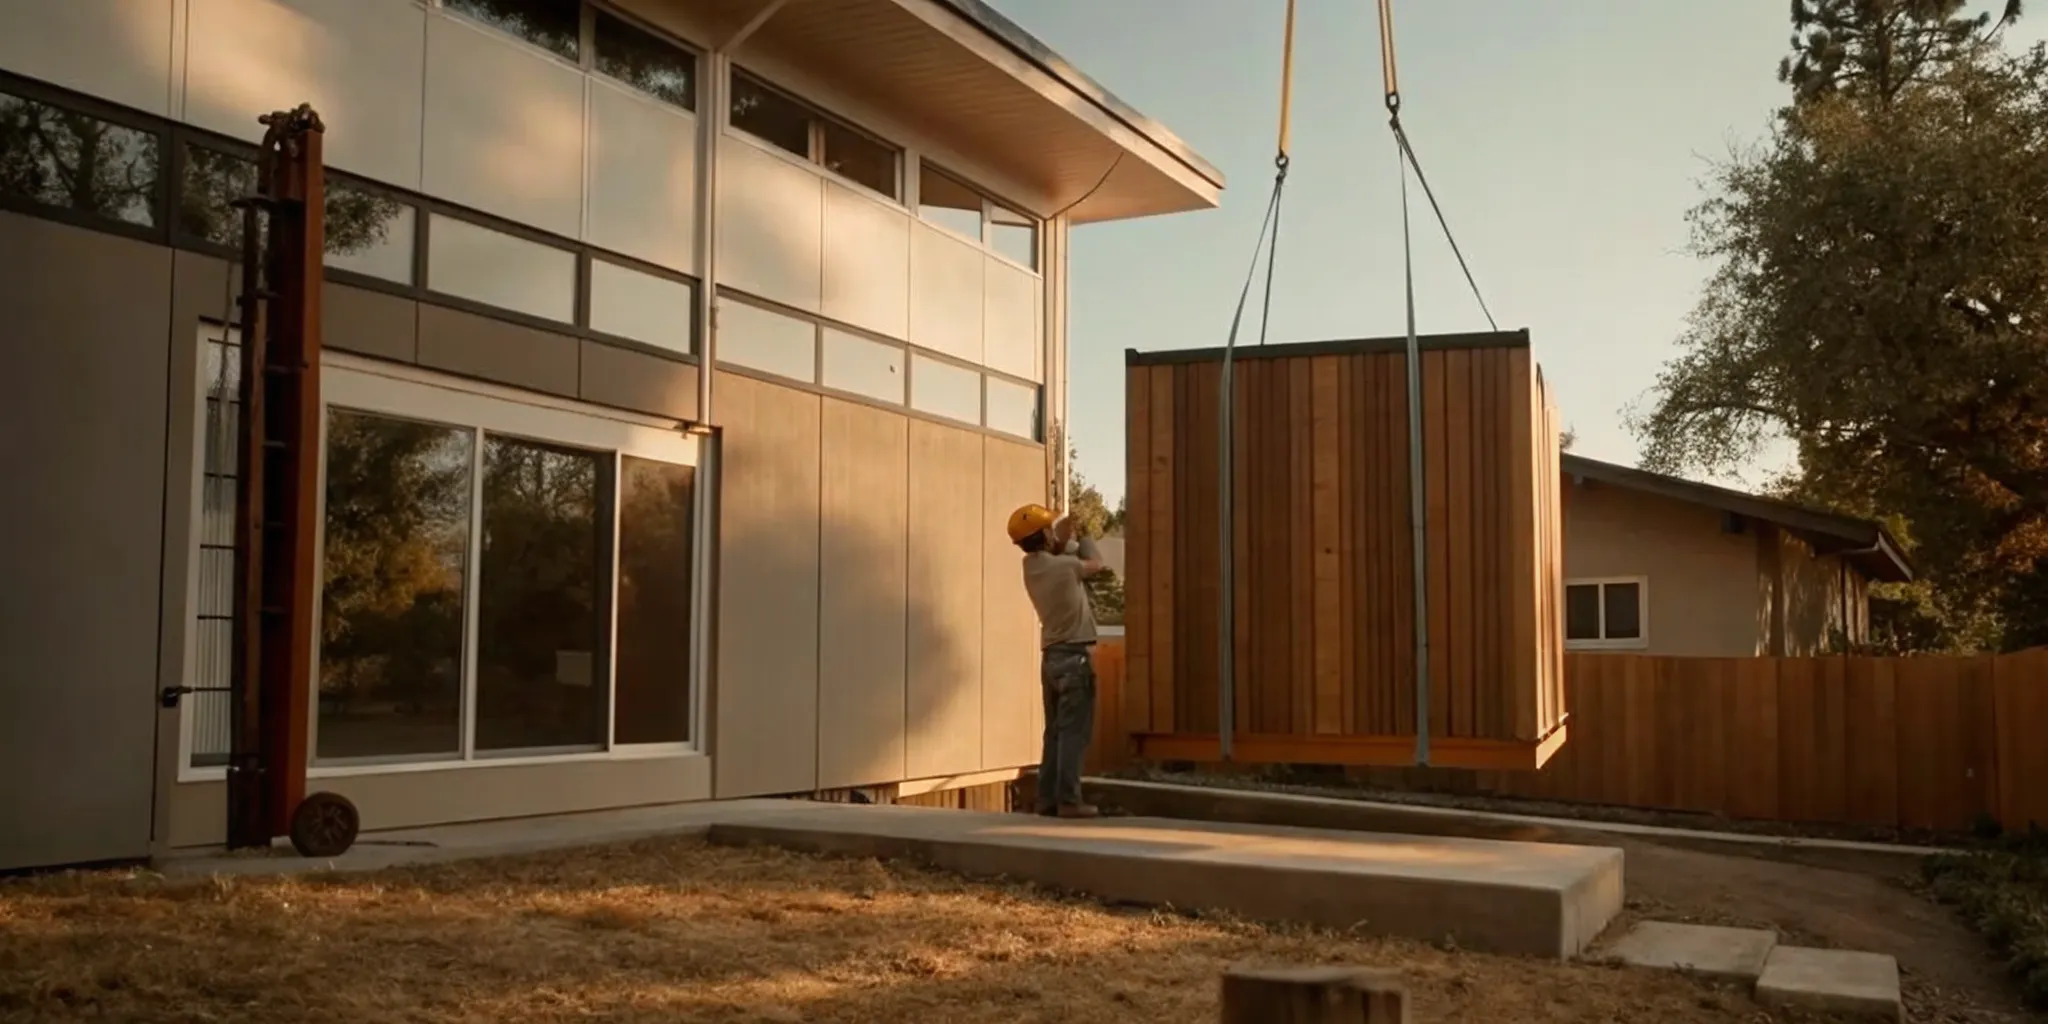
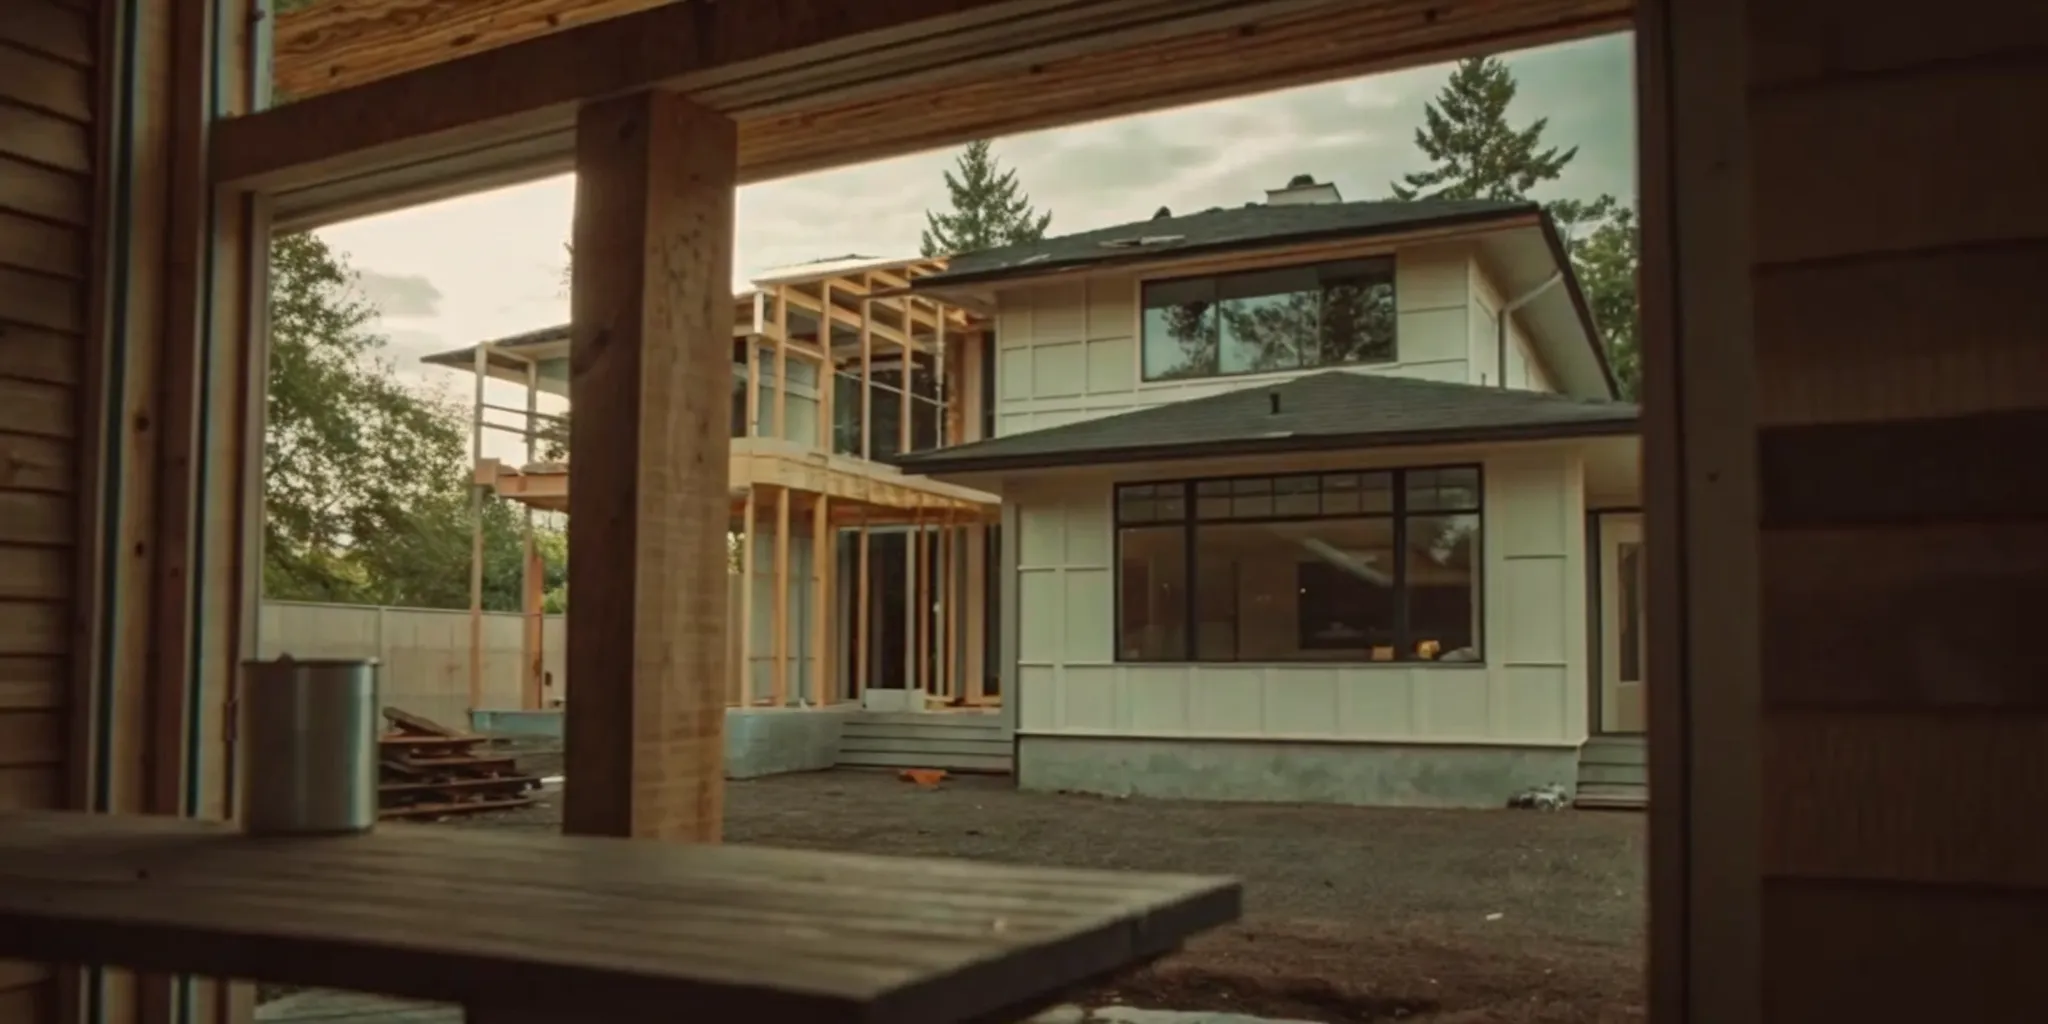
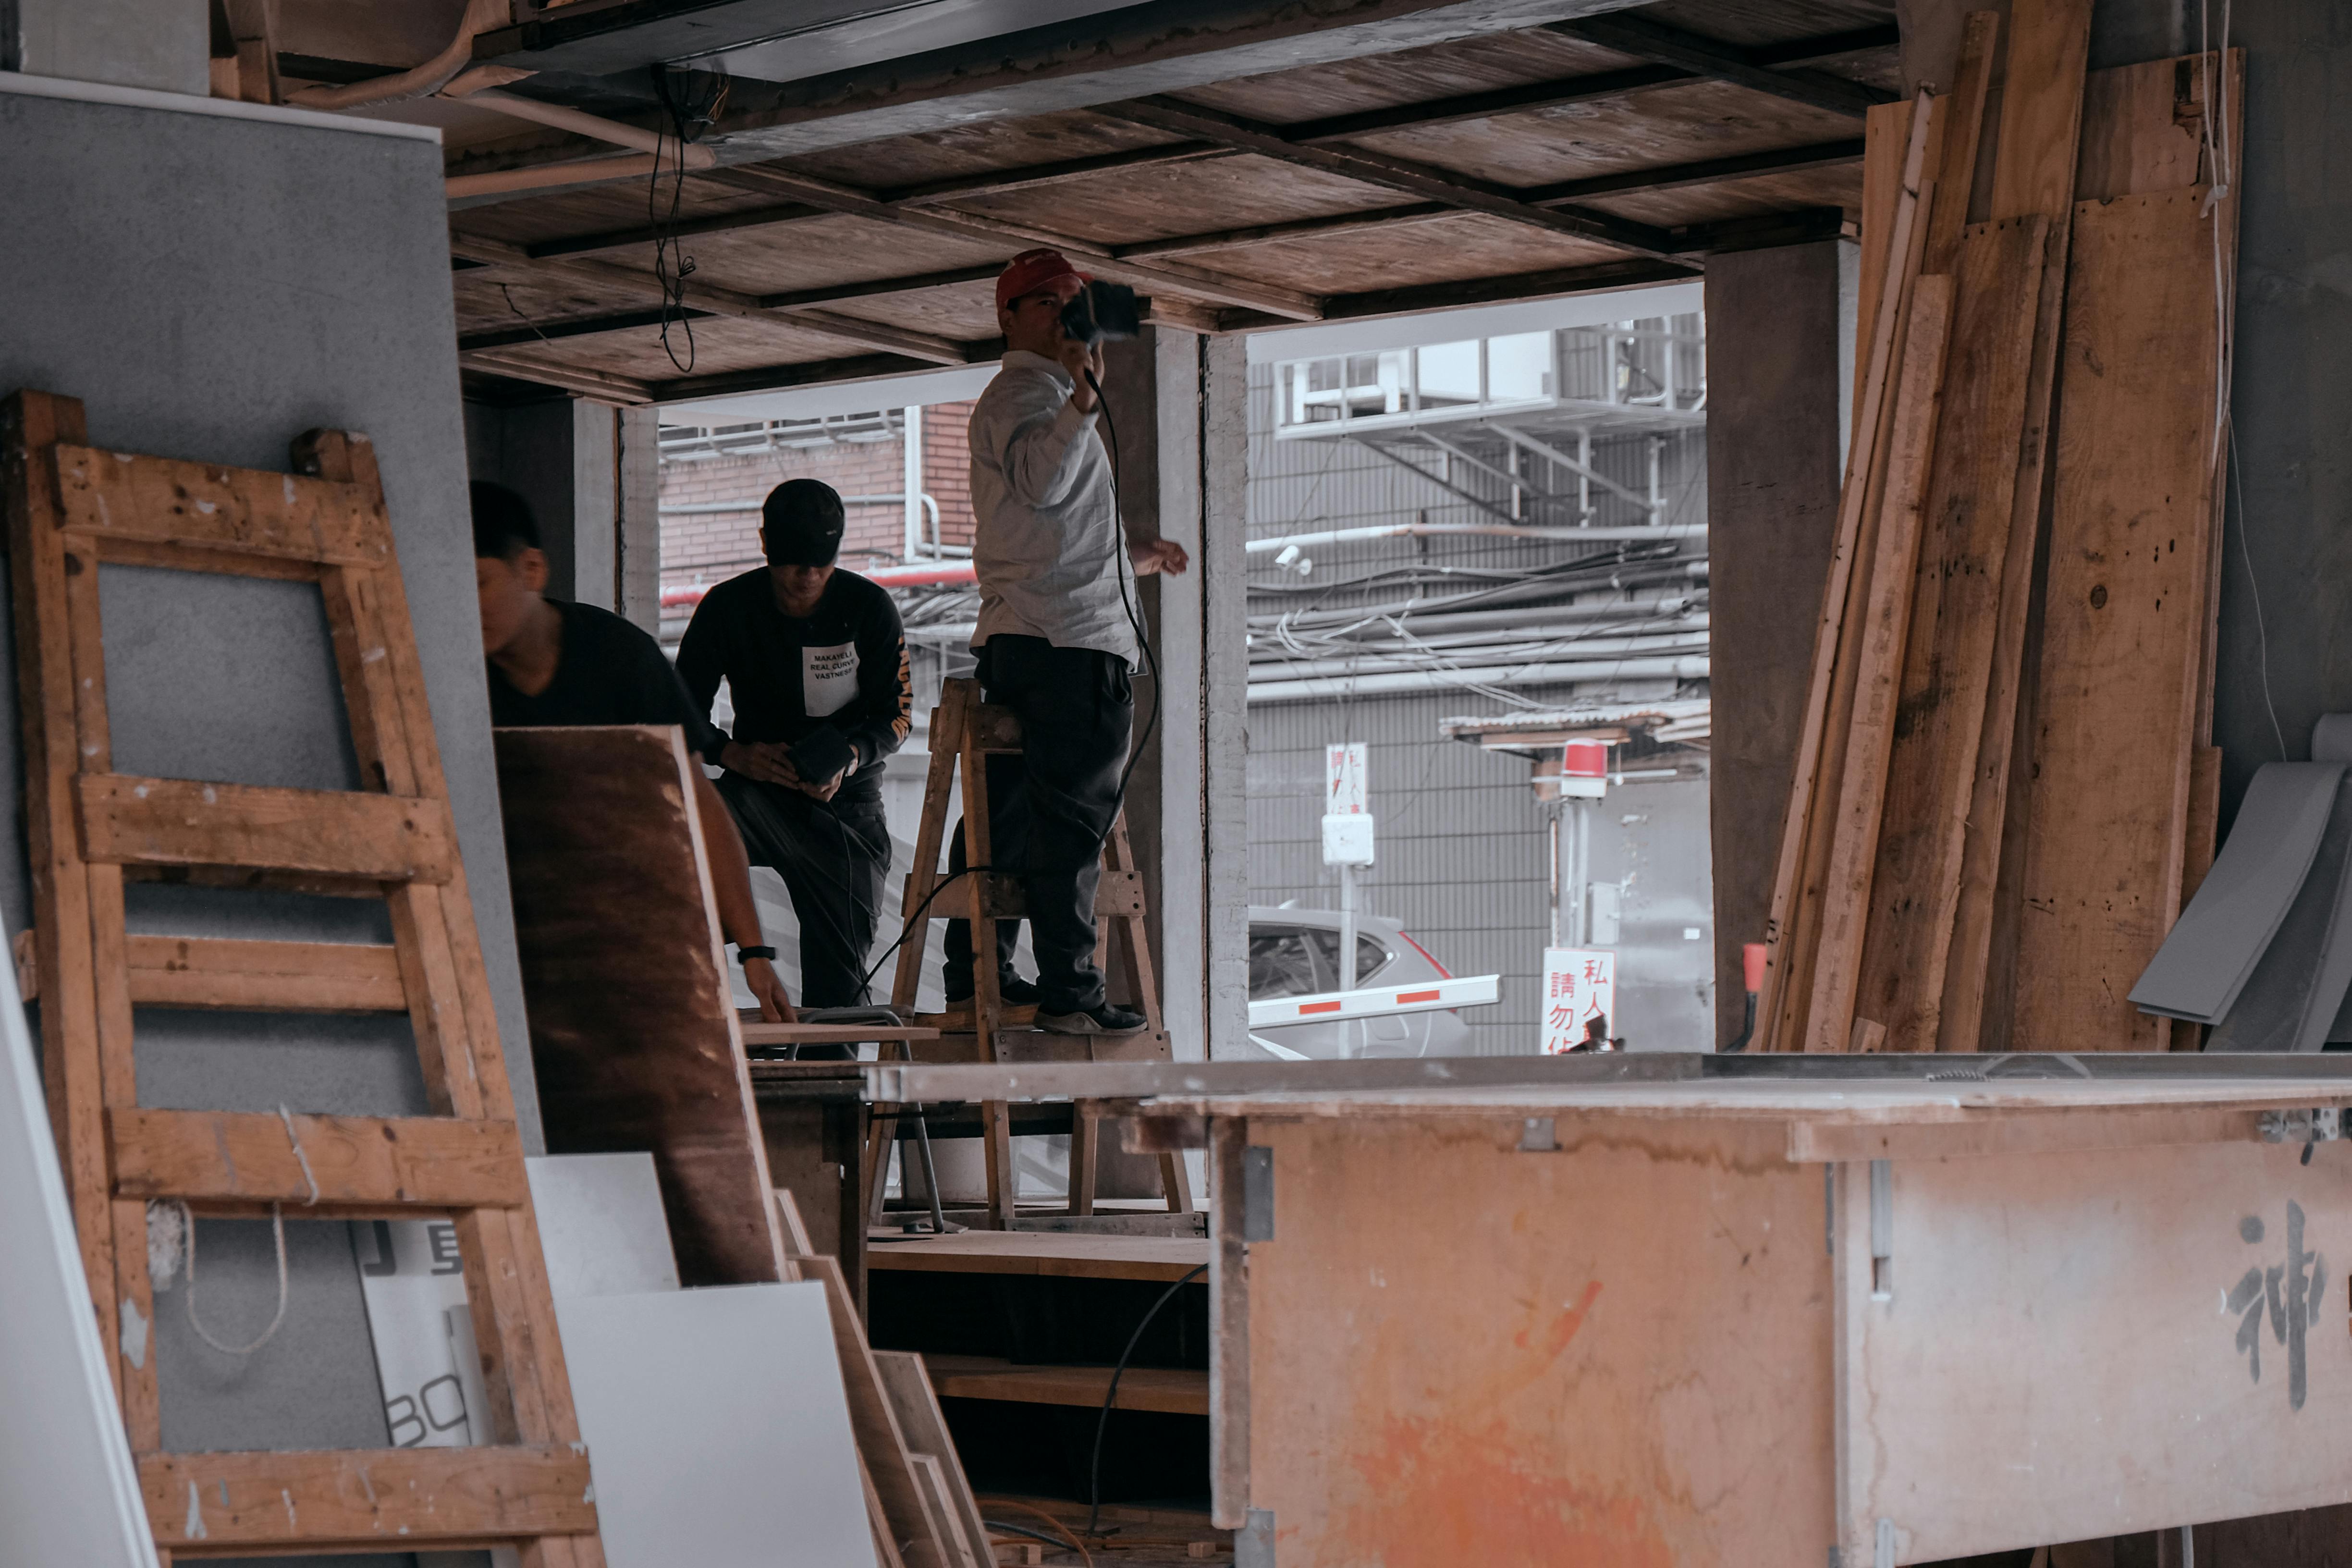
Your Step-by-Step Construction Guide
With your plans in hand and materials ready, it’s time for the most exciting part: the build. Breaking the construction process down into manageable stages makes it feel less overwhelming. Think of it as a series of smaller projects that come together to create your new workspace. Whether you’re tackling this yourself or working with a contractor, understanding these key steps will help you keep the project on track. Let’s walk through the major phases of construction, from the ground up.
Prepare the Foundation
Everything starts with a solid base. The foundation supports the entire structure, so getting this part right is essential for the longevity of your shed. You generally have two choices: a full concrete slab or a pier foundation with a wooden floor system. A concrete slab foundation is often more expensive but provides excellent insulation and makes it easier to run electrical wiring underneath. A pier foundation can be more budget-friendly and is a great option for sloped yards. Your choice will depend on your budget, climate, and the specific needs of your office.
Build the Frame
Next, you’ll build the skeleton of your shed. The framing stage is where your 2D plans become a 3D structure. This step requires careful measurement and precision—it’s the classic "measure twice, cut once" moment. Taking your time to ensure every wall is straight and every corner is square will save you major headaches later on. A well-built frame makes everything that follows, from installing siding to hanging drywall, much simpler. This is the backbone of your office, so it pays to be meticulous.
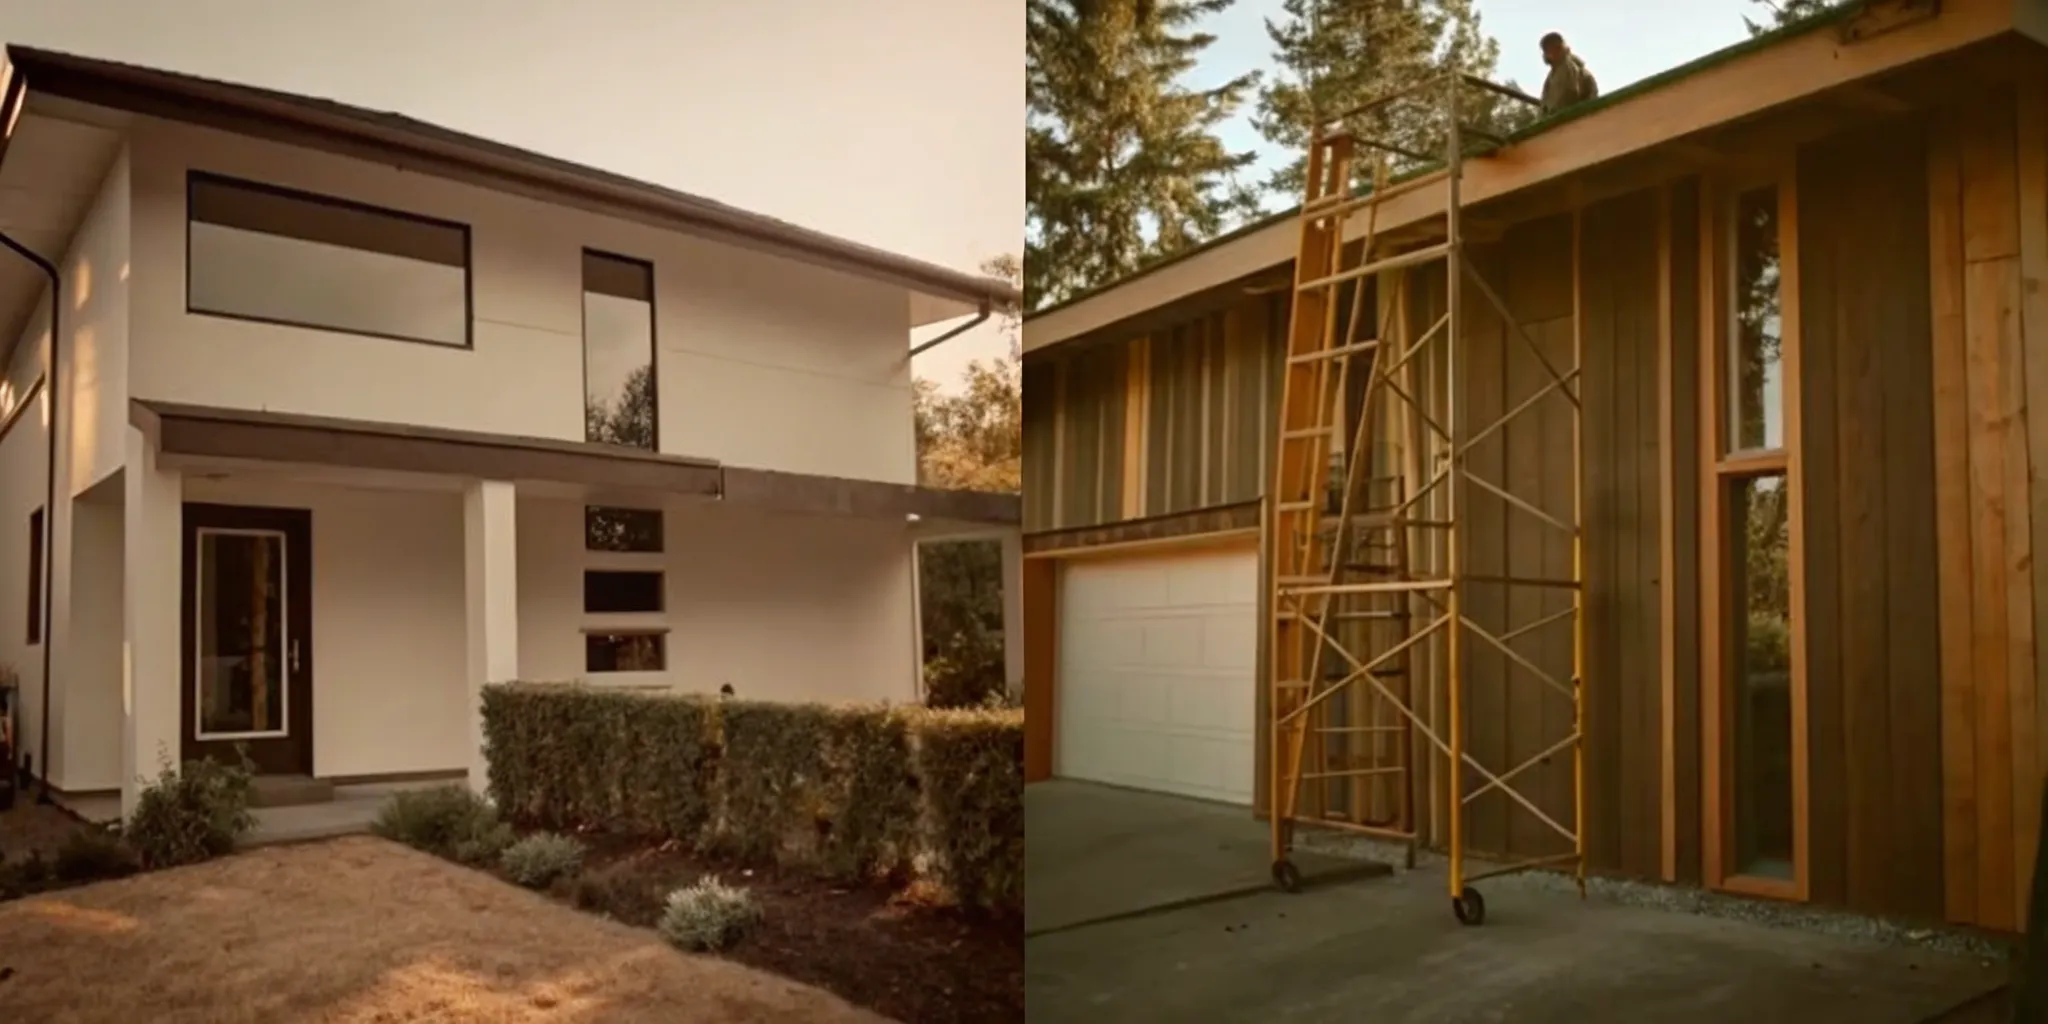
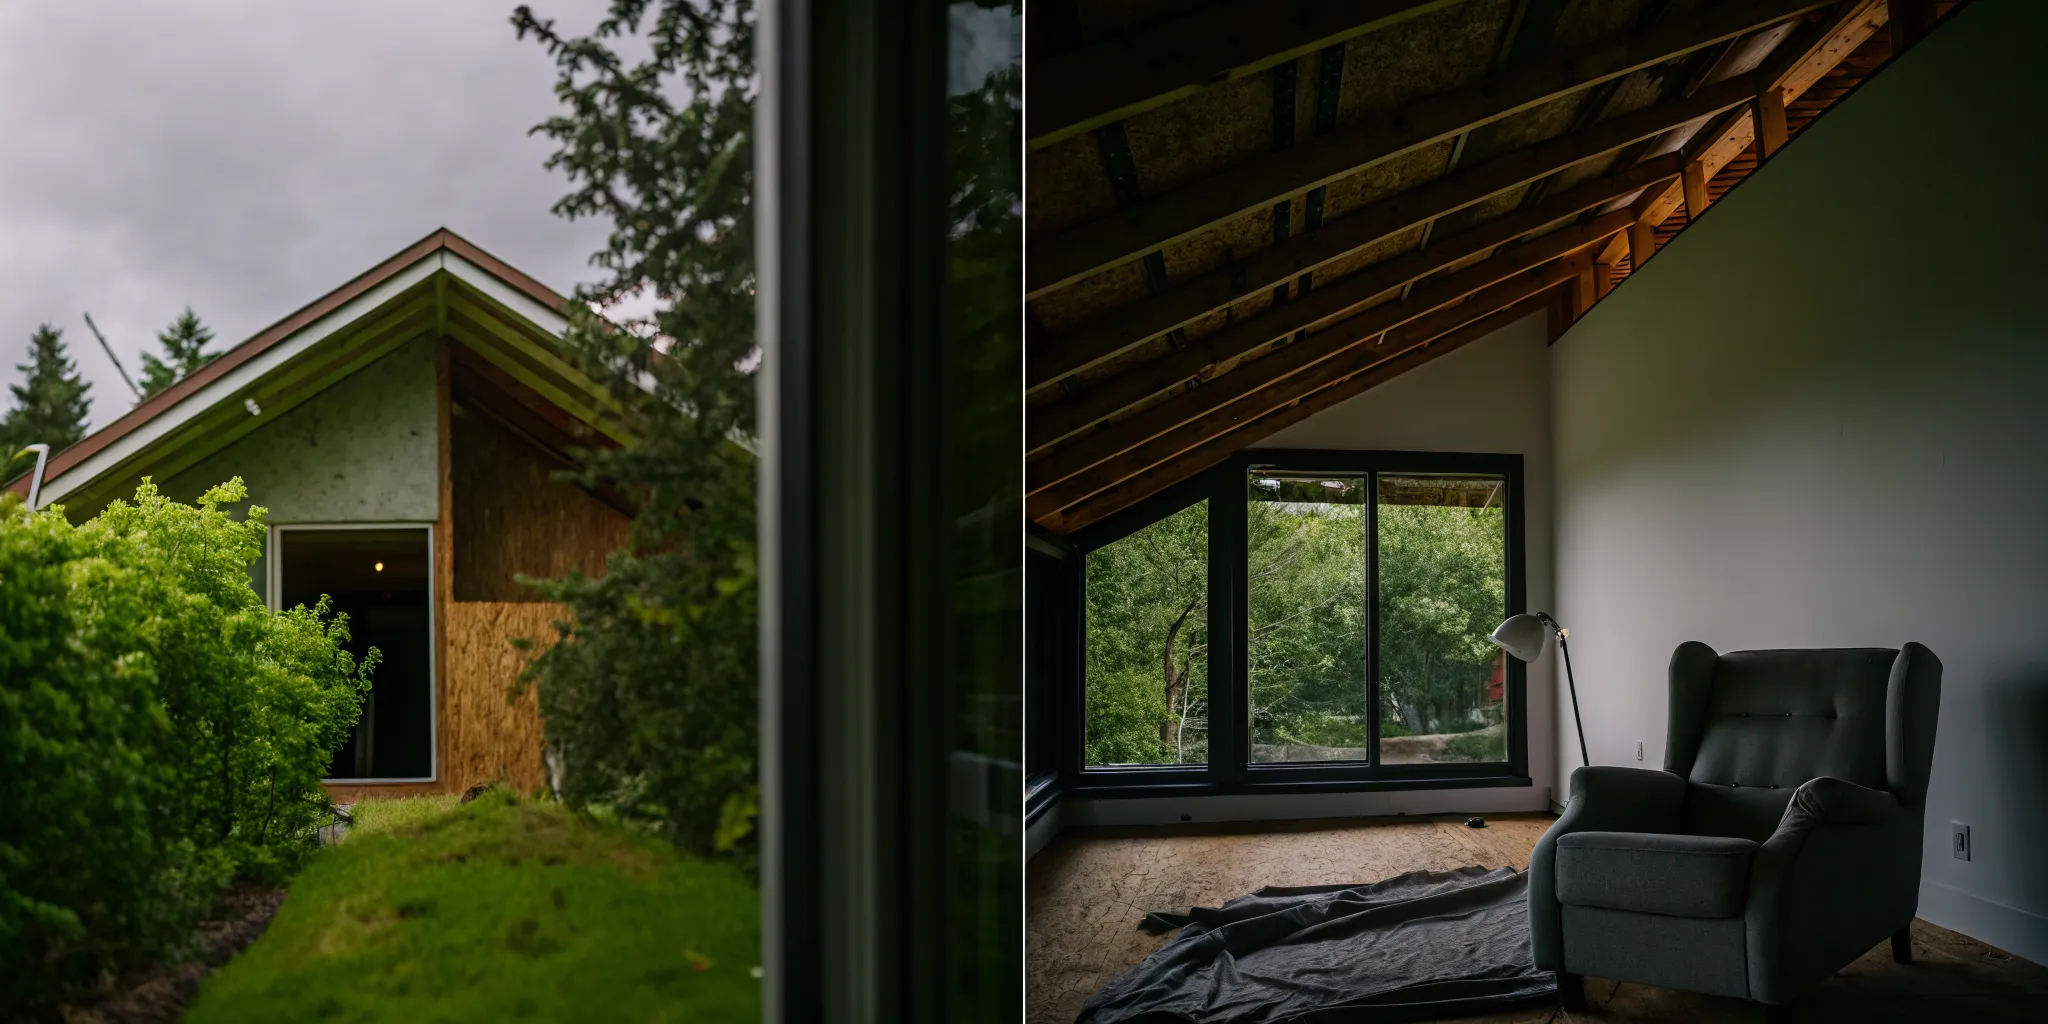
Install the Roof and Exterior Walls
This is when your shed really starts to look like a building. Once the frame is up, you’ll add the exterior sheathing to the walls and begin constructing the roof. This process encloses the structure, protecting it from the elements and defining the interior space. Installing the roofing material, whether it’s shingles, metal, or another option, is a critical step for weatherproofing. Properly installing the exterior walls and roof ensures your office will be durable and dry for years to come.
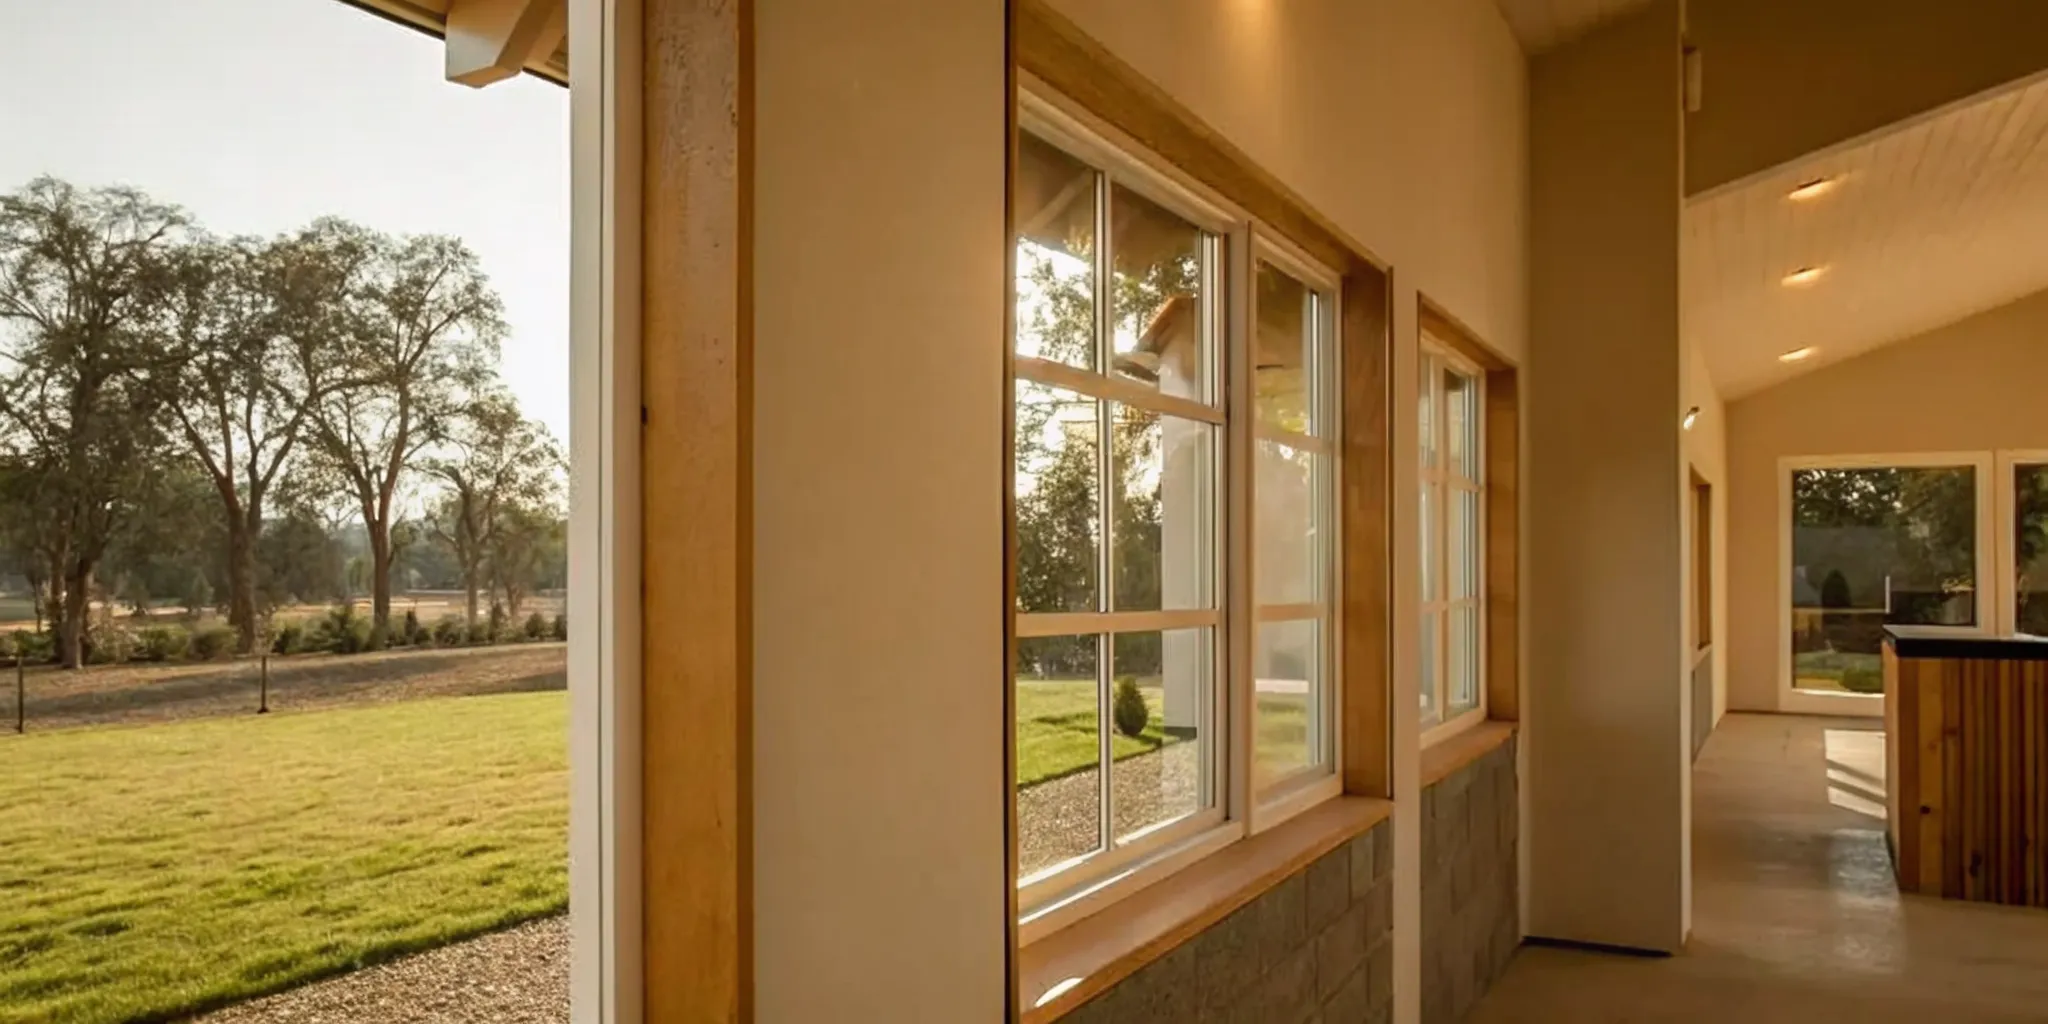
Add Windows and Doors
The final step in the main construction phase is adding windows and doors. This is more than just an aesthetic choice; it’s about making the space functional and comfortable. Windows bring in natural light, which is a huge plus for any workspace, while a solid door provides security and privacy. When installing them, focus on creating a tight seal to prevent drafts and water leaks. This will improve your shed’s energy efficiency and keep your heating and cooling bills down, making your new office comfortable year-round.
How Can You Build It Cost-Effectively?
Building a backyard office doesn't have to drain your savings. With some smart planning, you can create a beautiful, functional space that respects your budget. The key is to be strategic about where you spend your money and where you can save. A cost-effective build is all about balancing your time, skills, and budget to get the most value out of every dollar. Whether you decide to take on the entire project yourself or bring in professionals for certain stages, there are plenty of ways to keep costs in check without compromising on quality. Let's look at a few practical strategies to make your backyard office an affordable reality.
DIY vs. Hiring a Pro
One of the biggest ways to save money is by taking on the construction yourself. Building your own office shed is almost always more affordable than buying a pre-fabricated pod. If you have the skills and the time, a full DIY build offers maximum savings. However, you don’t have to do it all. A hybrid approach can be the perfect middle ground. By acting as your own general contractor and hiring professionals for specific tasks like pouring the foundation or handling the electrical work, you can still save a significant amount. This lets you control the budget while ensuring the most critical parts of the job are done right by vetted professionals.
Manage Your Own Timeline
When you’re in charge of the project, you’re also in charge of the clock. This flexibility is a huge advantage for your budget. You can pace the work to align with your cash flow, buying materials and hiring help only when you’re ready. A typical DIY office shed can take around 350 hours of work—about 250 for the build itself and another 100 for design, research, and sourcing materials. Spreading that work out over several weeks or months can make the expense much more manageable. Just be honest with yourself about your limits. If you’re not completely comfortable with a task, especially something complex like wiring, it’s always smarter and safer to hire an expert.
Get Multiple Quotes for Specialized Work
For any part of the project you decide to outsource, from installing an HVAC system to running electrical lines, make it a rule to get multiple quotes. Don’t just go with the first contractor you talk to. Seeking at least three different estimates for any big job helps you understand the fair market price and find the best value. You might also find that smaller, one-person businesses can offer more competitive pricing than larger companies because they have lower overhead. Taking the time to compare your options ensures you get quality work at a fair price, which is a cornerstone of any successful and cost-effective renovation.
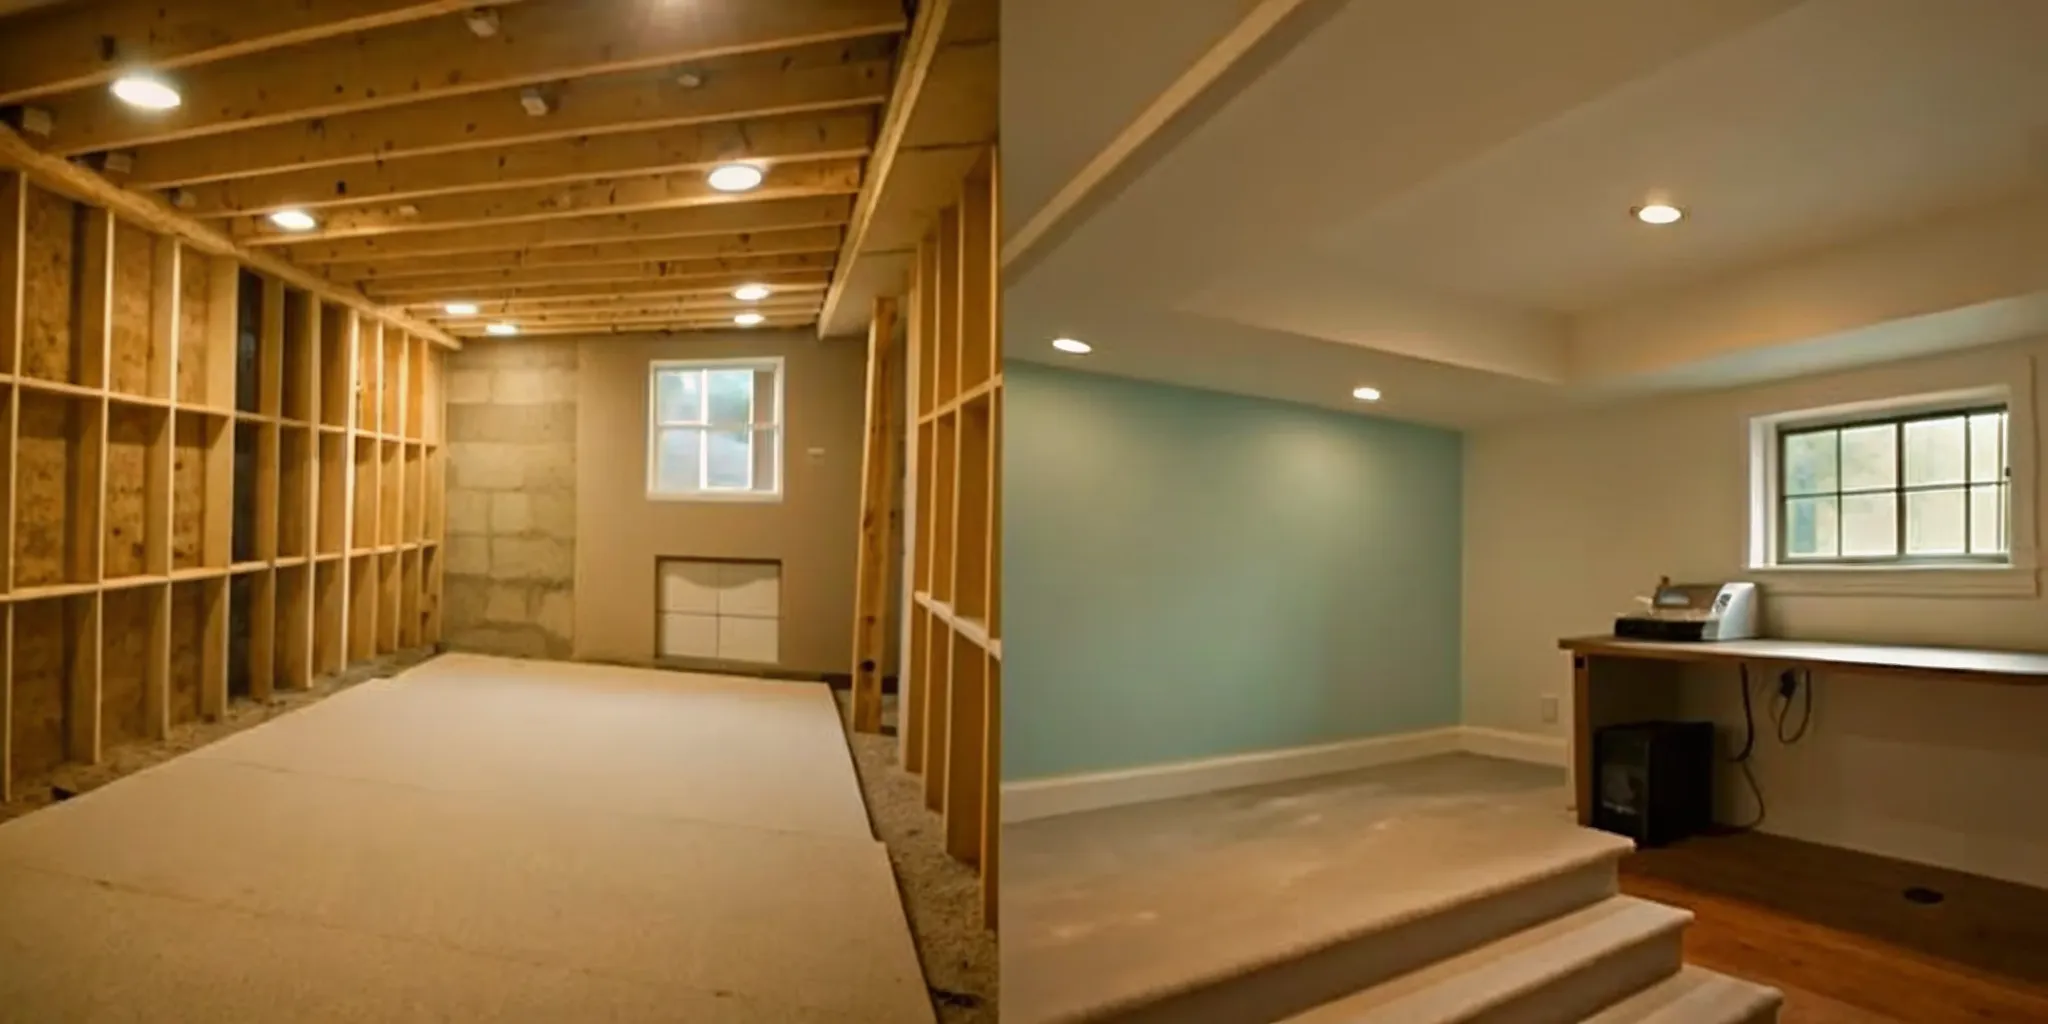
Finishing the Interior: Electrical, Insulation, and Climate Control
With the main structure of your shed complete, it’s time to focus on the details that will transform it from a simple shell into a comfortable, functional office. The interior finishing touches—electrical wiring, insulation, and climate control—are what make the space truly livable year-round. These steps are crucial for creating an environment where you can focus and be productive, no matter the weather outside.
Properly planning these systems from the start will save you from future headaches and costly retrofits. Think about how you’ll use the space day-to-day. Where will your desk go? How many outlets will you need for your computer, monitors, and chargers? Will you need heating in the winter or air conditioning during the summer? Answering these questions now ensures your new office meets all your needs. While some of this work can be DIY-friendly, tasks like electrical and HVAC are best left to licensed professionals to ensure everything is safe and up to code. A platform like Realm can connect you with vetted contractors to handle these specialized jobs.
Plan Your Electrical Layout
Before you can even think about drywall, you need a solid electrical plan. Your backyard office will need its own dedicated circuit running from your home’s main electrical panel to avoid overloading your system. Most sheds require a 20- to 30-amp circuit to safely power a computer, lights, a small heater, and other devices. Map out where you want outlets and light fixtures. It’s always a good idea to add more outlets than you think you’ll need. This is a critical step for safety and functionality, so we always recommend hiring a licensed electrician to run the wiring and ensure everything is installed correctly.
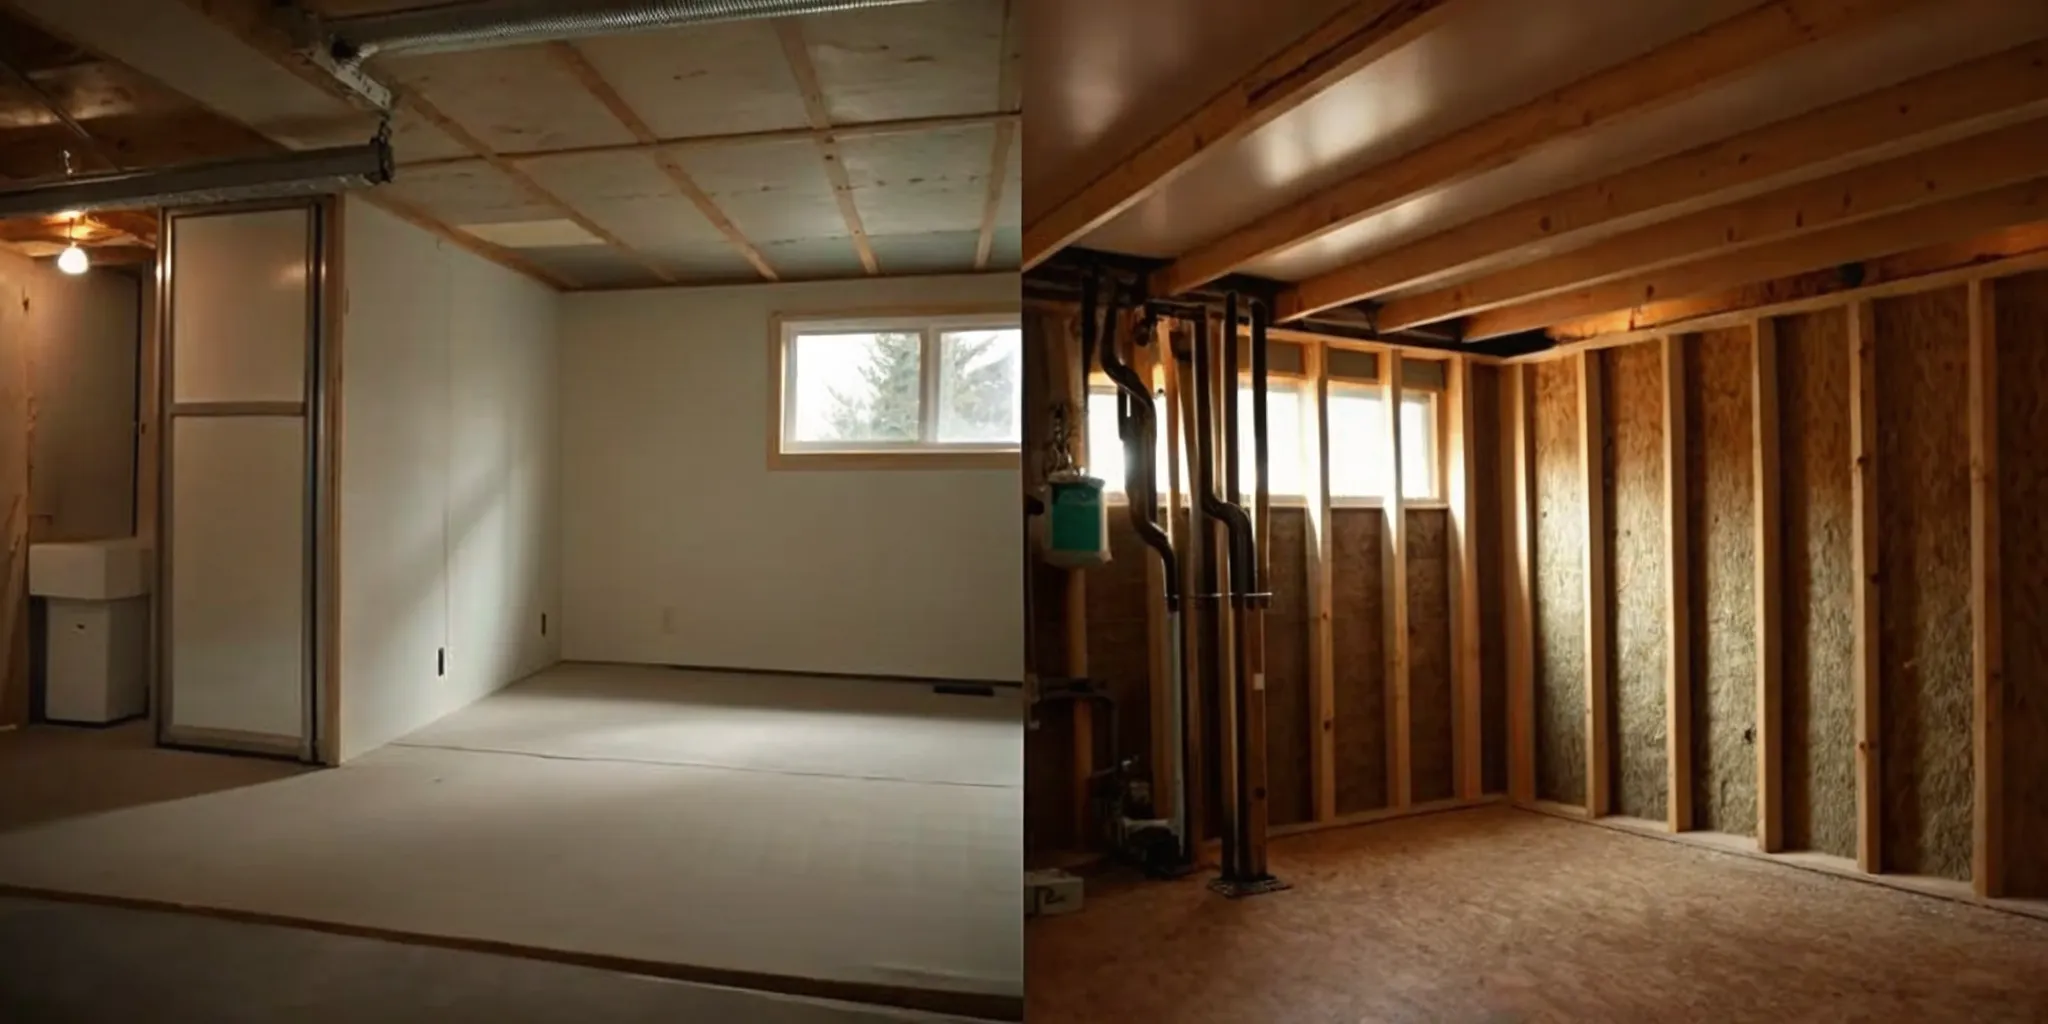
Choose Insulation for Year-Round Comfort
Insulation is the key to making your office comfortable through every season. It keeps the space warm in the winter and cool in the summer, which also helps reduce your heating and cooling costs. Without it, your shed will feel more like, well, a shed. Once the electrical wiring is complete, you can install insulation in the walls and ceiling. Common options include fiberglass batts, rigid foam boards, or spray foam. After insulating, you can hang drywall to create finished interior walls that are ready for paint. This step truly makes the structure feel like an extension of your home.
Set Up Heating, Cooling, and Ventilation
To maintain a comfortable temperature, you’ll need a reliable heating and cooling system. For a small space like a backyard office, a ductless mini-split system is an excellent all-in-one solution. These units are highly efficient and provide both heating and air conditioning. While it’s an investment, it’s one that pays off in year-round comfort. It’s also important to consider ventilation to maintain fresh air and prevent moisture buildup. This can be as simple as installing operable windows or adding a small exhaust fan. An experienced HVAC contractor can help you choose and install the right system for your shed’s size and your local climate.
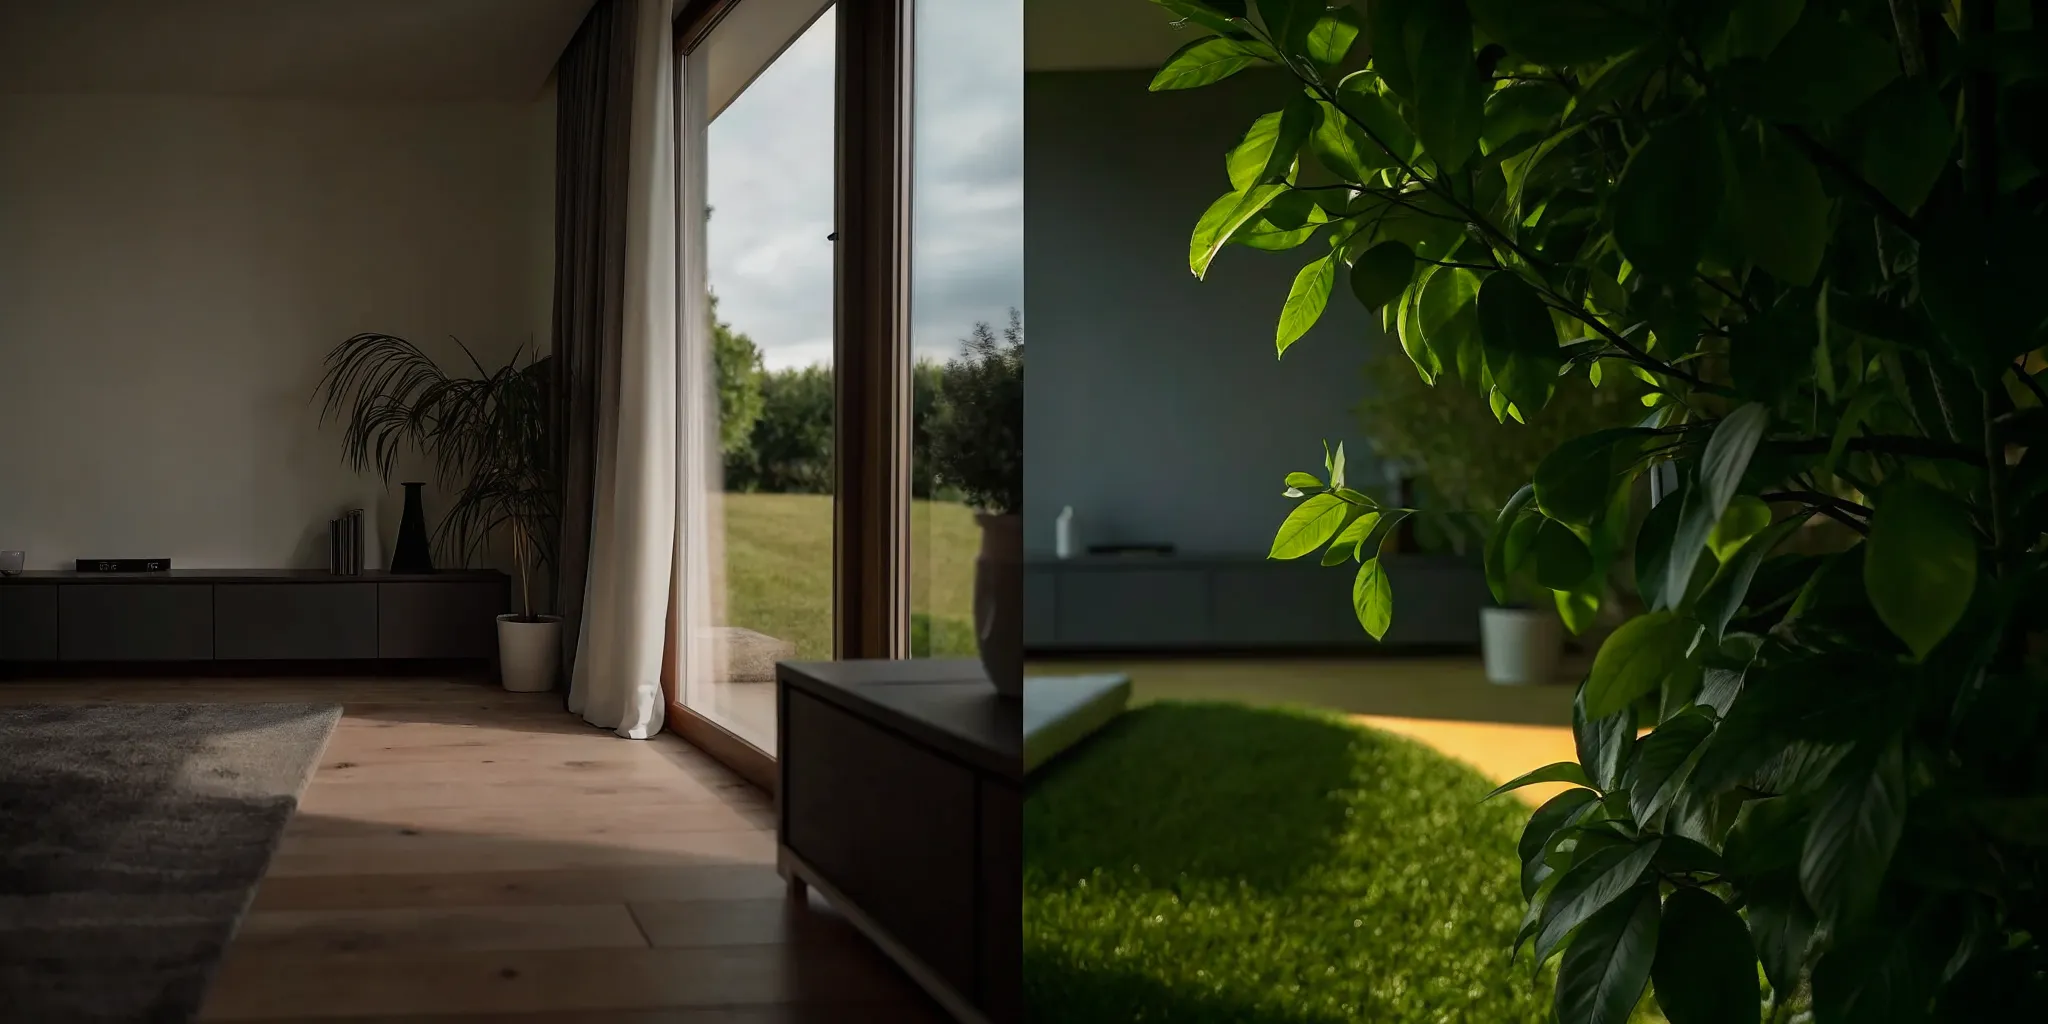
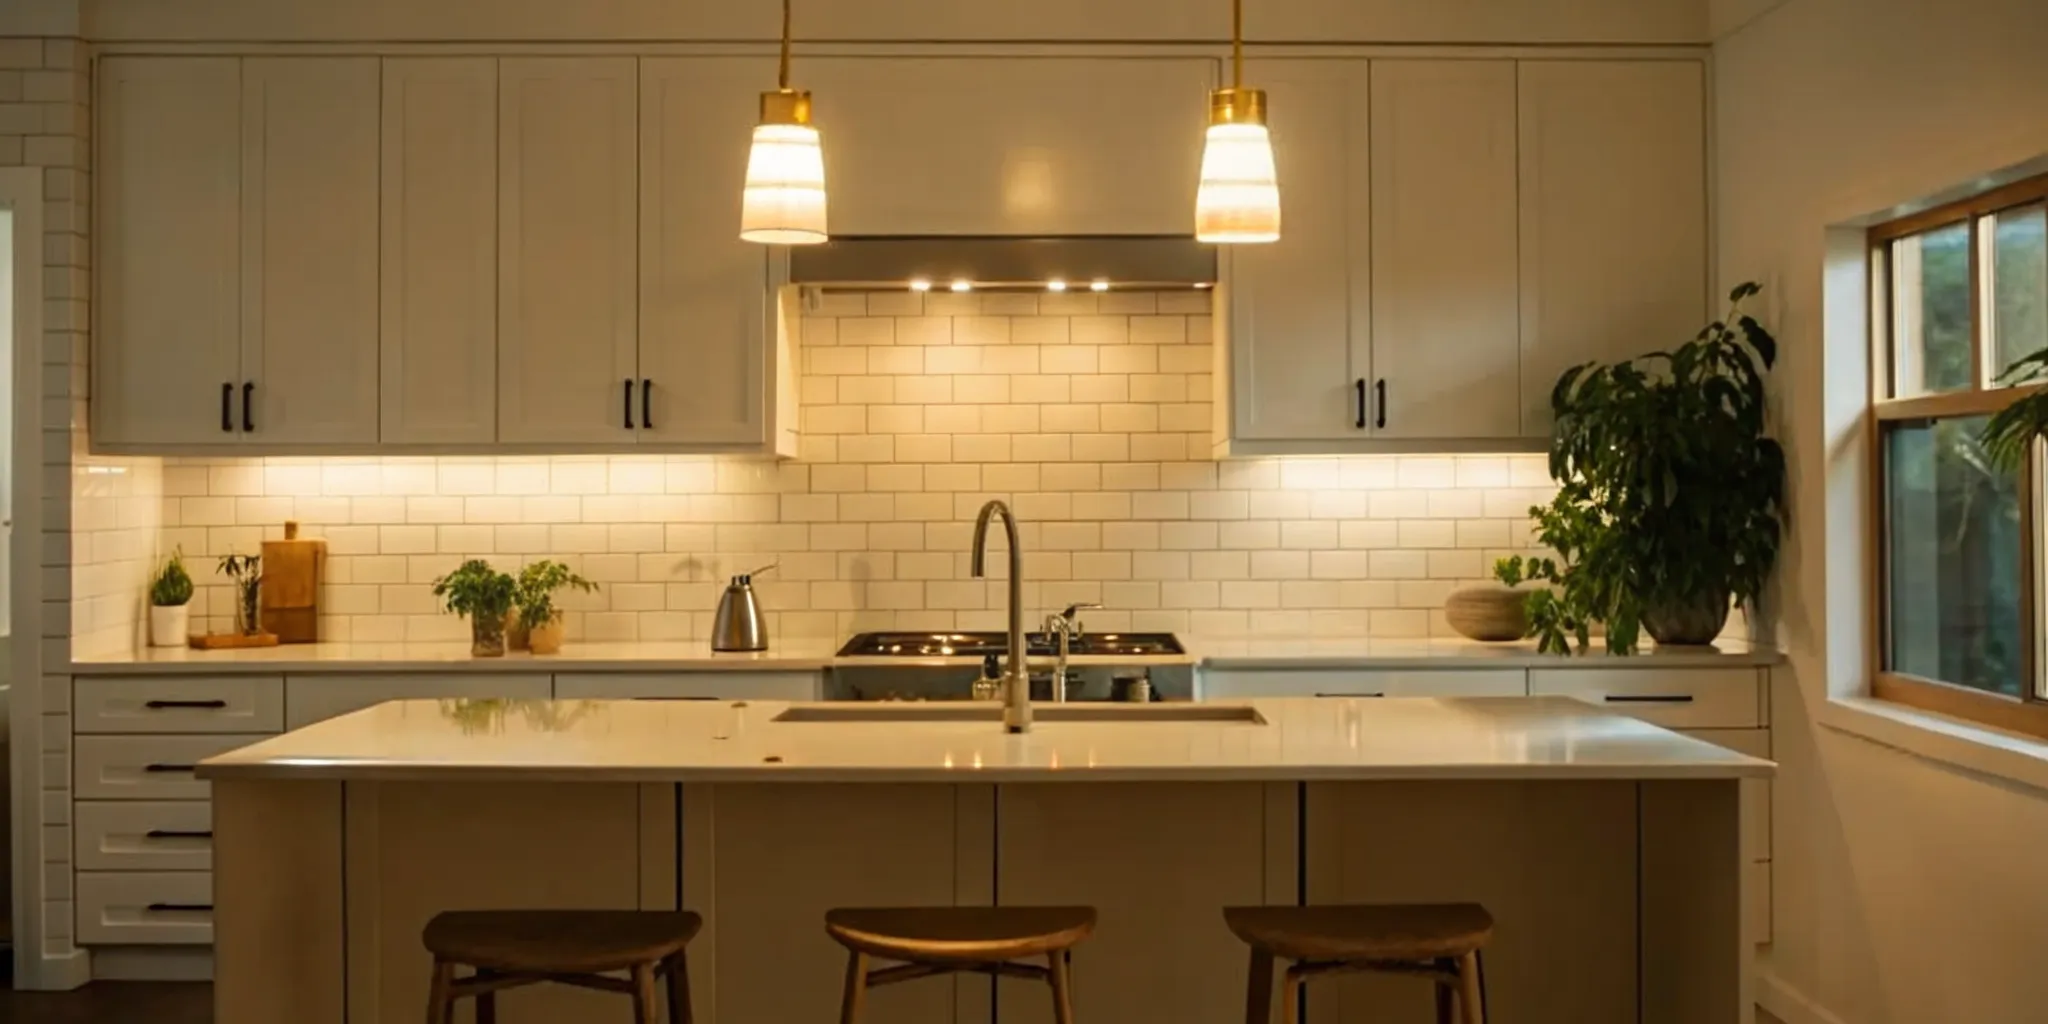
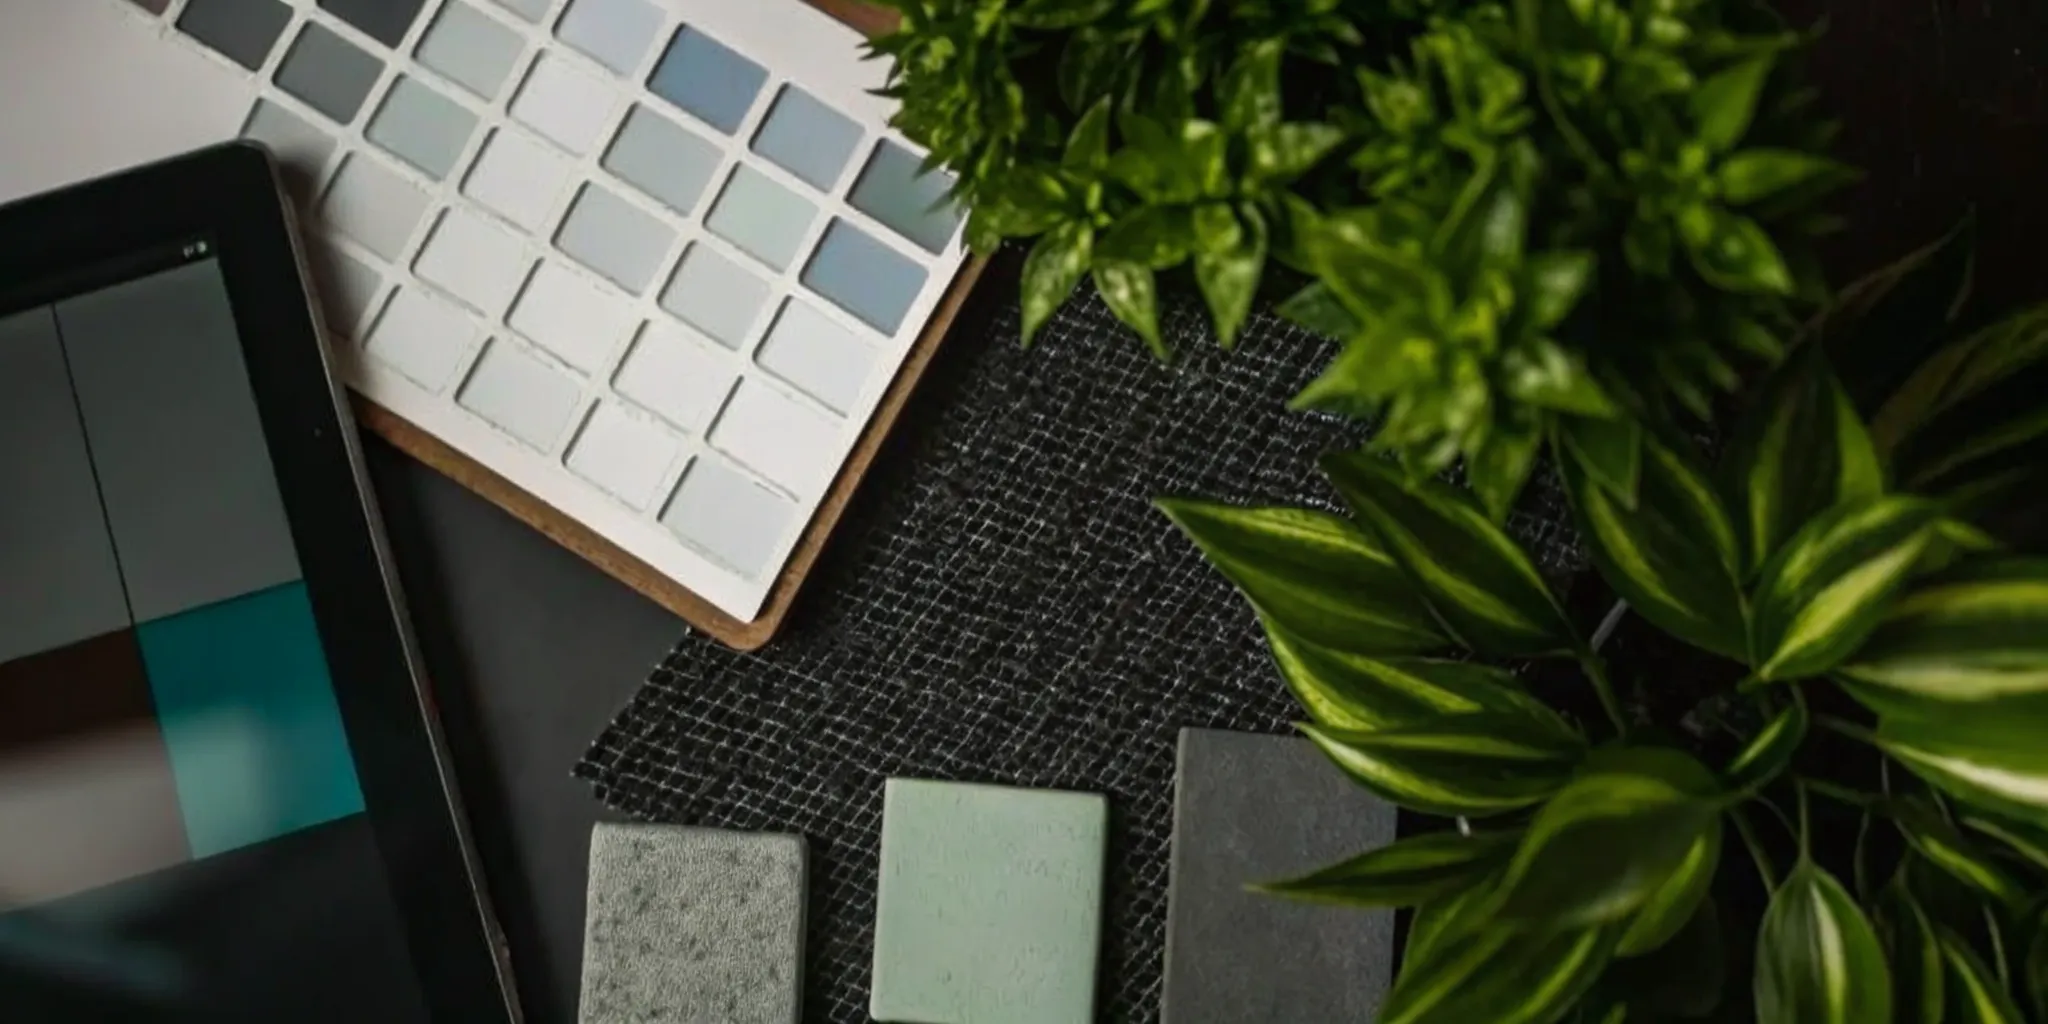
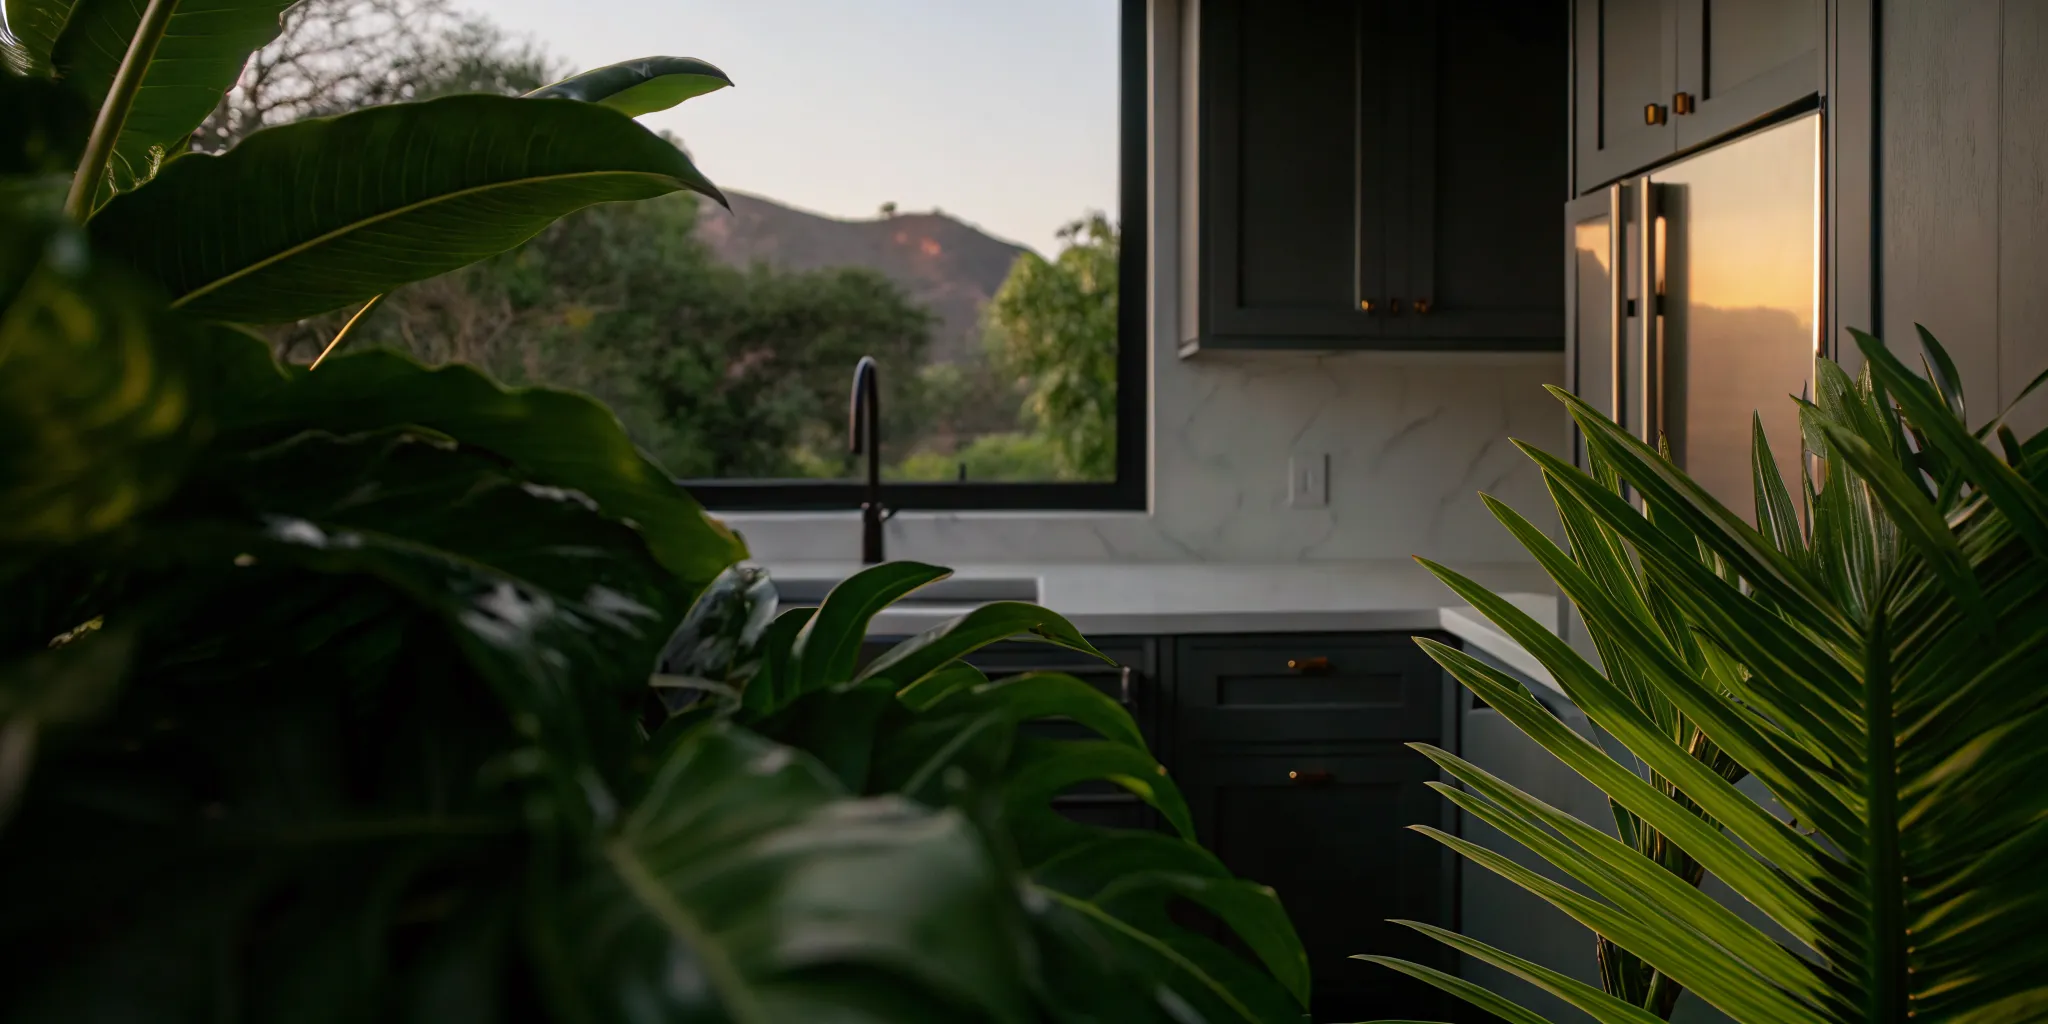
How Do You Design a Comfortable Workspace?
With the structure of your backyard office complete, it’s time for the most exciting part: turning that empty shell into a functional, inspiring workspace. This is where your shed truly becomes an extension of your home and a hub for productivity. A thoughtful interior design does more than just look good; it directly impacts your focus, mood, and overall work-life satisfaction. Creating a space that feels comfortable and tailored to your needs is key to making the commute across your lawn feel like a genuine escape.
Getting these finishing details right can feel like a project in itself, but breaking it down makes it manageable. We’ll walk through the four essential pillars of a great shed office interior: planning your layout, designing effective lighting, incorporating smart storage, and getting your tech connected. Each step builds on the last to create a cohesive and comfortable environment. If you need a hand translating your vision into a workable plan, having an expert advisor can make all the difference in ensuring your new office is everything you hoped it would be.
Plan Your Interior Layout and Furniture
Before you buy a single piece of furniture, grab a measuring tape and sketch out a floor plan. Think about how you work best and what your daily routine looks like. Consider the shed’s orientation—where will the sun be throughout the day? You don’t want intense glare on your computer screen mid-afternoon. Position your desk to take advantage of a nice view or to minimize distractions from the main house.
Map out zones for different activities, even in a small space. You’ll need a primary desk area, but you might also want a comfortable chair for reading or a small table for spreading out documents. When choosing furniture, look for pieces that fit the scale of the room. Bulky items can make a shed feel cramped, while ergonomic and multi-functional furniture can save space and support your well-being.
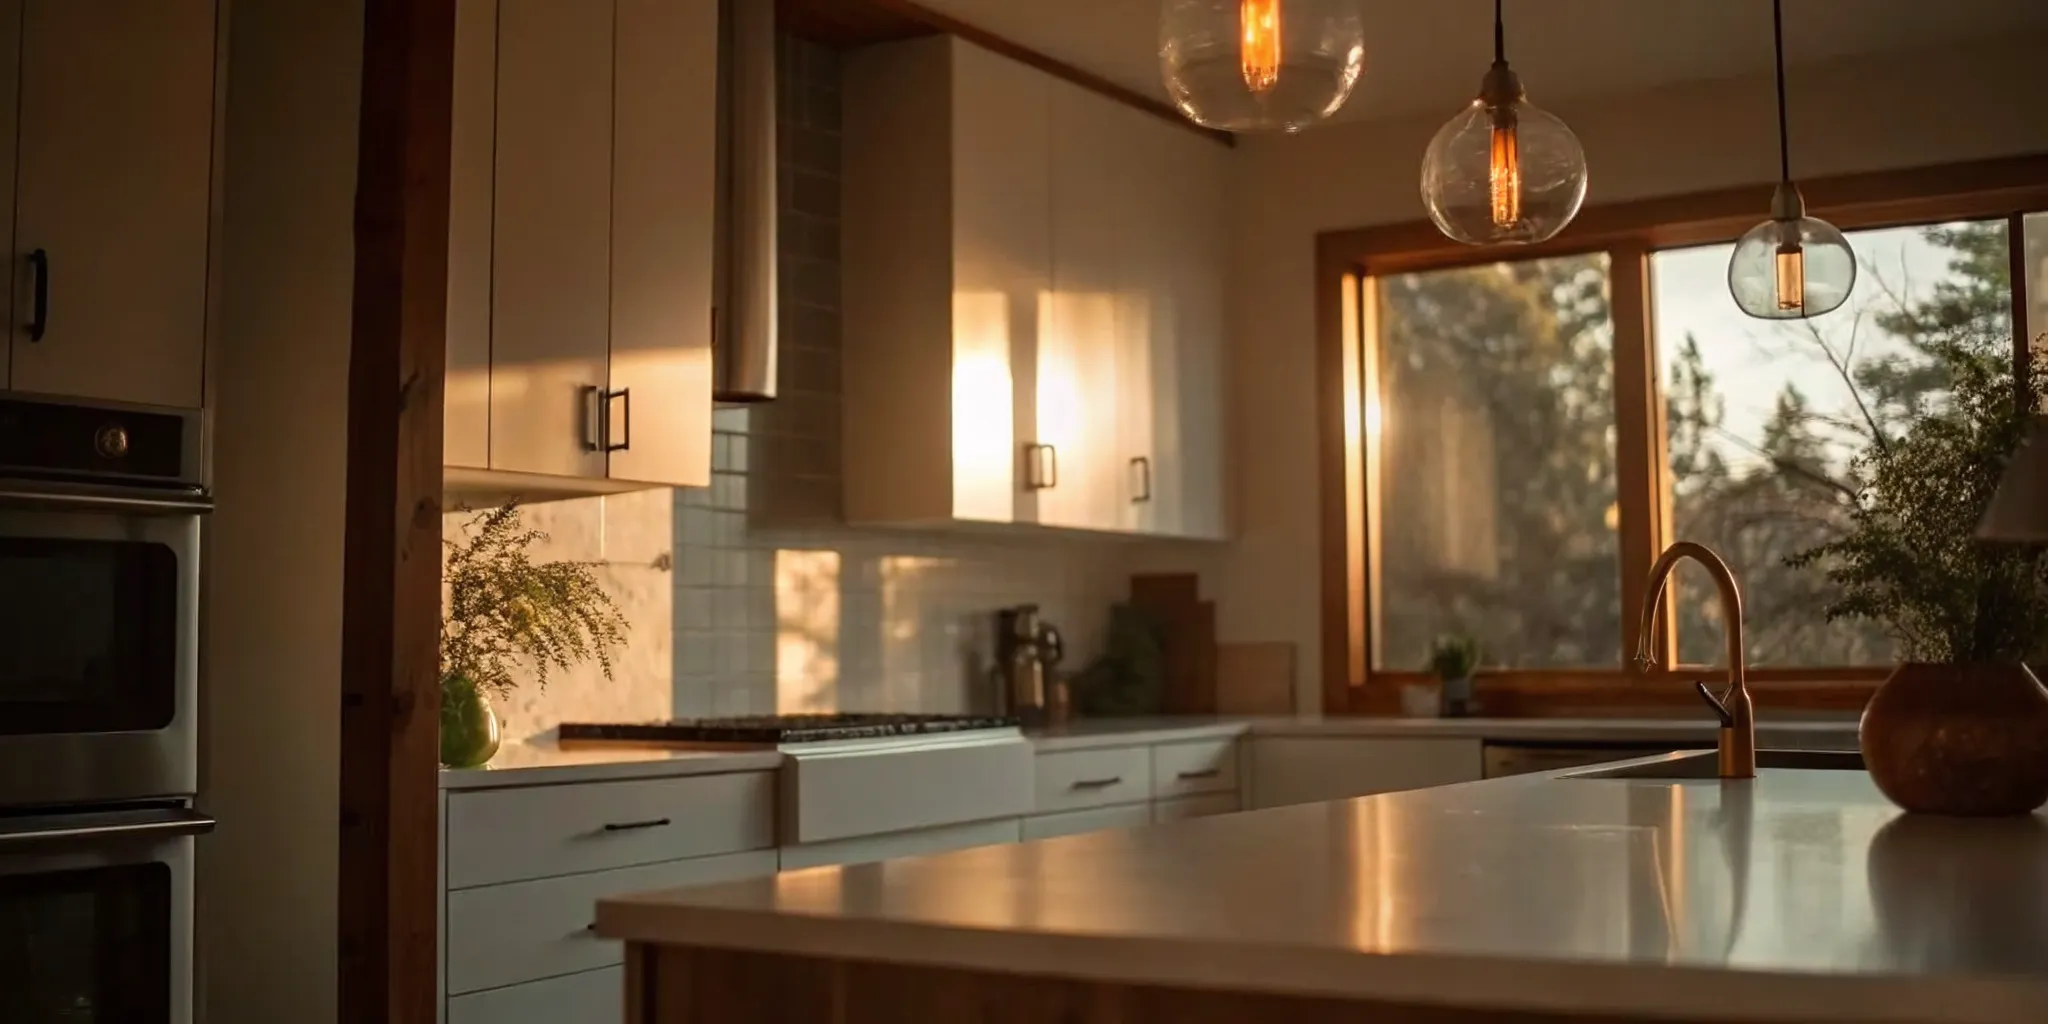
Design Lighting for Productivity
Great lighting is a non-negotiable for a productive workspace. It reduces eye strain, improves your mood, and helps you stay focused. Start by maximizing natural light with well-placed windows and maybe a glass door, but be sure to add blinds or sheer curtains to control glare. This will give the space an open, airy feel that you just can’t replicate with bulbs alone.
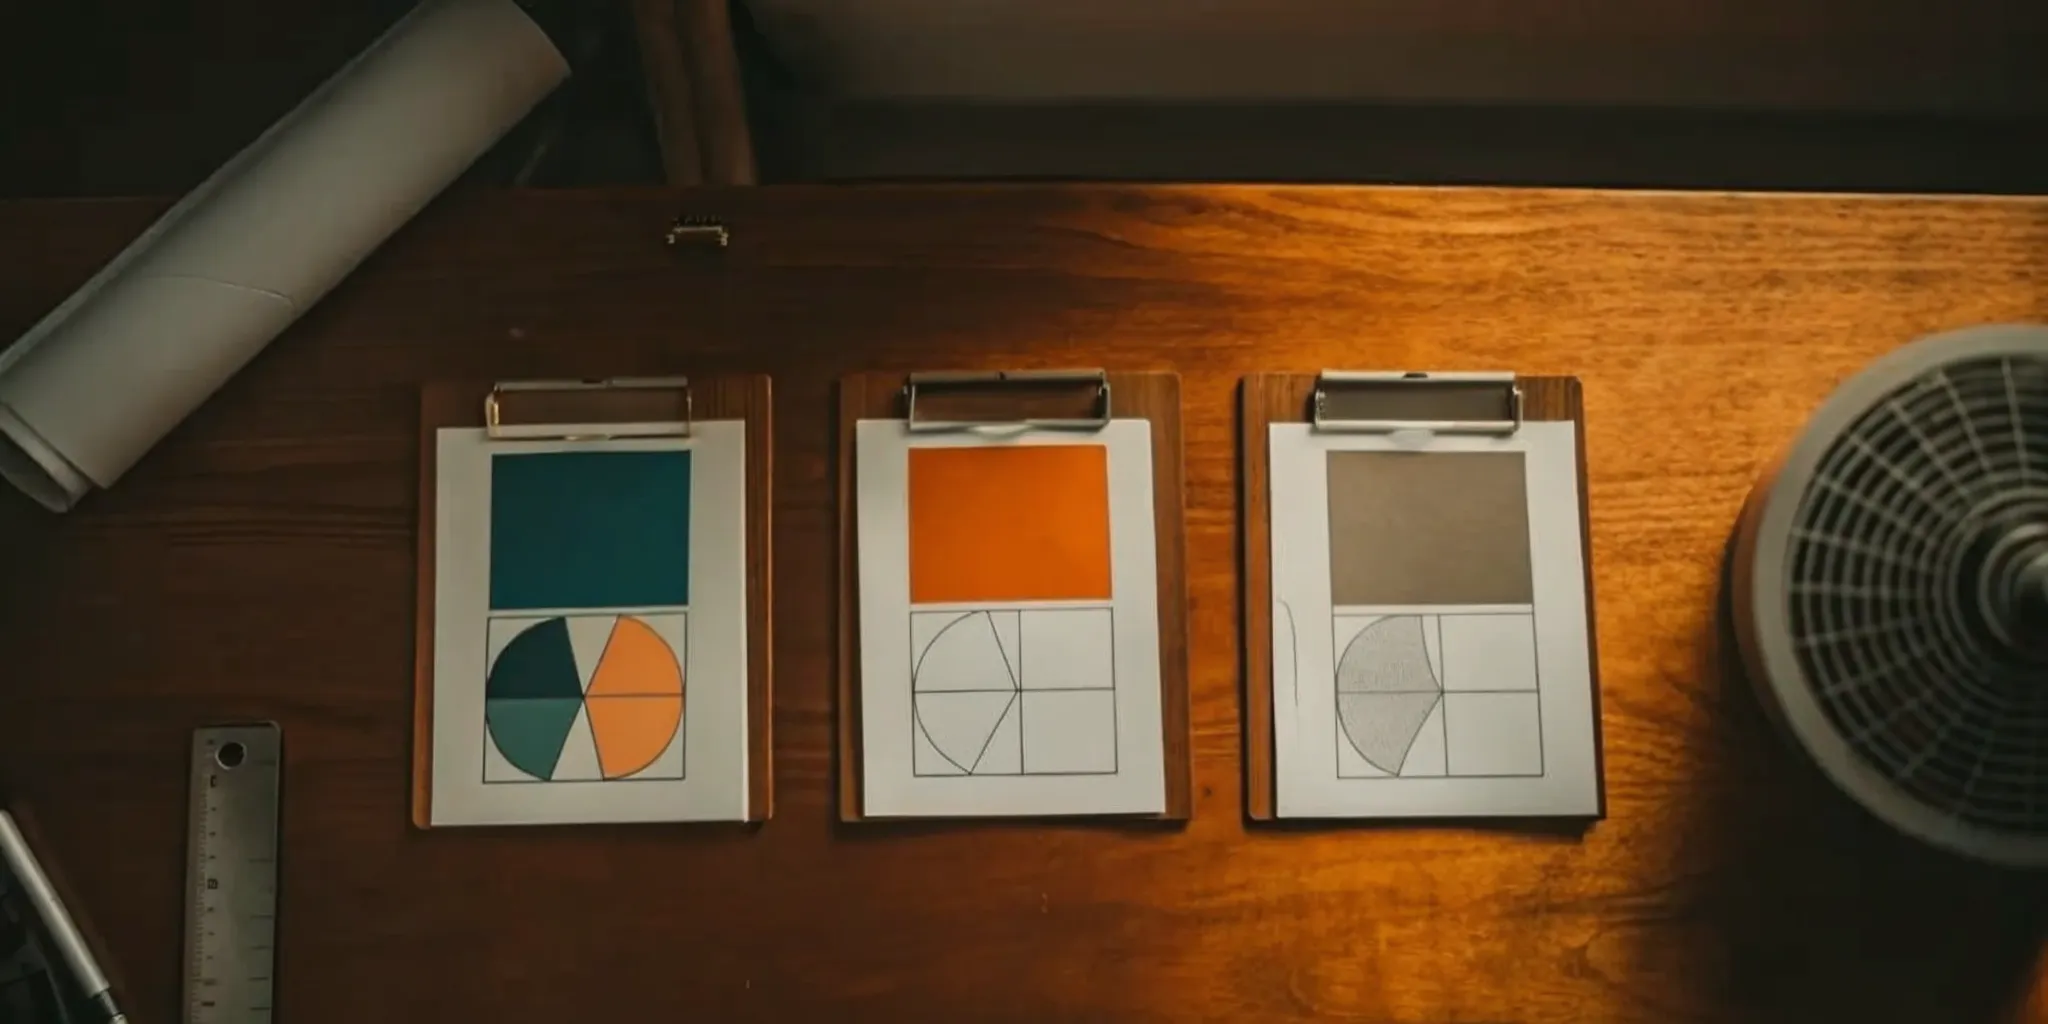
For artificial light, think in layers. You’ll need ambient lighting, like an overhead fixture, to illuminate the whole room. Next, add task lighting, such as a desk lamp, to focus light exactly where you need it for reading or writing. Finally, you can add accent lights to highlight artwork or architectural features. A well-lit workspace combines all three types to create a balanced and inviting atmosphere.
Incorporate Built-in Storage
In a compact office shed, clutter is the enemy of focus. This is where built-in storage becomes your best friend. Custom shelves, cabinets, and even a built-in desk can be designed to fit your exact space and needs, making every square inch count. Unlike freestanding furniture, built-ins create a seamless, uncluttered look that can make the room feel larger and more organized.
Think vertically to draw the eye upward and free up floor space. Floor-to-ceiling bookshelves or wall-mounted cabinets are perfect for storing supplies, files, and equipment without encroaching on your workspace. Planning your custom storage solutions early in the design process ensures your office will be as functional as it is beautiful, with a designated spot for everything.
Get Your Tech and Wi-Fi Connected
A backyard office is useless without reliable power and internet. Before you finish the interior walls, plan your electrical layout carefully. Think about where your desk, printer, and other electronics will go, and install more outlets than you think you’ll need. It’s always better to have too many than to rely on a tangle of power strips.
For internet, running a dedicated Ethernet cable from your house is the most stable and reliable option. If that’s not feasible, a powerful Wi-Fi extender or a mesh network can also work well. Test the signal strength before you commit to your desk location. Finally, consider cable management solutions like cord concealers or grommets in your desk to keep wires tidy and out of sight, ensuring your new workspace remains a calm and connected retreat.
What Construction Challenges Should You Anticipate?
Even the most meticulously planned project can hit a few bumps. The key isn’t to expect perfection, but to be prepared for the reality of construction. Thinking through potential challenges ahead of time will help you stay on track and on budget, turning potential roadblocks into manageable tasks. From unexpected weather to tricky foundation work, having a game plan means you can handle issues with confidence instead of stress. This is where having an expert in your corner can make all the difference, as they can help you anticipate what’s coming and create smart solutions. A dedicated Realm advisor, for example, can guide you through these hurdles so your project runs smoothly from start to finish.
Common Obstacles and How to Solve Them
One of the first hurdles you’ll face is deciding how to build your shed. Building it yourself, buying a pre-made kit, or hiring a contractor all come with different demands on your time, skills, and budget. Be honest about what you can realistically handle. Beyond that, material shortages or unexpected price increases can throw a wrench in your plans. The best way to solve these issues is with foresight. Order your materials well in advance and build a 10-15% contingency fund into your budget for surprise costs. If you decide to hire out some or all of the work, get detailed quotes from several vetted professionals to ensure you’re getting a fair price and a clear scope of work.
Prepare for Weather Delays
Weather is the one variable you can’t control, and it can affect every stage of your build. Rain can delay pouring a concrete foundation, high winds can make roofing unsafe, and extreme heat can affect how paint and sealants cure. Check the long-range forecast before you start and try to schedule weather-sensitive tasks during clear windows. It’s always a good idea to build some buffer days into your timeline. You can also design your shed to better handle the climate. For instance, building a foundation that extends a couple of feet into the ground can use the earth’s natural temperature to help keep your office cooler in the summer and warmer in the winter, making it a more comfortable space year-round.
Address Foundation and Structural Issues
Your shed is only as strong as its foundation, so this is not the place to cut corners. You have a few options, each with its own pros and cons. A full concrete slab is durable and helps insulate the floor, but it’s also the most expensive. A pier foundation with a wooden floor system is more cost-effective and works well on sloped ground. Other popular choices include compressed gravel or a treated wood grid. The right choice depends on your soil, climate, and budget. Because this step is so critical to your shed’s longevity and safety, it’s often best to work with an expert to ensure it’s done right and will support your structure for years to come.
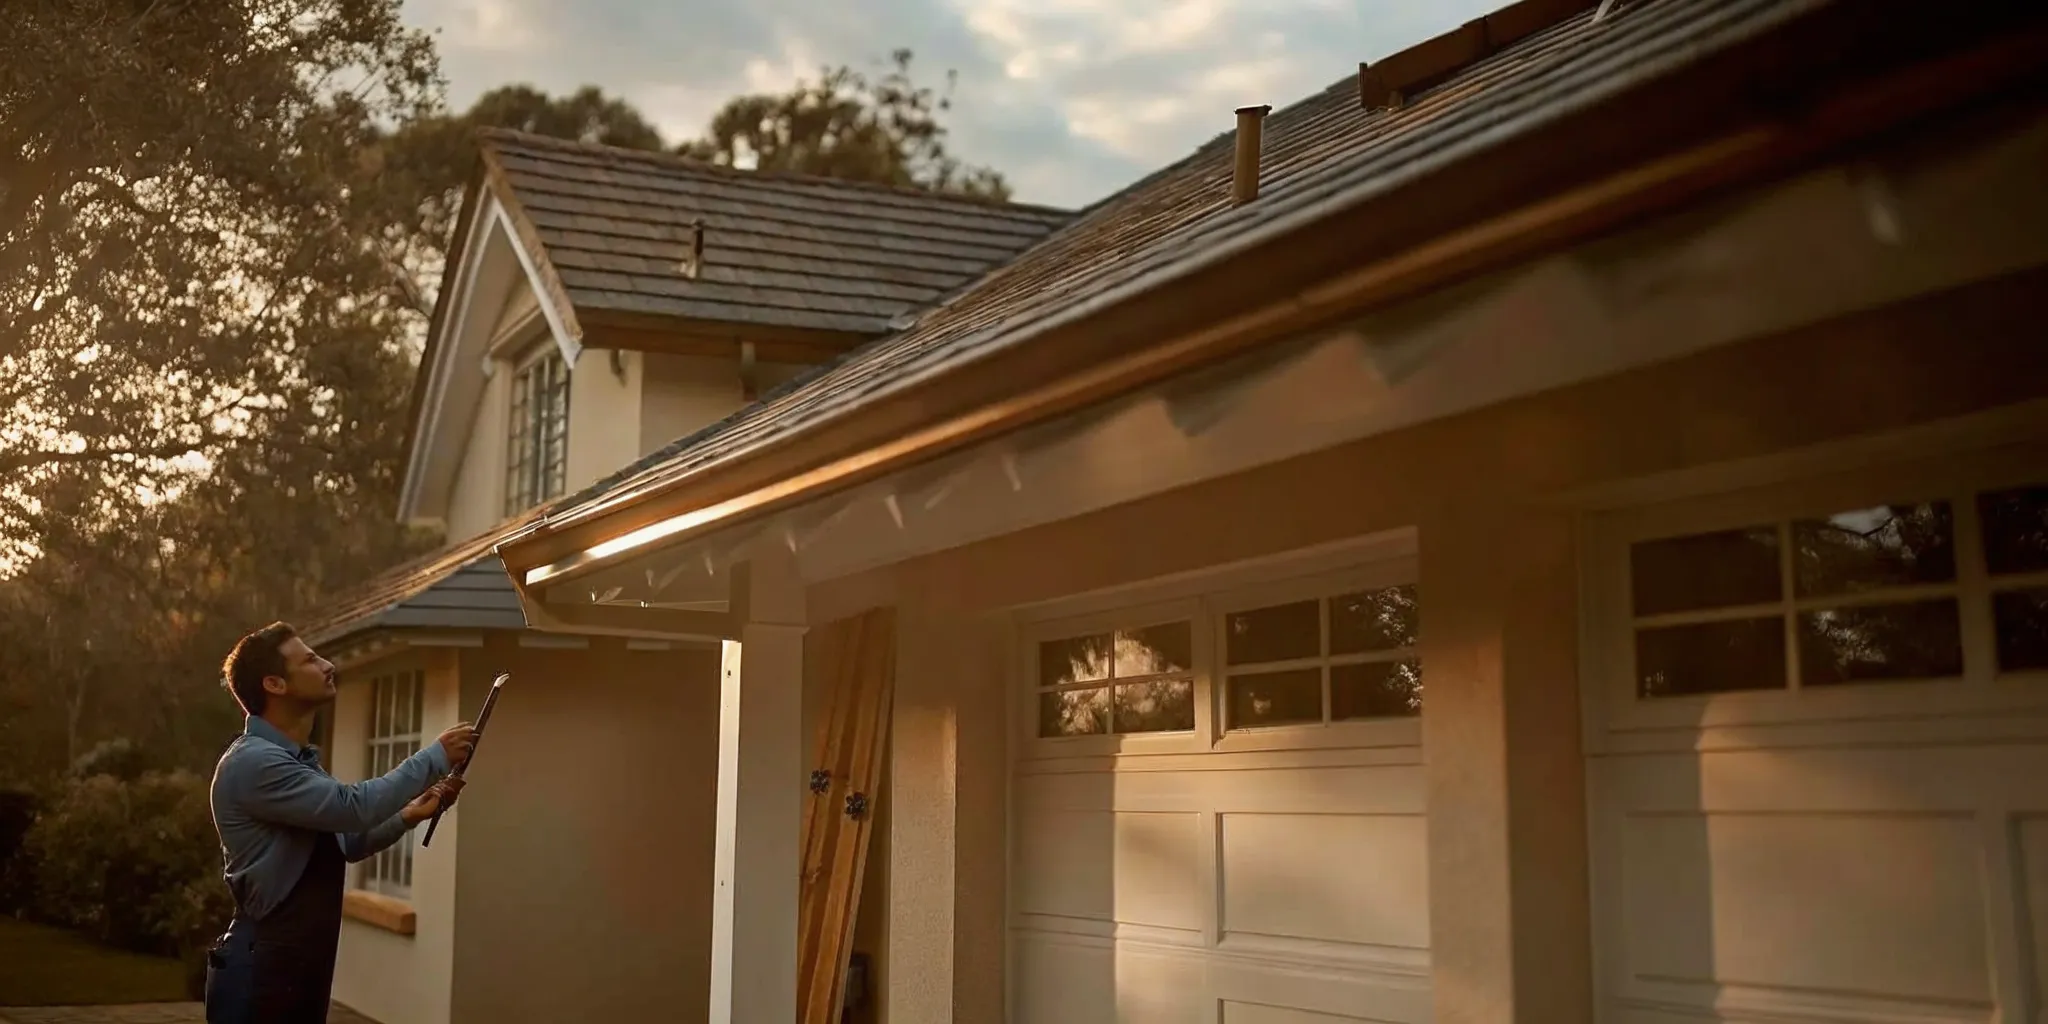
Maintain Your New Office Shed
You’ve built your backyard sanctuary—a dedicated space for focus, creativity, and productivity. Now, the key is to keep it that way. Just like your main house, your office shed requires a little TLC to protect your investment and ensure it remains a comfortable and functional workspace for years to come. A well-maintained shed isn't just about looks; it's about preserving the structure, preventing costly repairs down the line, and making sure it’s always ready for a productive day. When your workspace is in good condition, it's easier to minimize interruptions and maintain a healthy routine.
Setting up a simple maintenance routine doesn't have to be a huge time commitment. By breaking tasks down by season and creating a checklist for regular inspections, you can stay ahead of potential issues. Think of it as part of your work routine—a few minutes spent checking on your space can save you hours of headaches later. From sealing drafts to checking the roof, these small actions will keep your backyard office in prime condition, so you can focus on what really matters: the work you do inside it. This proactive approach not only saves money but also gives you peace of mind, knowing your quiet retreat is secure and sound.
Your Regular Maintenance Checklist
Keeping your office shed in top shape is all about consistency. A simple monthly or quarterly check-in can make a world of difference. Start by walking around the exterior to look for any signs of wear, like peeling paint or cracks in the siding, which could let moisture in. Check the seals around your windows and doors to ensure they’re still tight. You should also clear any debris from the roof or gutters to prevent water damage. Inside, regularly test your smoke and carbon monoxide detectors, and keep the space tidy to improve your focus and workflow.
Get Ready for Seasonal Changes
Your shed will face different challenges with each season. Before summer arrives, check that your cooling system is working efficiently and consider adding window blinds or films to block intense sun and keep the interior cool. Trim back any overhanging tree branches that could fall during a storm. As winter approaches, it’s time to prevent heat from escaping. Inspect for drafts around windows, doors, and electrical outlets, and seal them with caulk or weatherstripping. If you have any exterior water pipes, make sure they are properly insulated to prevent freezing.
Plan for Long-Term Upkeep
Beyond regular checks, some maintenance tasks are more long-term. Plan to have your heating and cooling system, like a mini-split, serviced annually by a professional to keep it running efficiently. Good air quality is also crucial in a small, sealed space, so clean your ventilation filters regularly. Every few years, you may need to repaint or re-stain the exterior to protect the wood from the elements. If you notice any significant issues, like a leaky roof or foundation cracks, it’s best to find a vetted professional to handle the repairs before they become bigger problems.
Related Articles
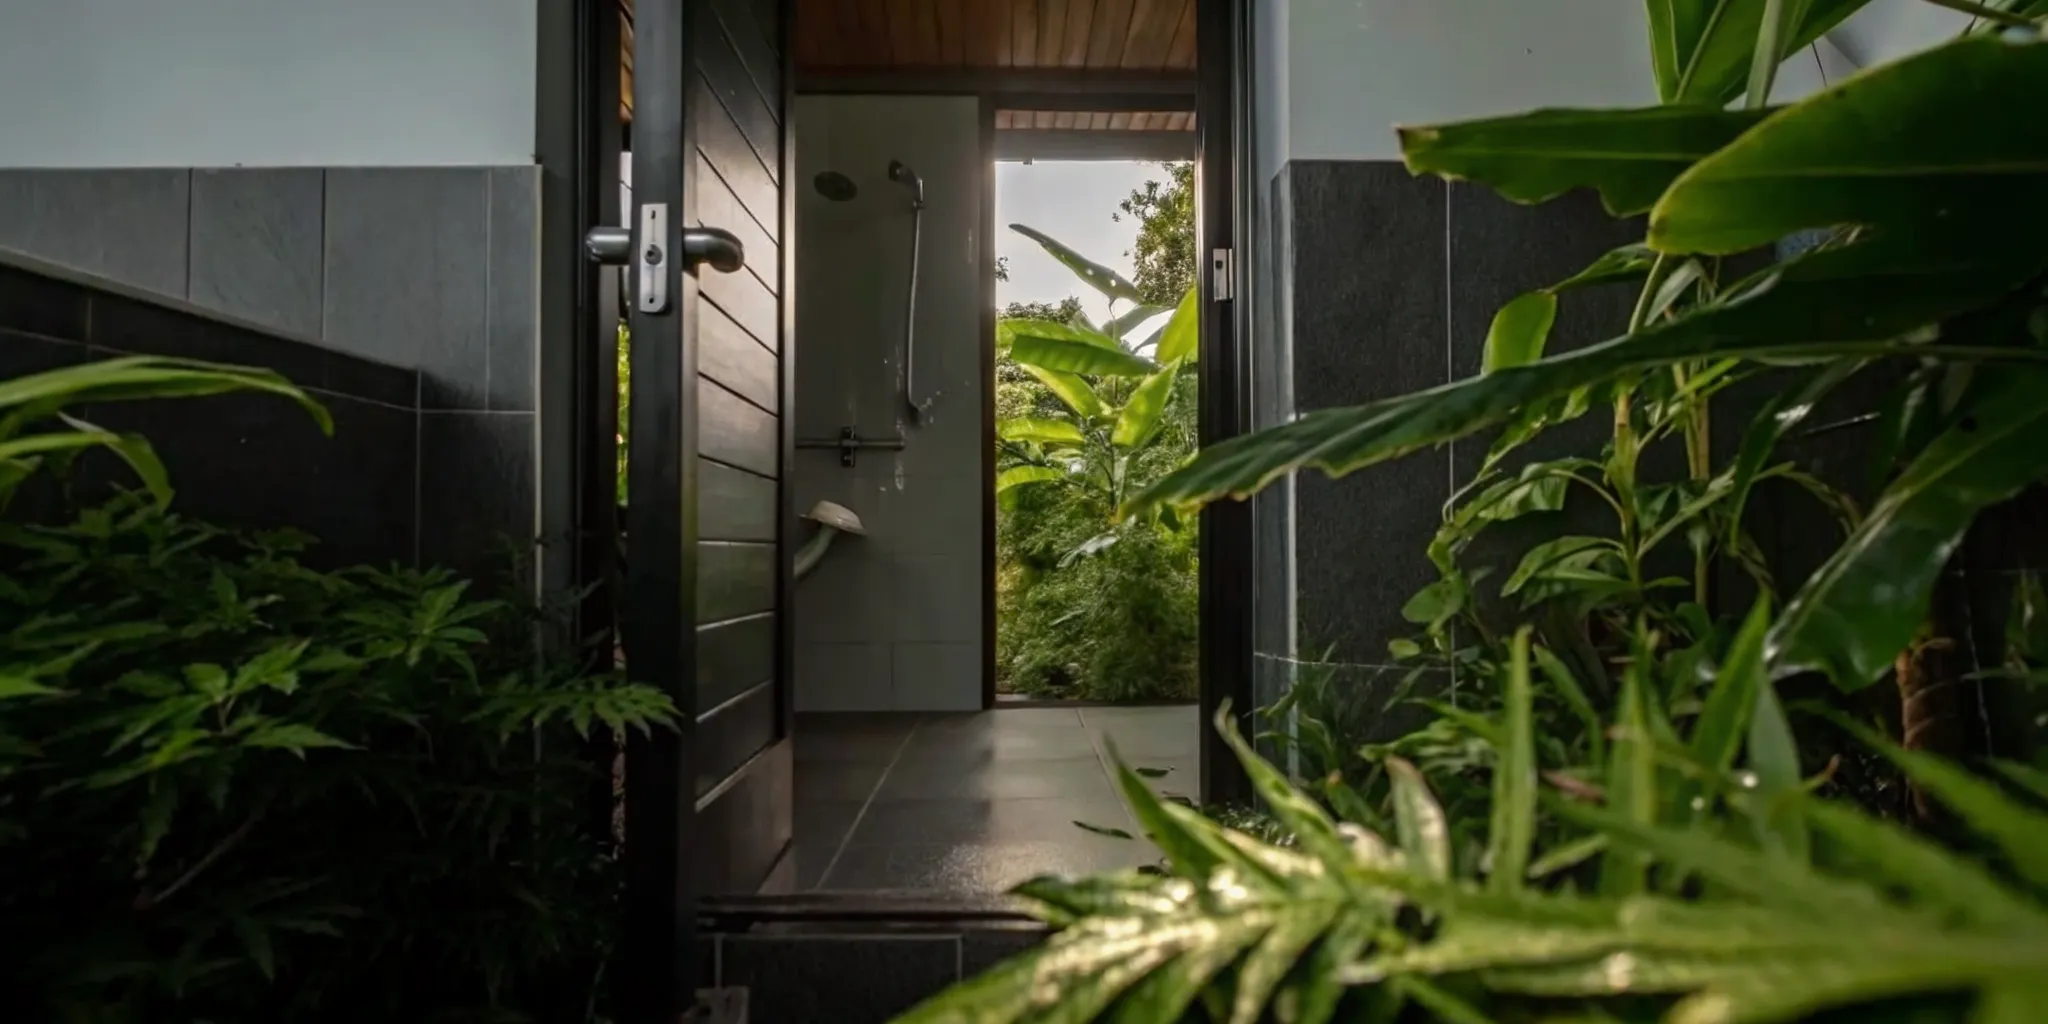
- Your Guide to a Backyard Office Shed with Bathroom
- Studio Shed with Bathroom and Kitchen: A Buyer's Guide
Frequently Asked Questions
Do I really need a permit for a small backyard shed? It’s a common question, and the answer almost always depends on your city’s specific rules and the size of your shed. Many areas allow you to build a structure under a certain size, often 120 square feet, without a building permit. However, the moment you add electricity or plumbing, a permit is typically required regardless of the size. It’s always best to make a quick call to your local building department before you start. Taking that step ensures your project is legal from day one and saves you from potential fines or headaches down the road.
What's a realistic all-in cost for a finished backyard office? The final price tag can vary widely based on your choices. A modest, self-built office using secondhand materials might land on the lower end of the spectrum, while a larger, custom-designed structure with high-end finishes and professional labor will cost significantly more. The biggest factors that influence your budget are the foundation type, the quality of windows and doors, whether you hire professionals for tasks like electrical work, and the interior finishes you select.
How long does it actually take to build a backyard office? The timeline really depends on your approach. If you’re tackling the entire build yourself, you can pace the project over several weekends or even months to fit your schedule and cash flow. If you hire a contractor, the construction itself can move much more quickly, often taking just a few weeks. Don’t forget to factor in the planning phase, which includes designing the space, getting any necessary permits, and ordering materials—this initial stage is a crucial part of the overall timeline.
Is it better to use a pre-fab kit or build a custom shed from scratch? This comes down to what you value more: convenience or customization. A pre-fabricated kit simplifies the process because the plans are set and the materials are pre-cut, which is a great option if you want a more straightforward project. Building from scratch offers complete creative freedom. It allows you to design a unique space that perfectly fits your yard’s layout and your specific work needs, from the window placement to the overall style.
How difficult is it to get electricity and internet to the shed? Getting your office connected is a critical step that requires some planning. For electricity, we always recommend hiring a licensed electrician. They will safely run a dedicated circuit from your home’s main panel to your shed, ensuring everything is up to code. For internet, the most stable option is to run a buried Ethernet cable from your router. If that’s not practical, a powerful Wi-Fi extender or a mesh network system can also provide a strong and reliable signal for all your work needs.